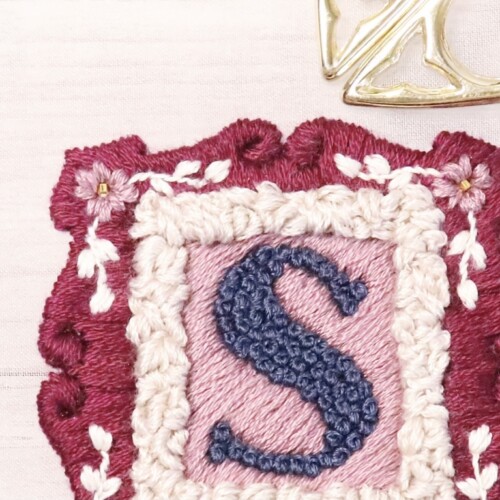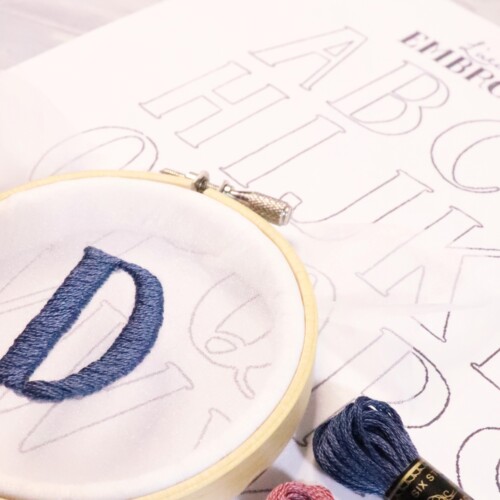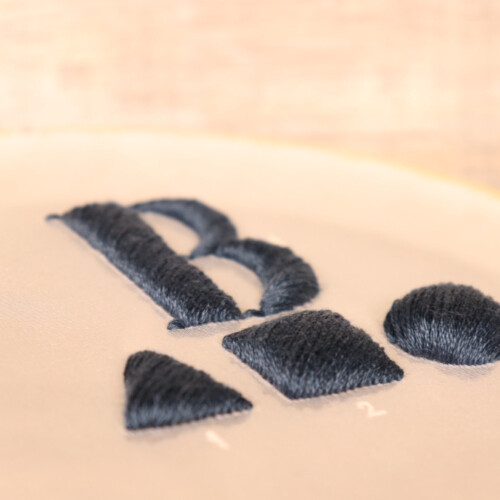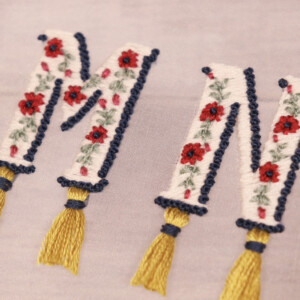
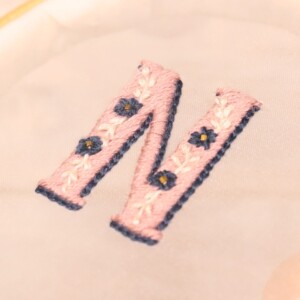
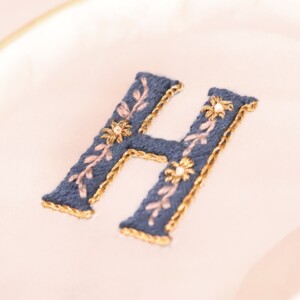

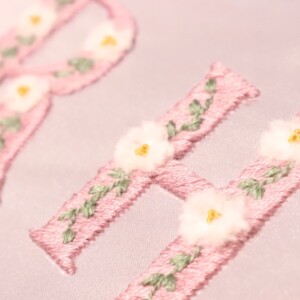


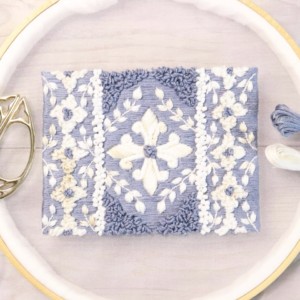
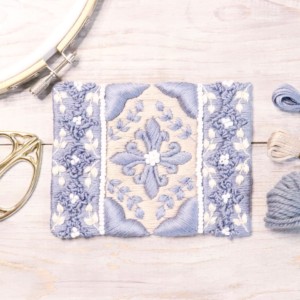
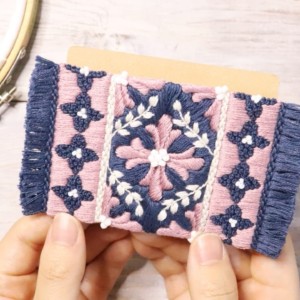

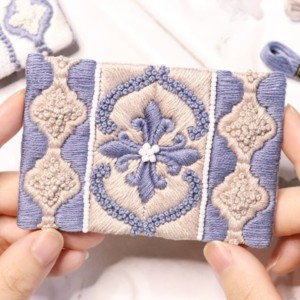


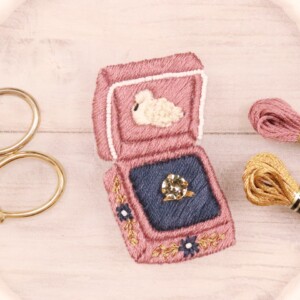


Satin stitch | Wide area to narrow area
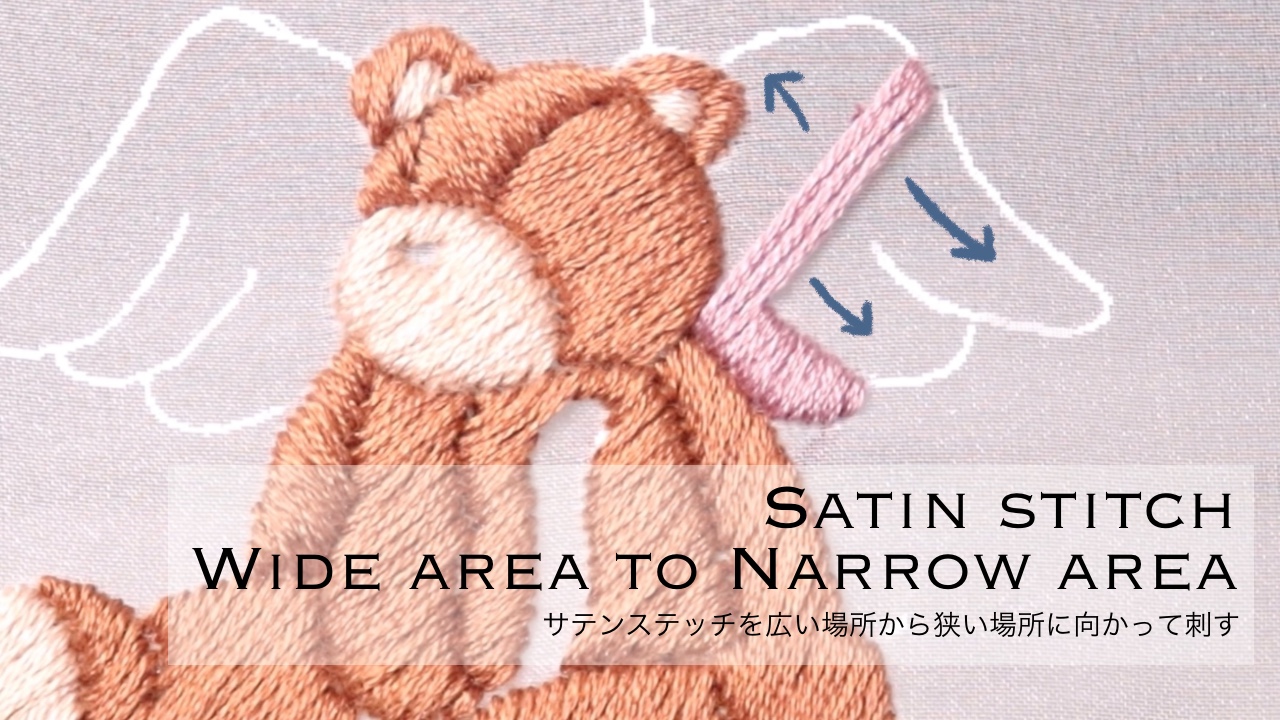
When stitching satin stitches, it is recommended to stitch from the widest part to the narrowest part.
If you embroider from a wide place, it will be easier to embroider while keeping the angle of the thread that you decided at the beginning, and the flow of the thread will be unified, making it easier to finish neatly.
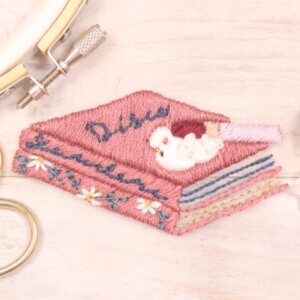
Satin stitch | Wide area to narrow area
What to be aware of when the width gradually narrows
- Minimize the places where the length of the thread is extremely short
By determining the angle of the satin stitch so that there are as few places where the length of the thread is extremely short as possible, the entire satin stitch will look plump and shiny.
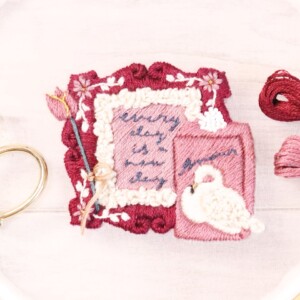
By setting the angle as shown on the right side of the illustration below, the satin stitch threads are connected smoothly and are easy to see.
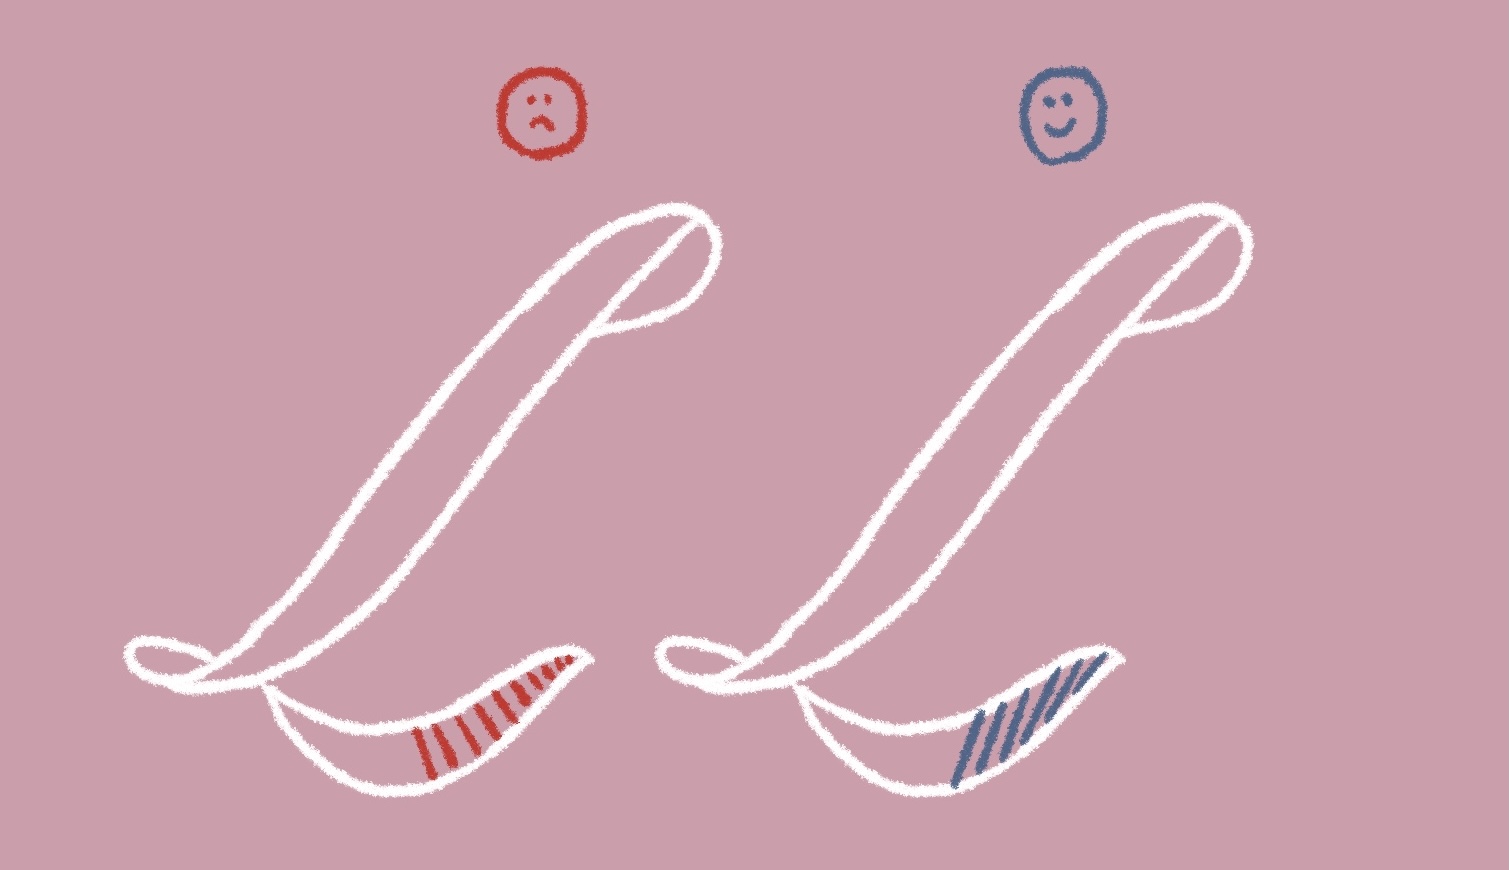
Even so, there are places where the length of the thread is shortened, but in the places where it is shortened, be careful not to pull the thread too strongly.
If possible, align it with the same amount of tension as the wide area for a more beautiful finish.
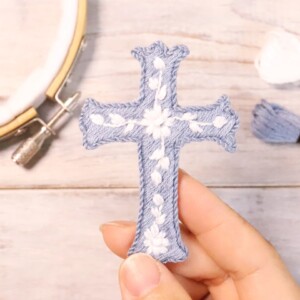
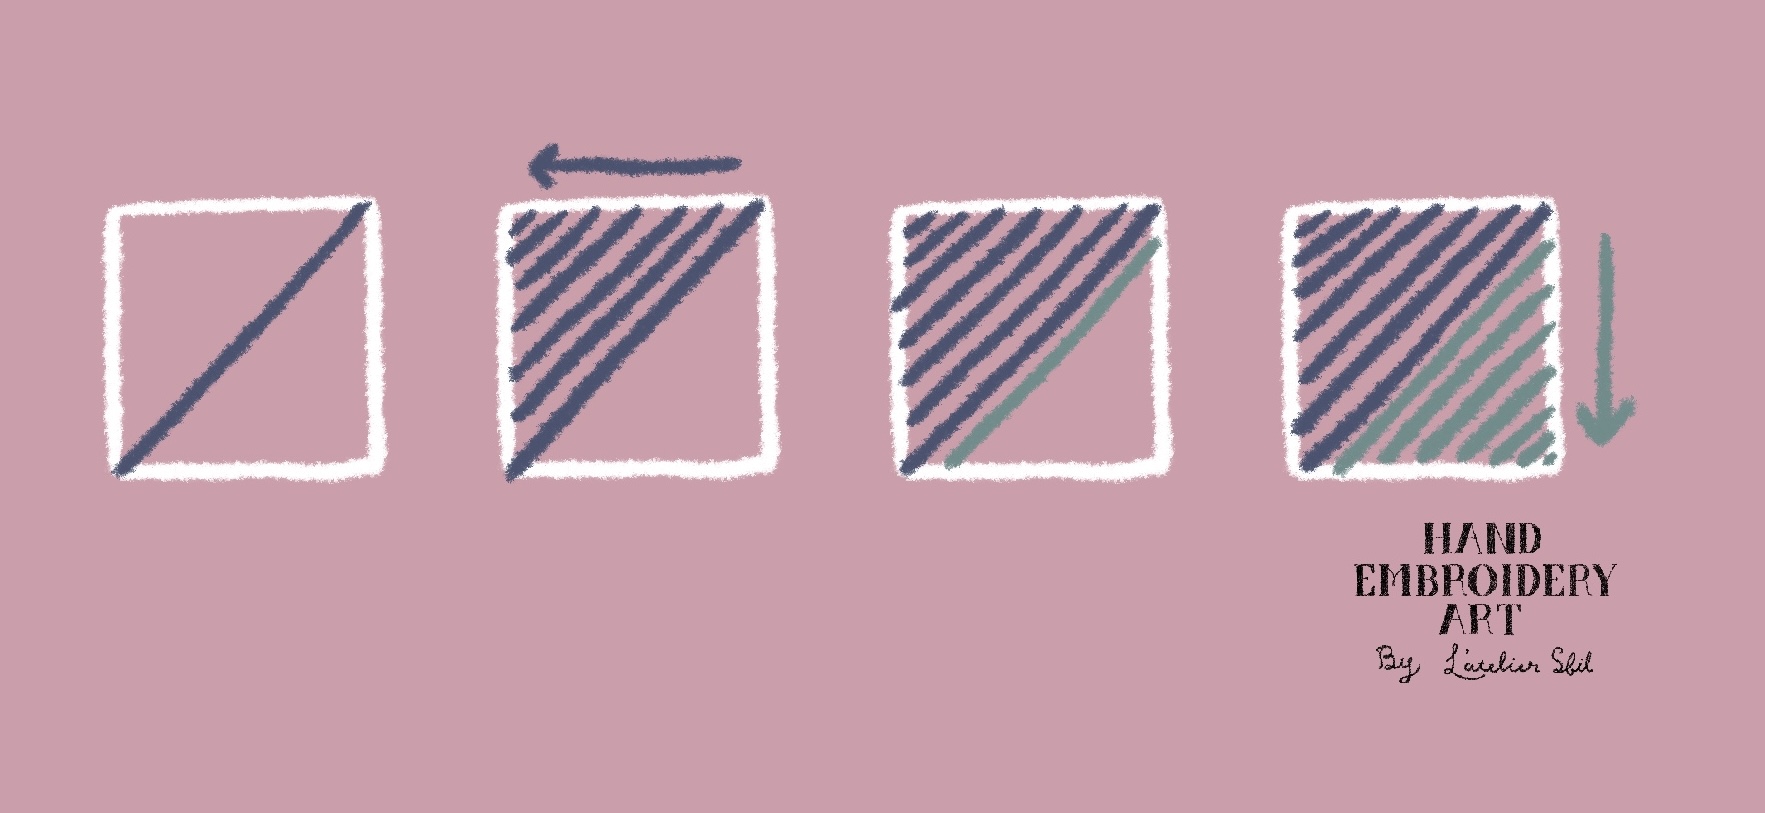
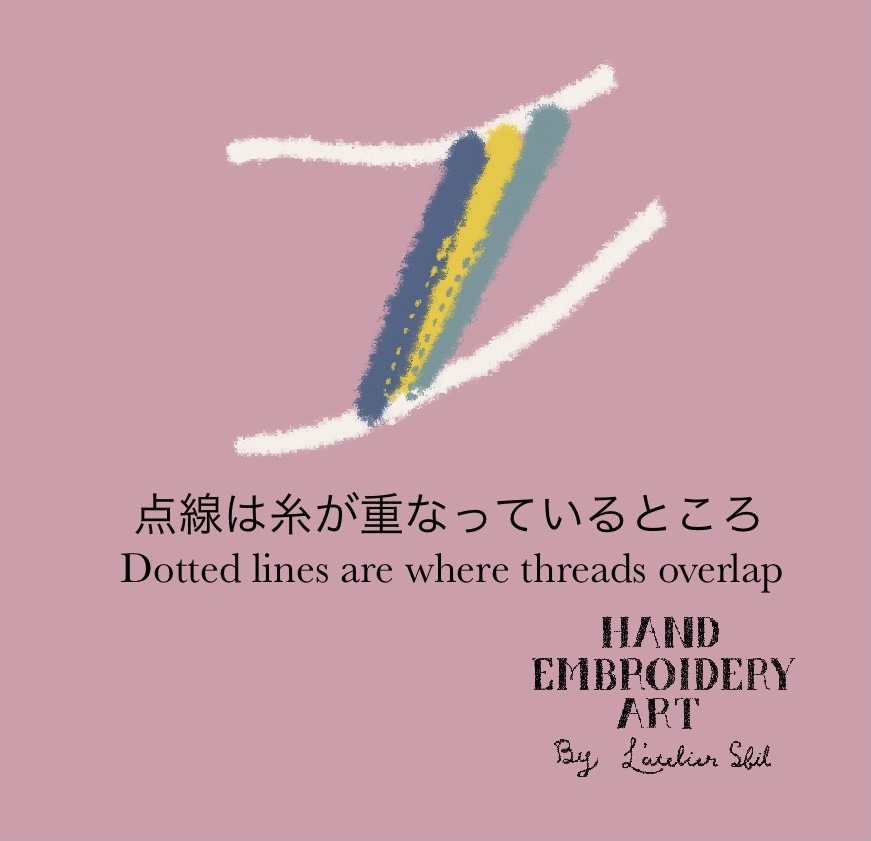
- When the angle changes gradually, it is better to poke so that the threads overlap slightly.
If the width of the final satin stitch is quite narrow, gradually embroidering so that the threads overlap slightly will make the horizontal threads connect smoothly and make it look beautiful.
In the illustration below, satin stitches are embroidered in the order of blue → yellow → green.
If you poke it so that it is slightly hidden under the previous stitch, the threads will look neatly connected to each other.
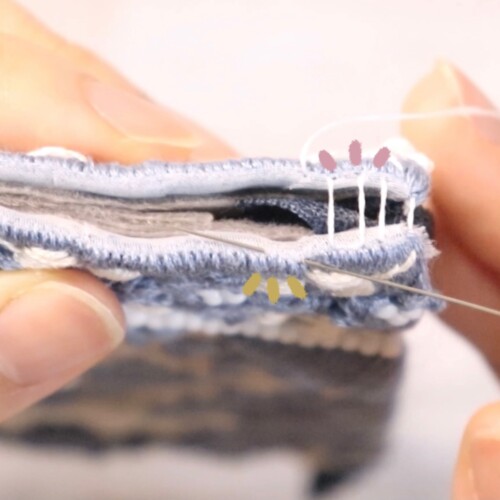
- Move the needle through the back of the satin stitch
After embroidering to the edge, it is recommended to pass the needle through the back side of the satin stitch, as the back side of the embroidery will also be beautifully finished.