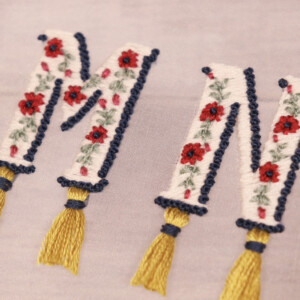
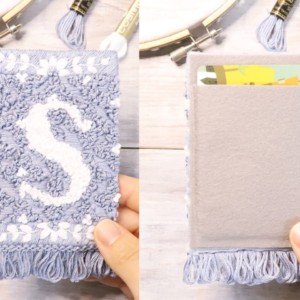

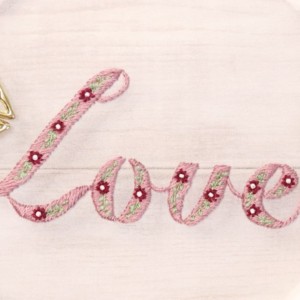

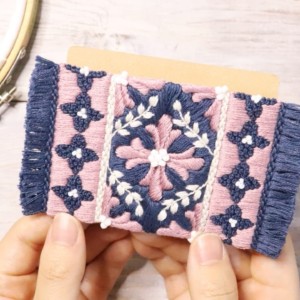

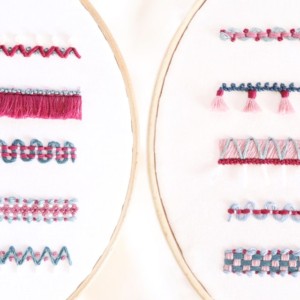
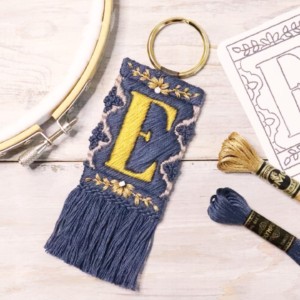
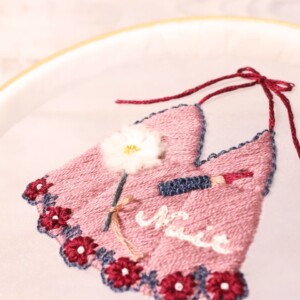

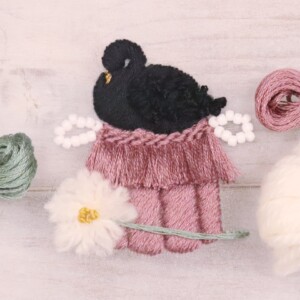

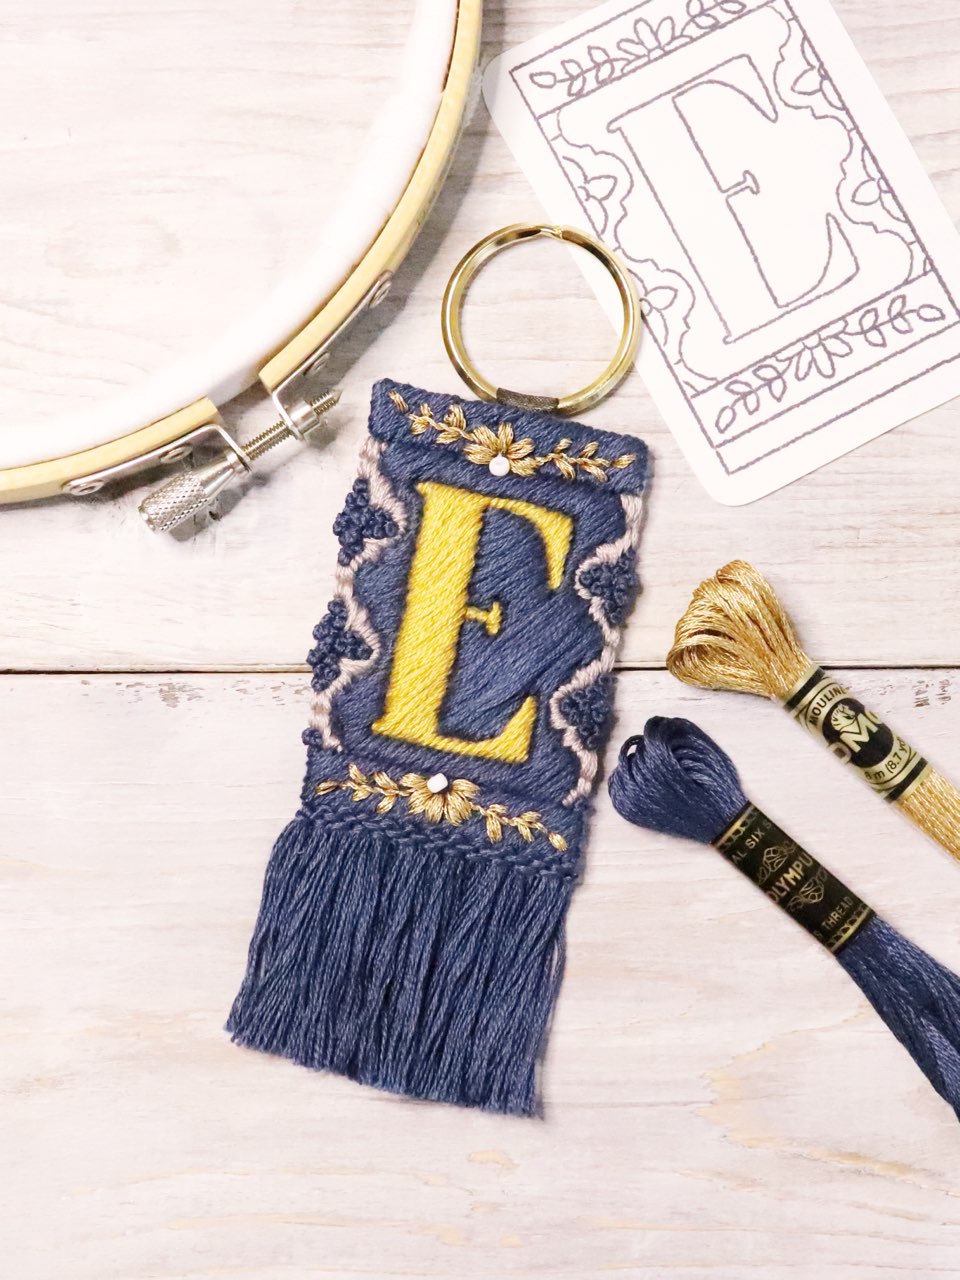
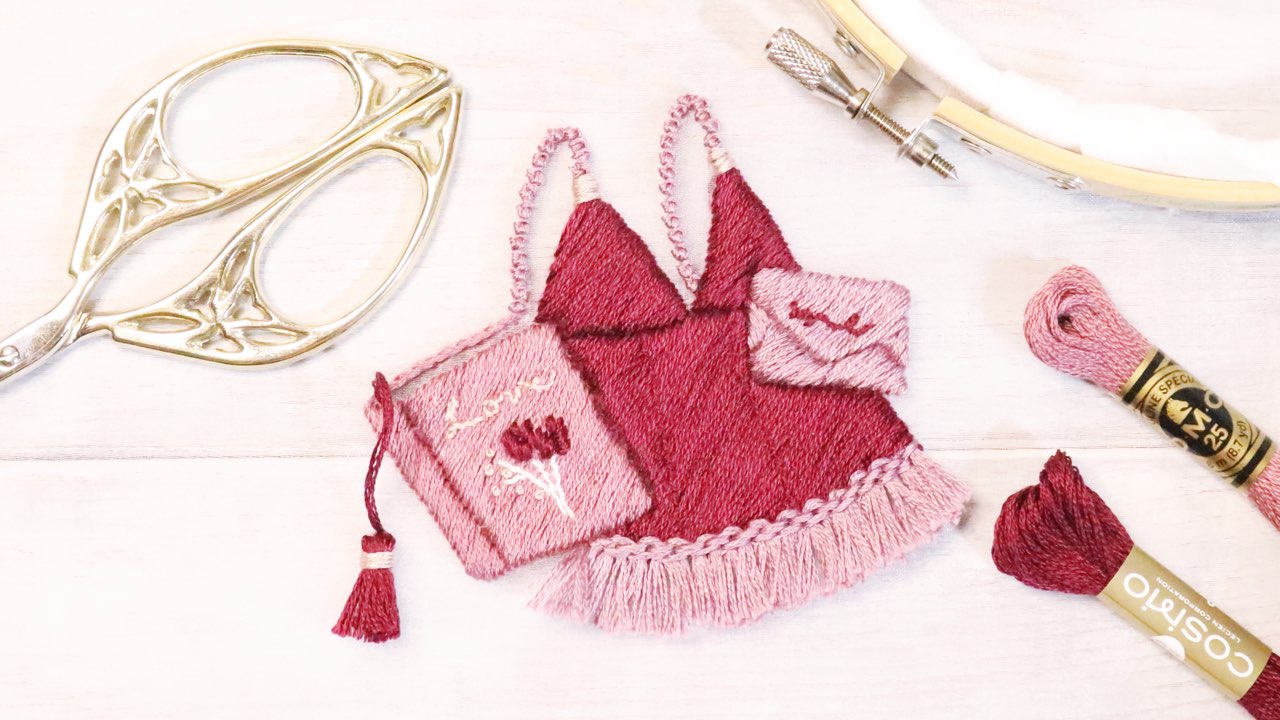
How to make a voluminous embroidered fringe
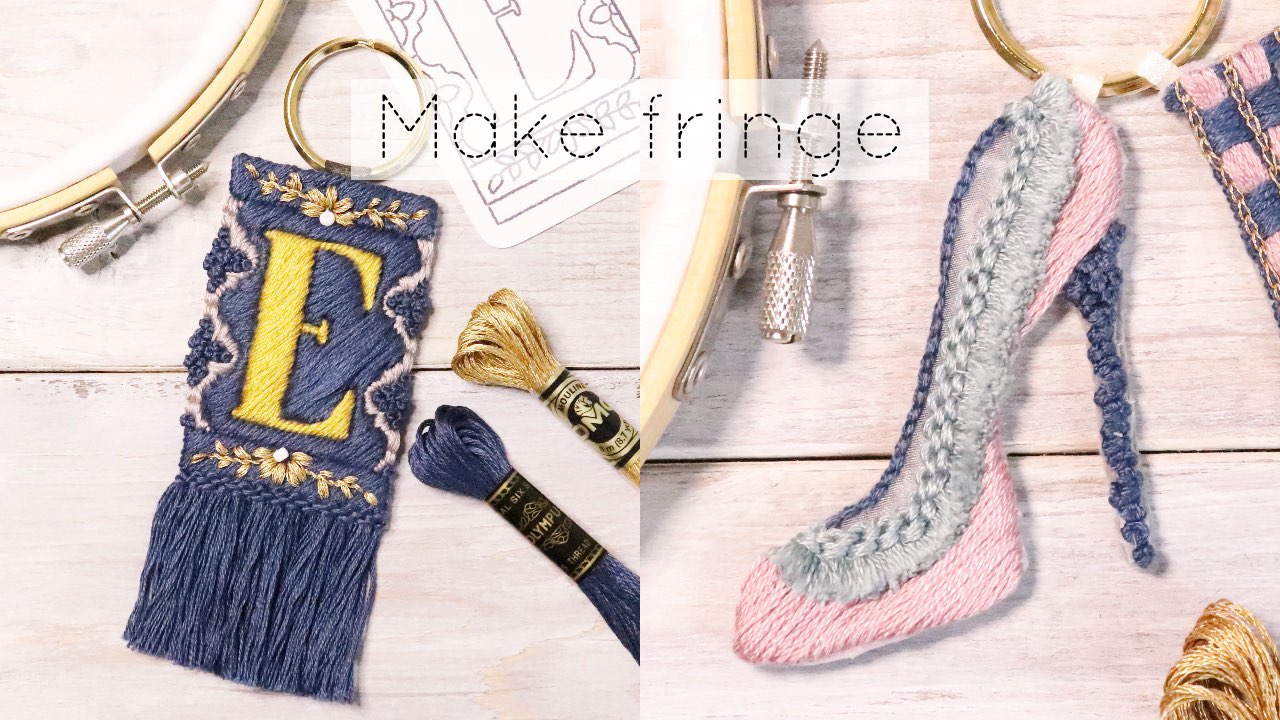
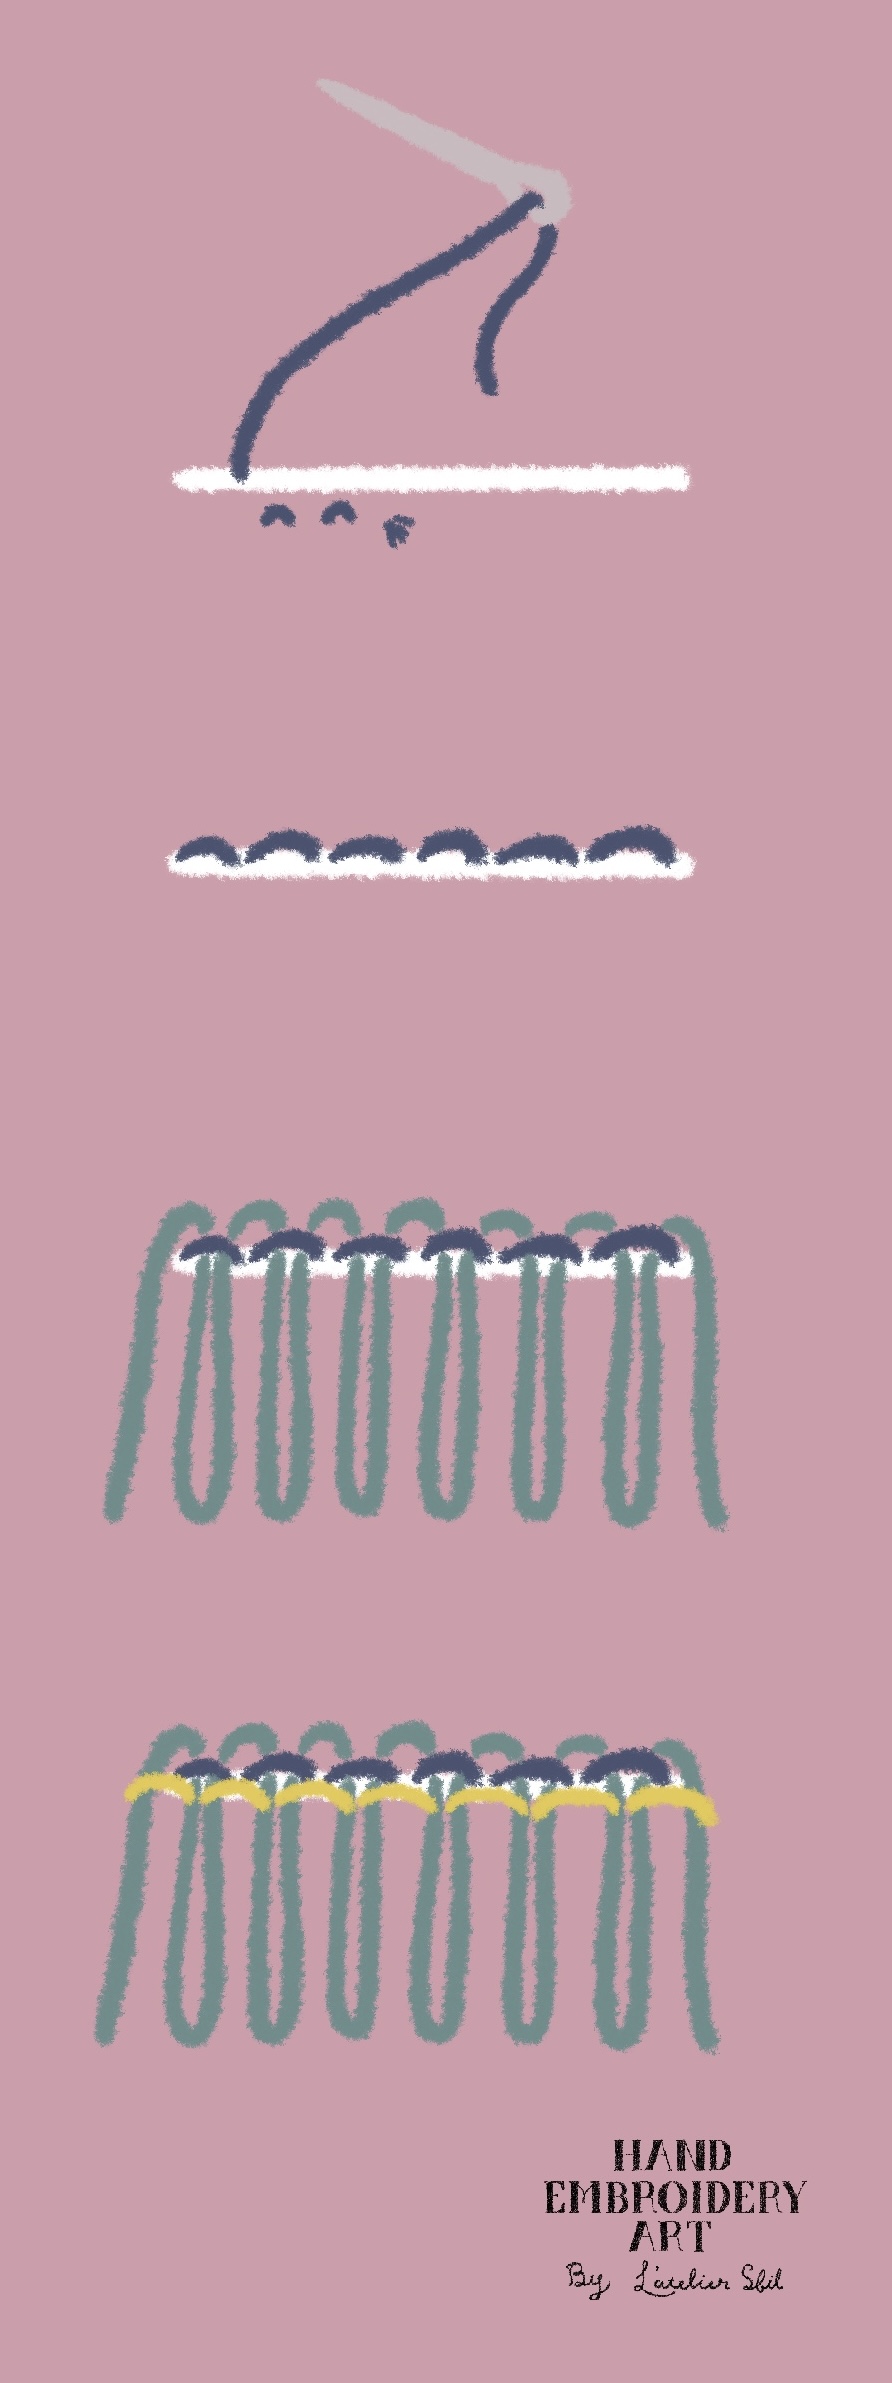
This is how to make an embroidery fringe by just passing the thread through the backstitch.
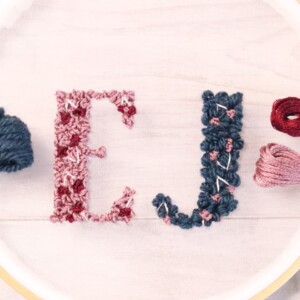
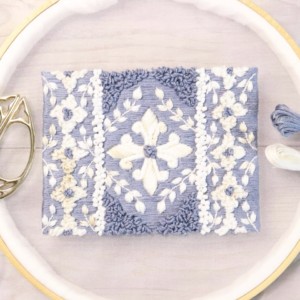
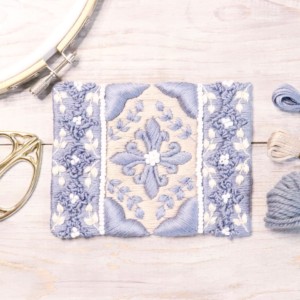
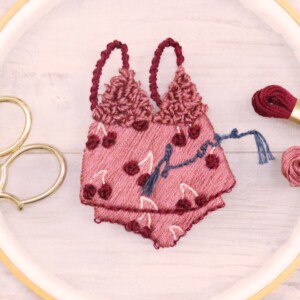
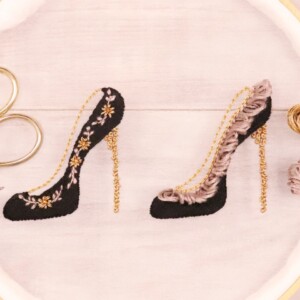
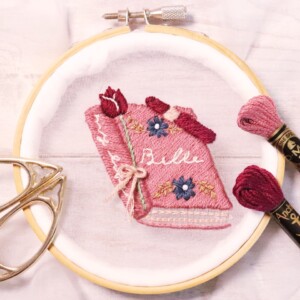
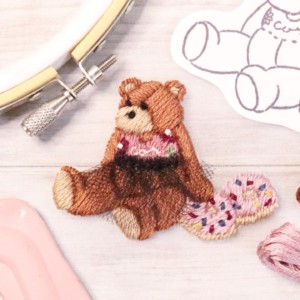
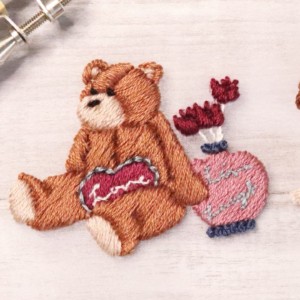
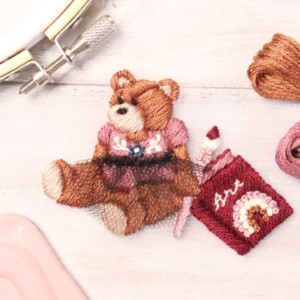
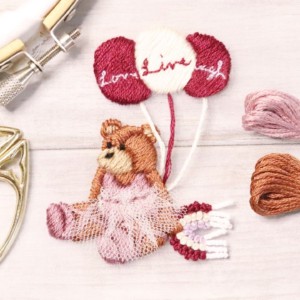
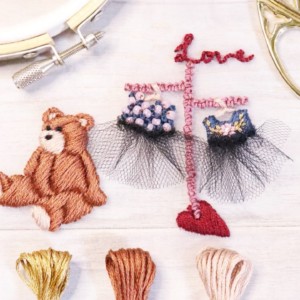
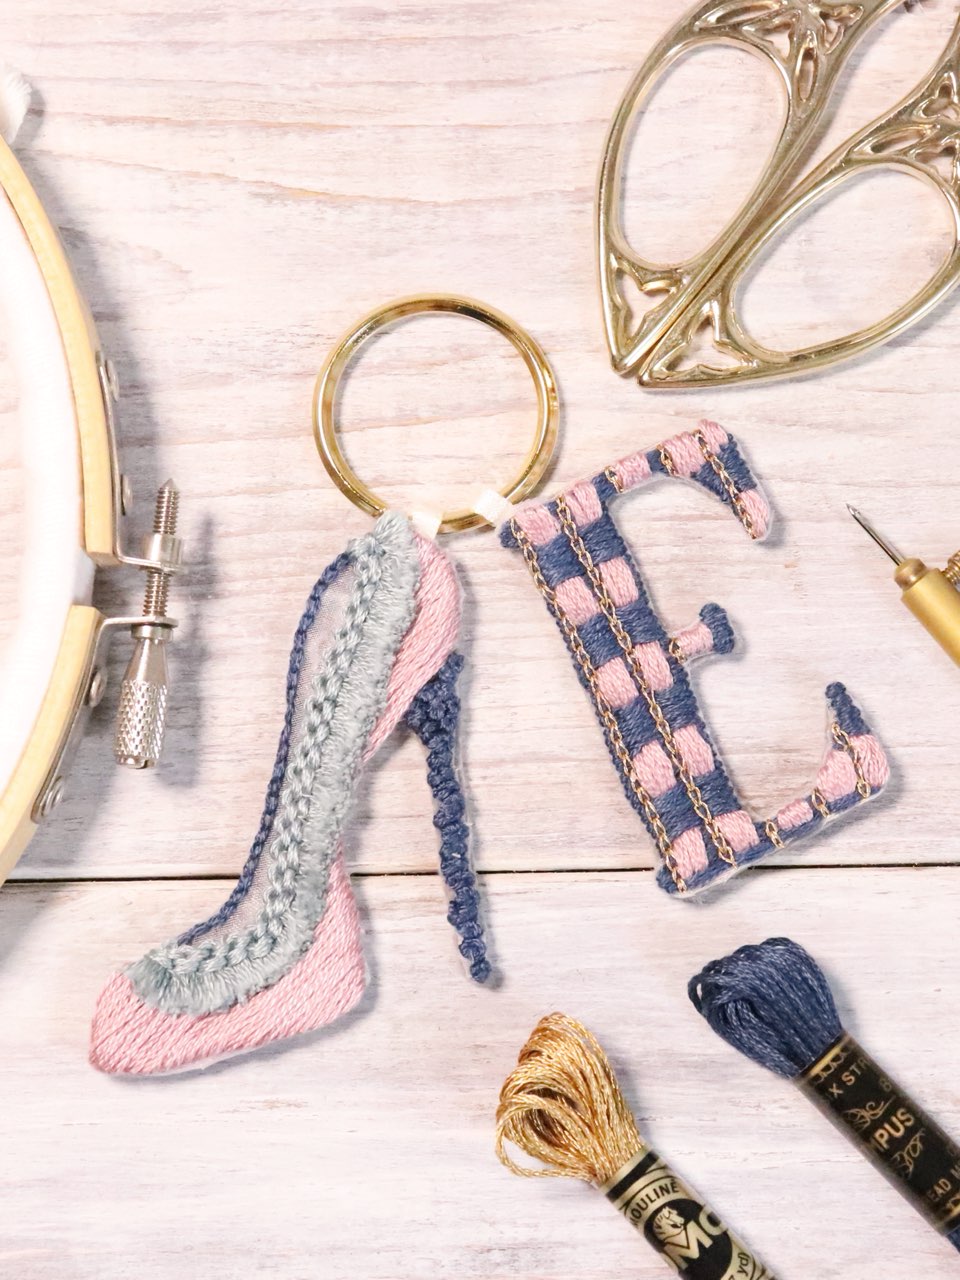
In addition to decoration as part of the embroidery design, it can also be used by lengthening it as shown in the photo below.
Here are some good points about how to make fringes.
- It's very easy because you just pass the thread through the backstitch.
- Since the backstitch is embroidered alternately, the upper part of the fringe has a knitted expression.
Watch a video on how to embroider fringes
Description of fringe embroidery
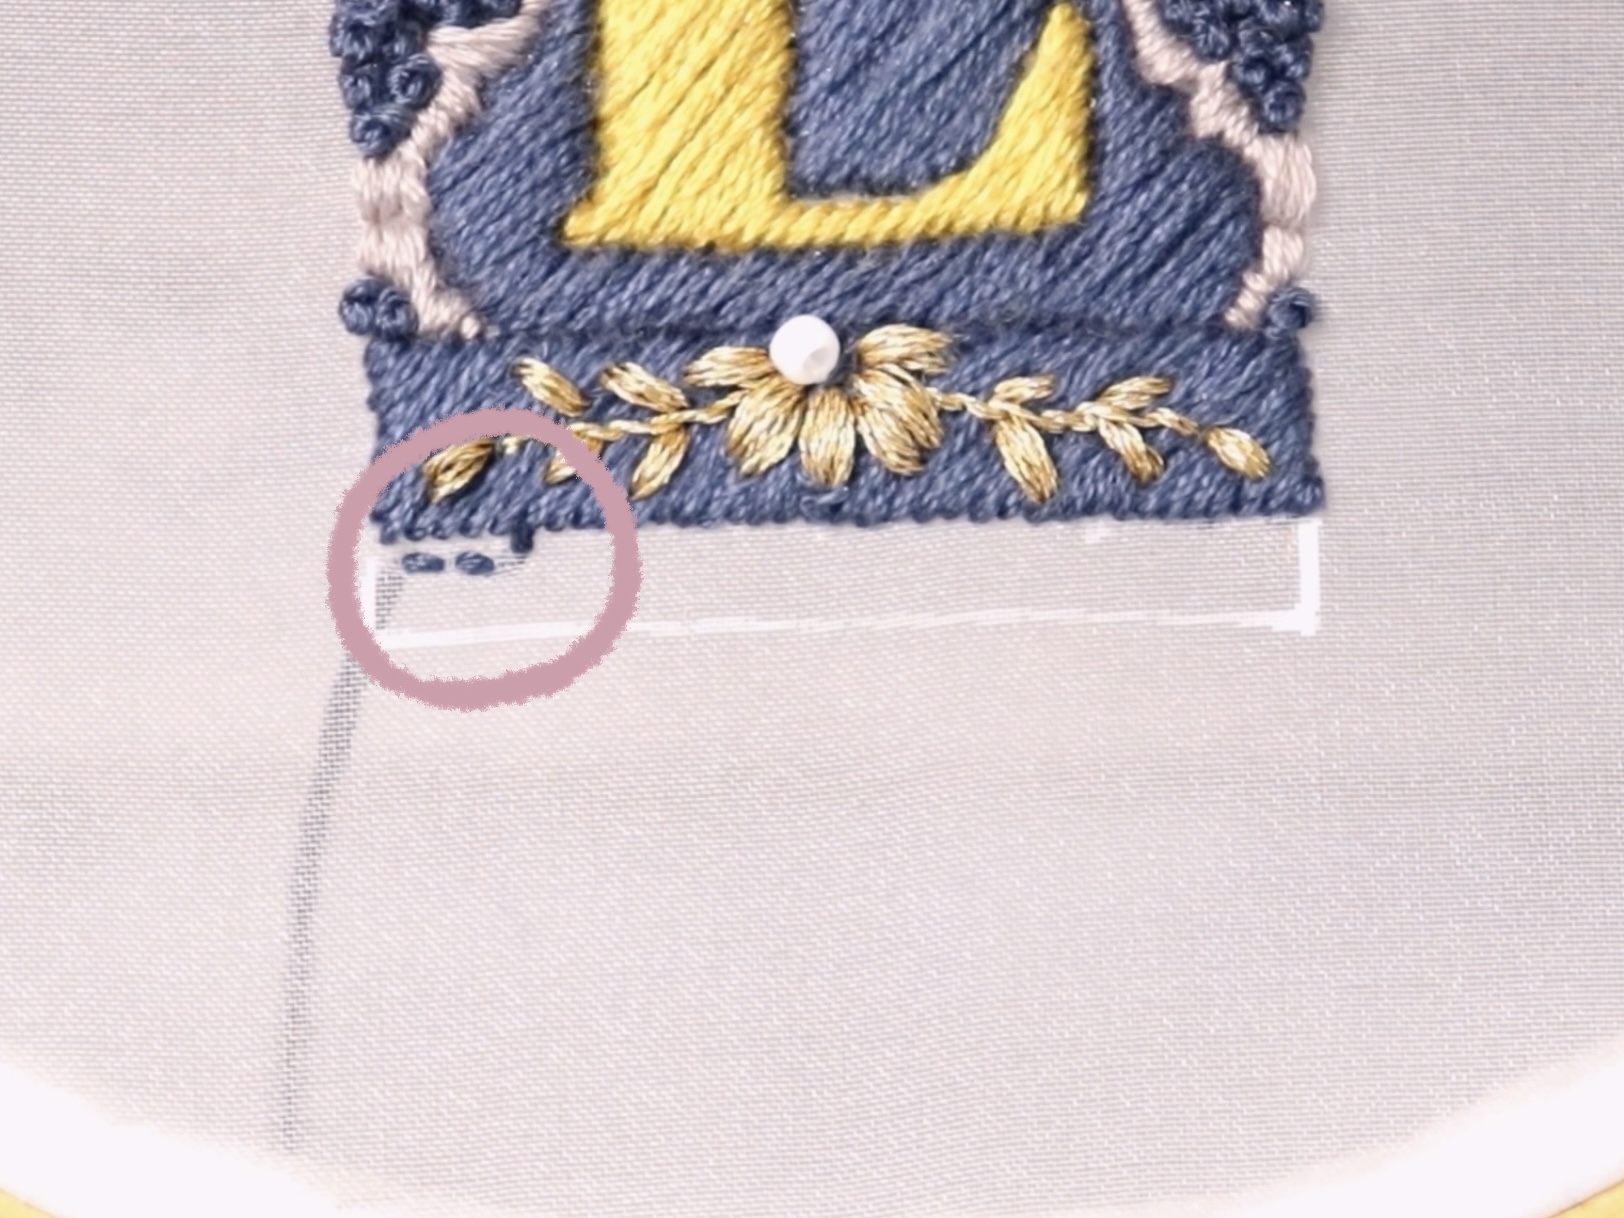
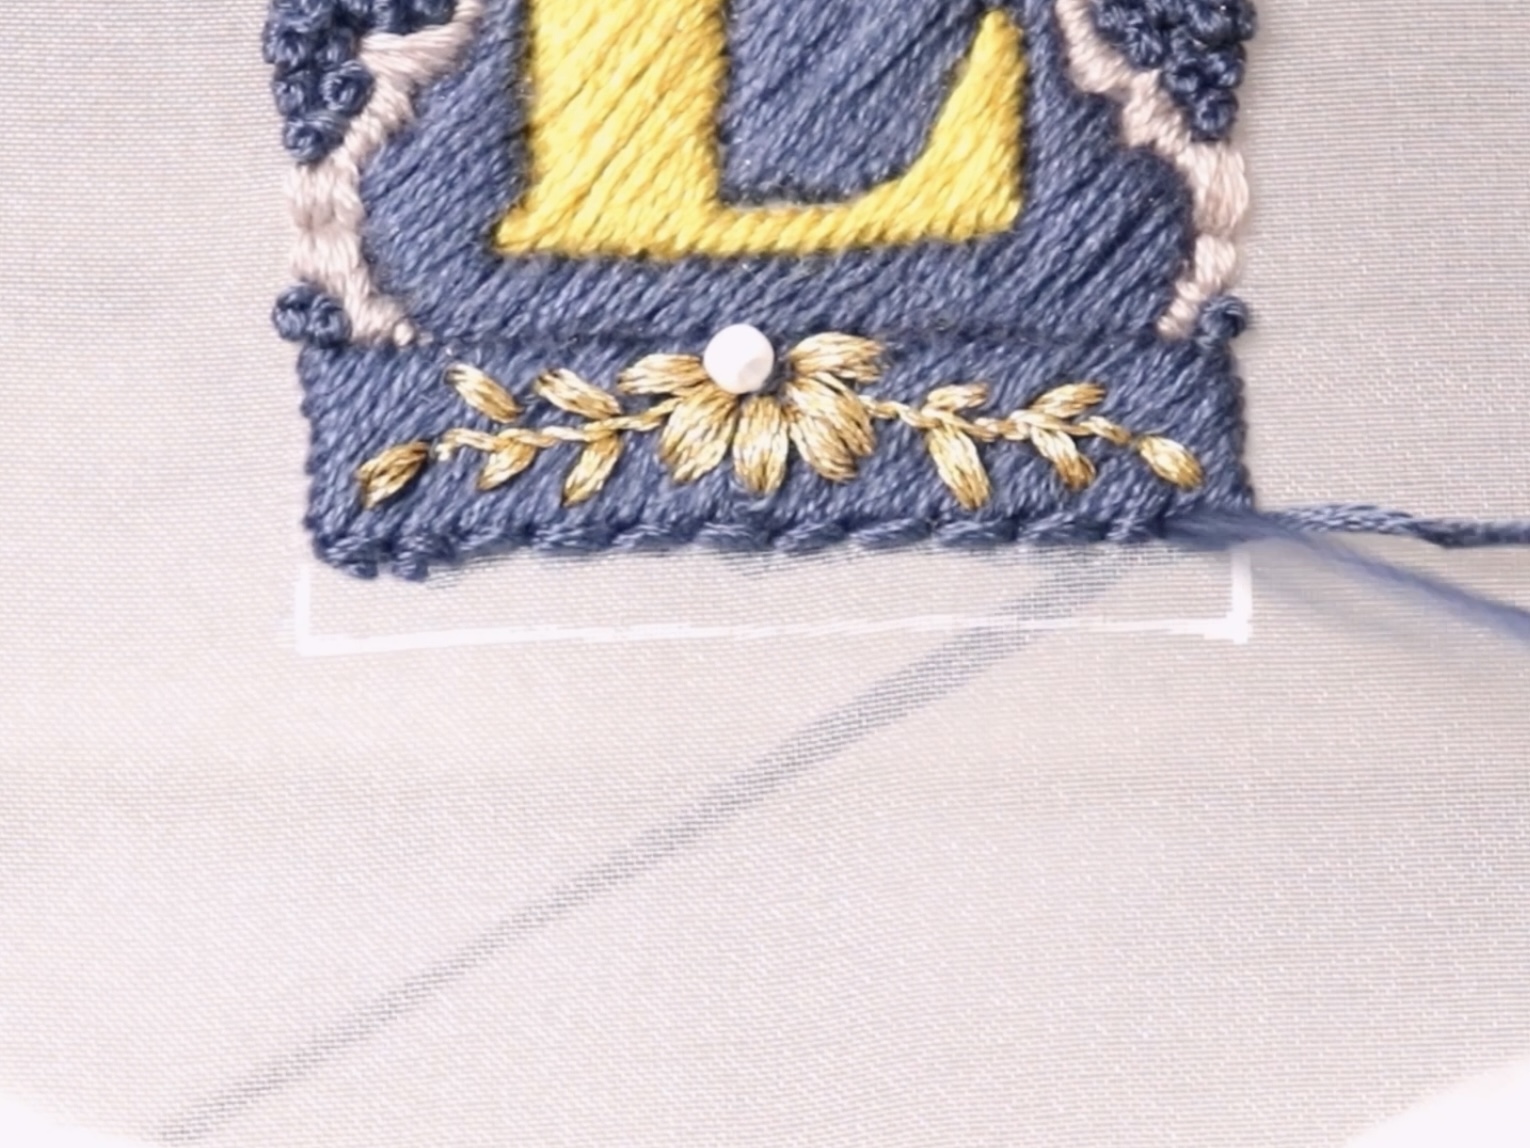
Make two small straight stitches smaller where they will be hidden later.
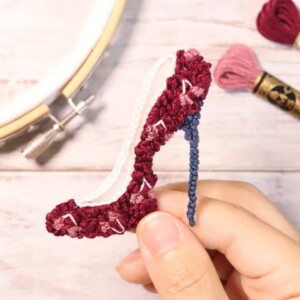
The fringe embroidery this time will be made by threading the backstitch, so first make the backstitch for the base.
At this time, the number 25 embroidery thread is 6 threads, but it would be cute if you changed it to various types of threads such as wool ◎
Be conscious of stabbing the backstitch as evenly spaced as possible.
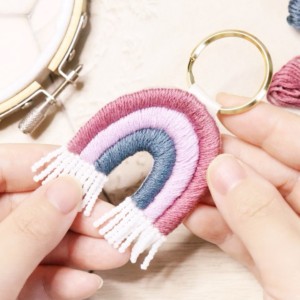
Thread the thread that will be the fringe through the base of the backstitch you made earlier.
This time, in order to add volume to the fringe, 12 threads of No. 25 embroidery thread are threaded into the fringe.
If you want to add more volume, you can increase the number of threads or use thicker threads. It's cute even if you use the fringe as yarn.
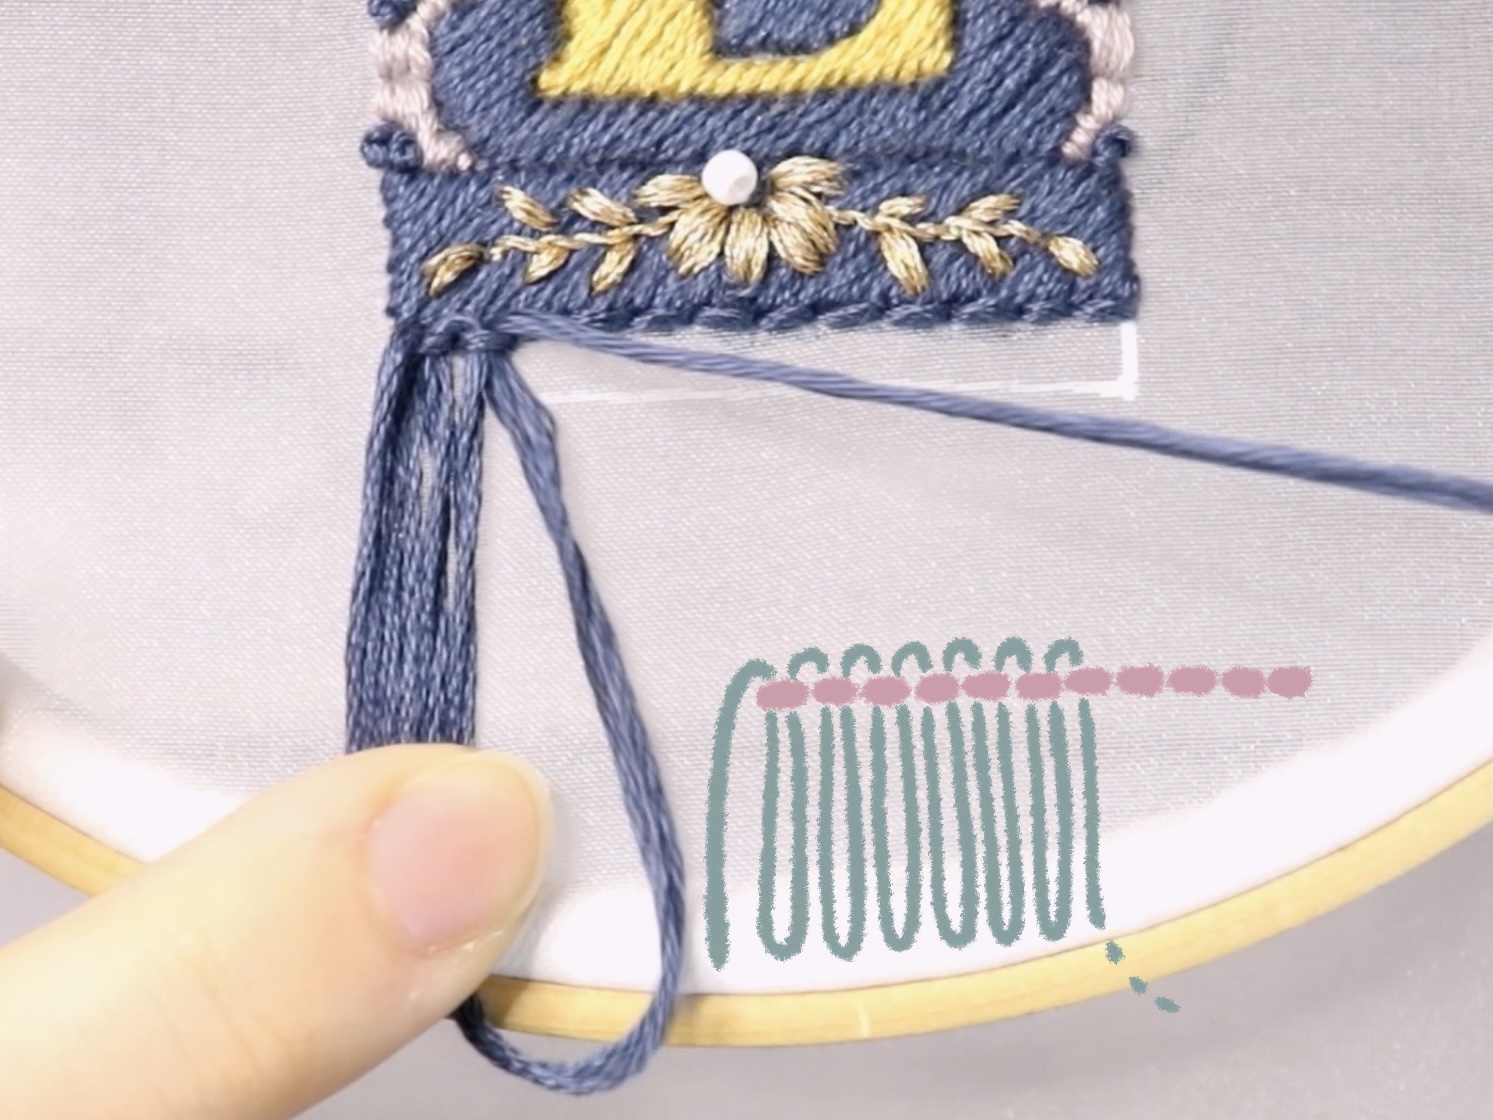
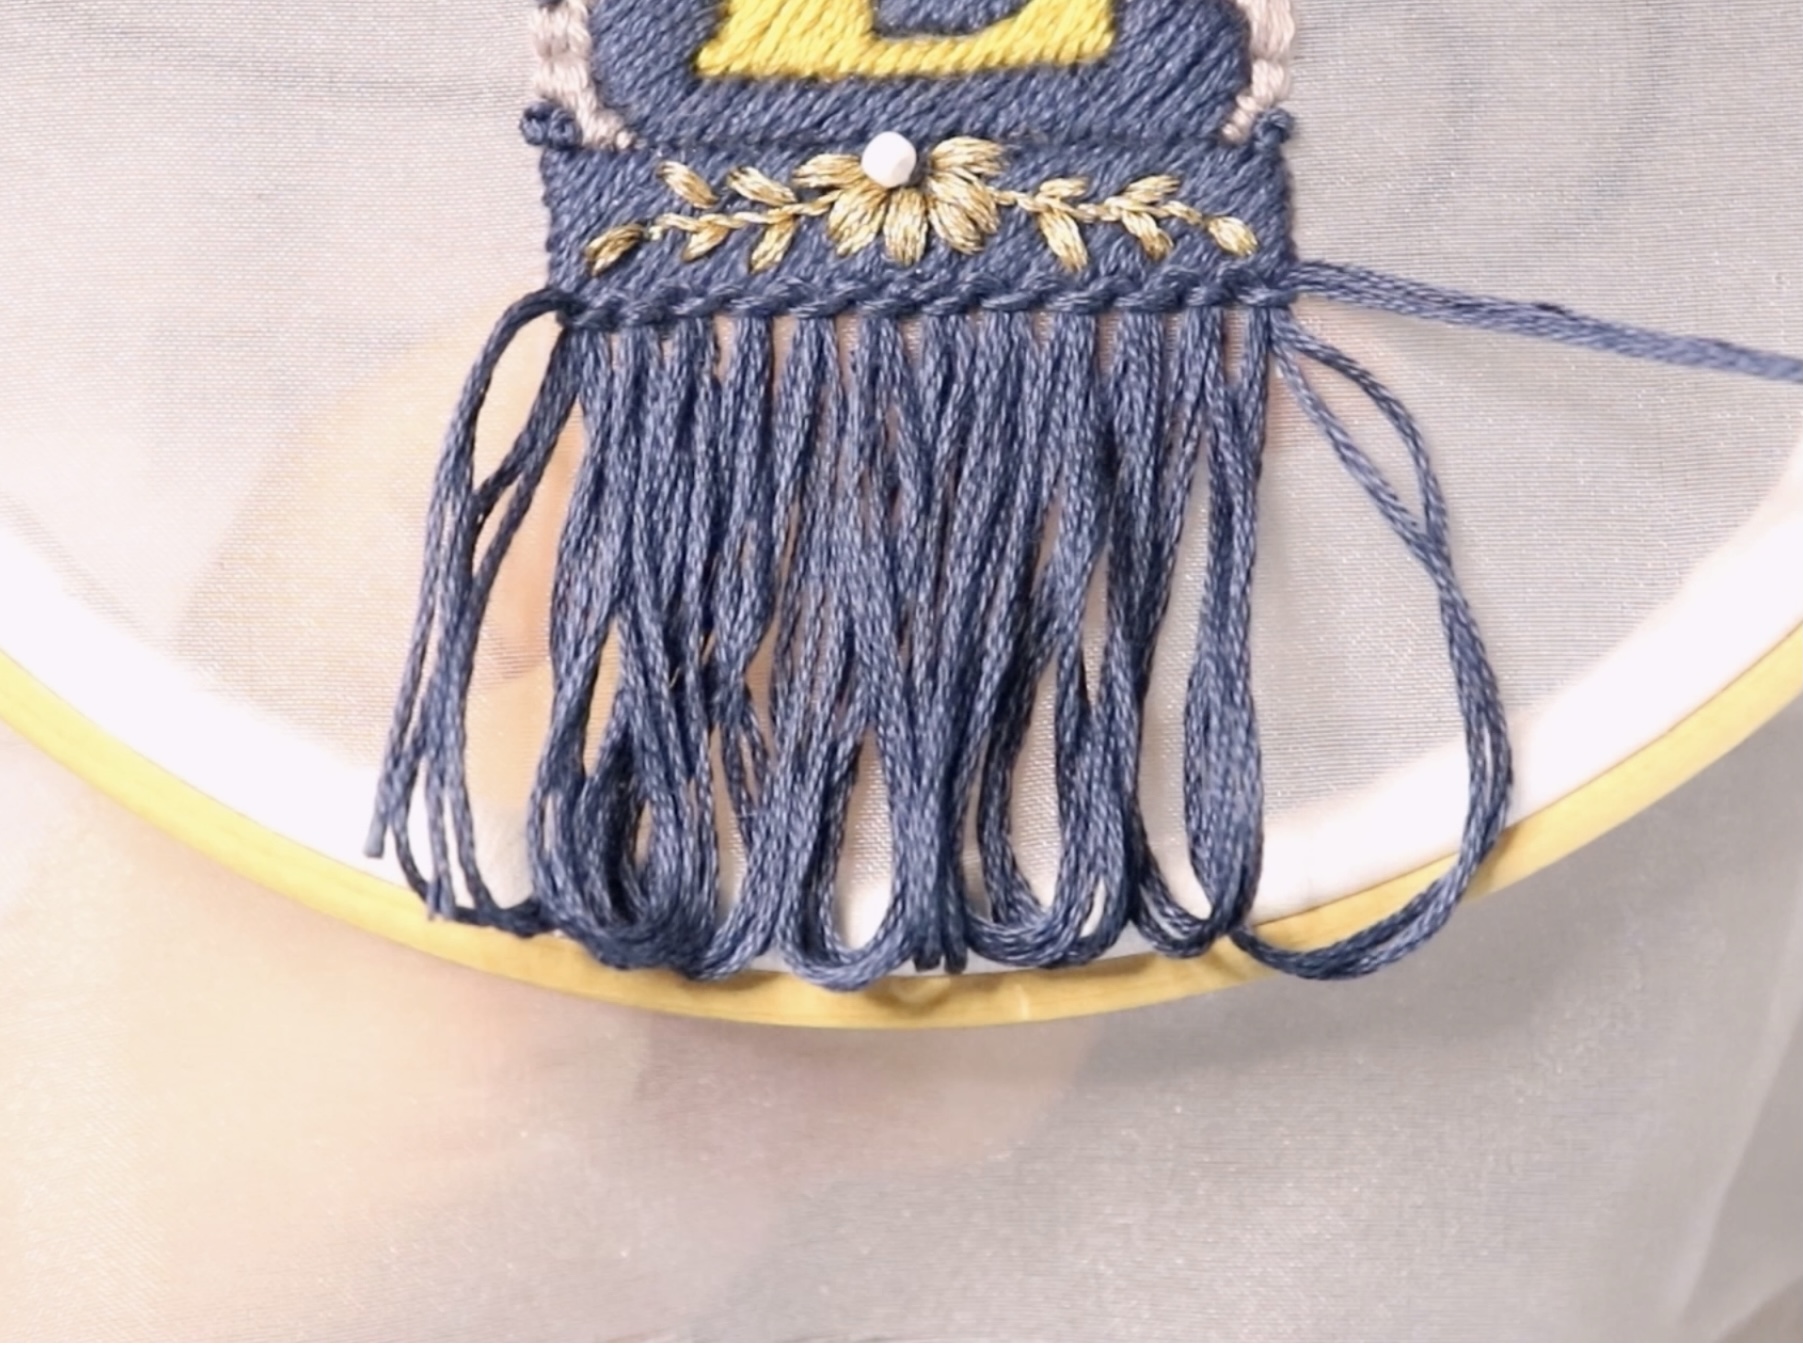
After you have finished threading the fringe, use backstitching to hold down the thread on the fringe.
The backstitches at this time are stabbed alternately with the backstitches of the first base.
You can use as many backstitches as you like.
It's OK to finish in two stages
Alternatively, 4 to 5 rows of backstitching will create a knitted embroidery look.
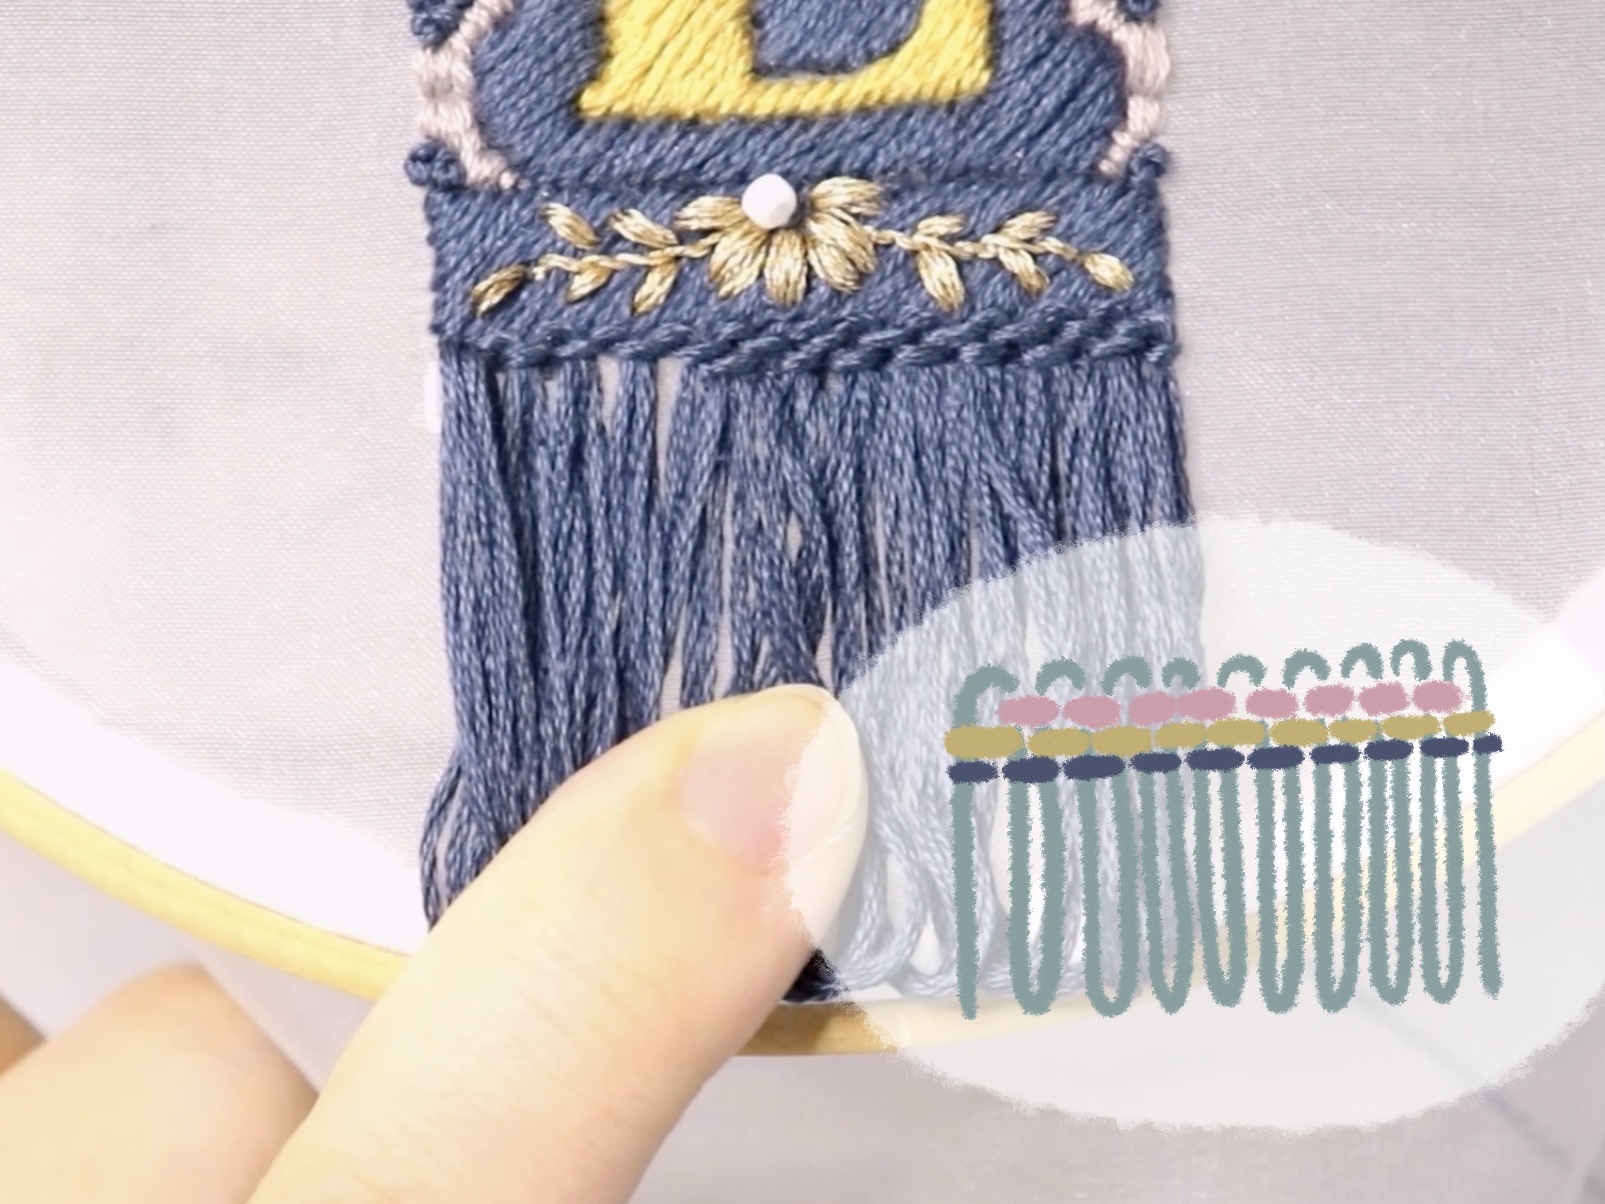
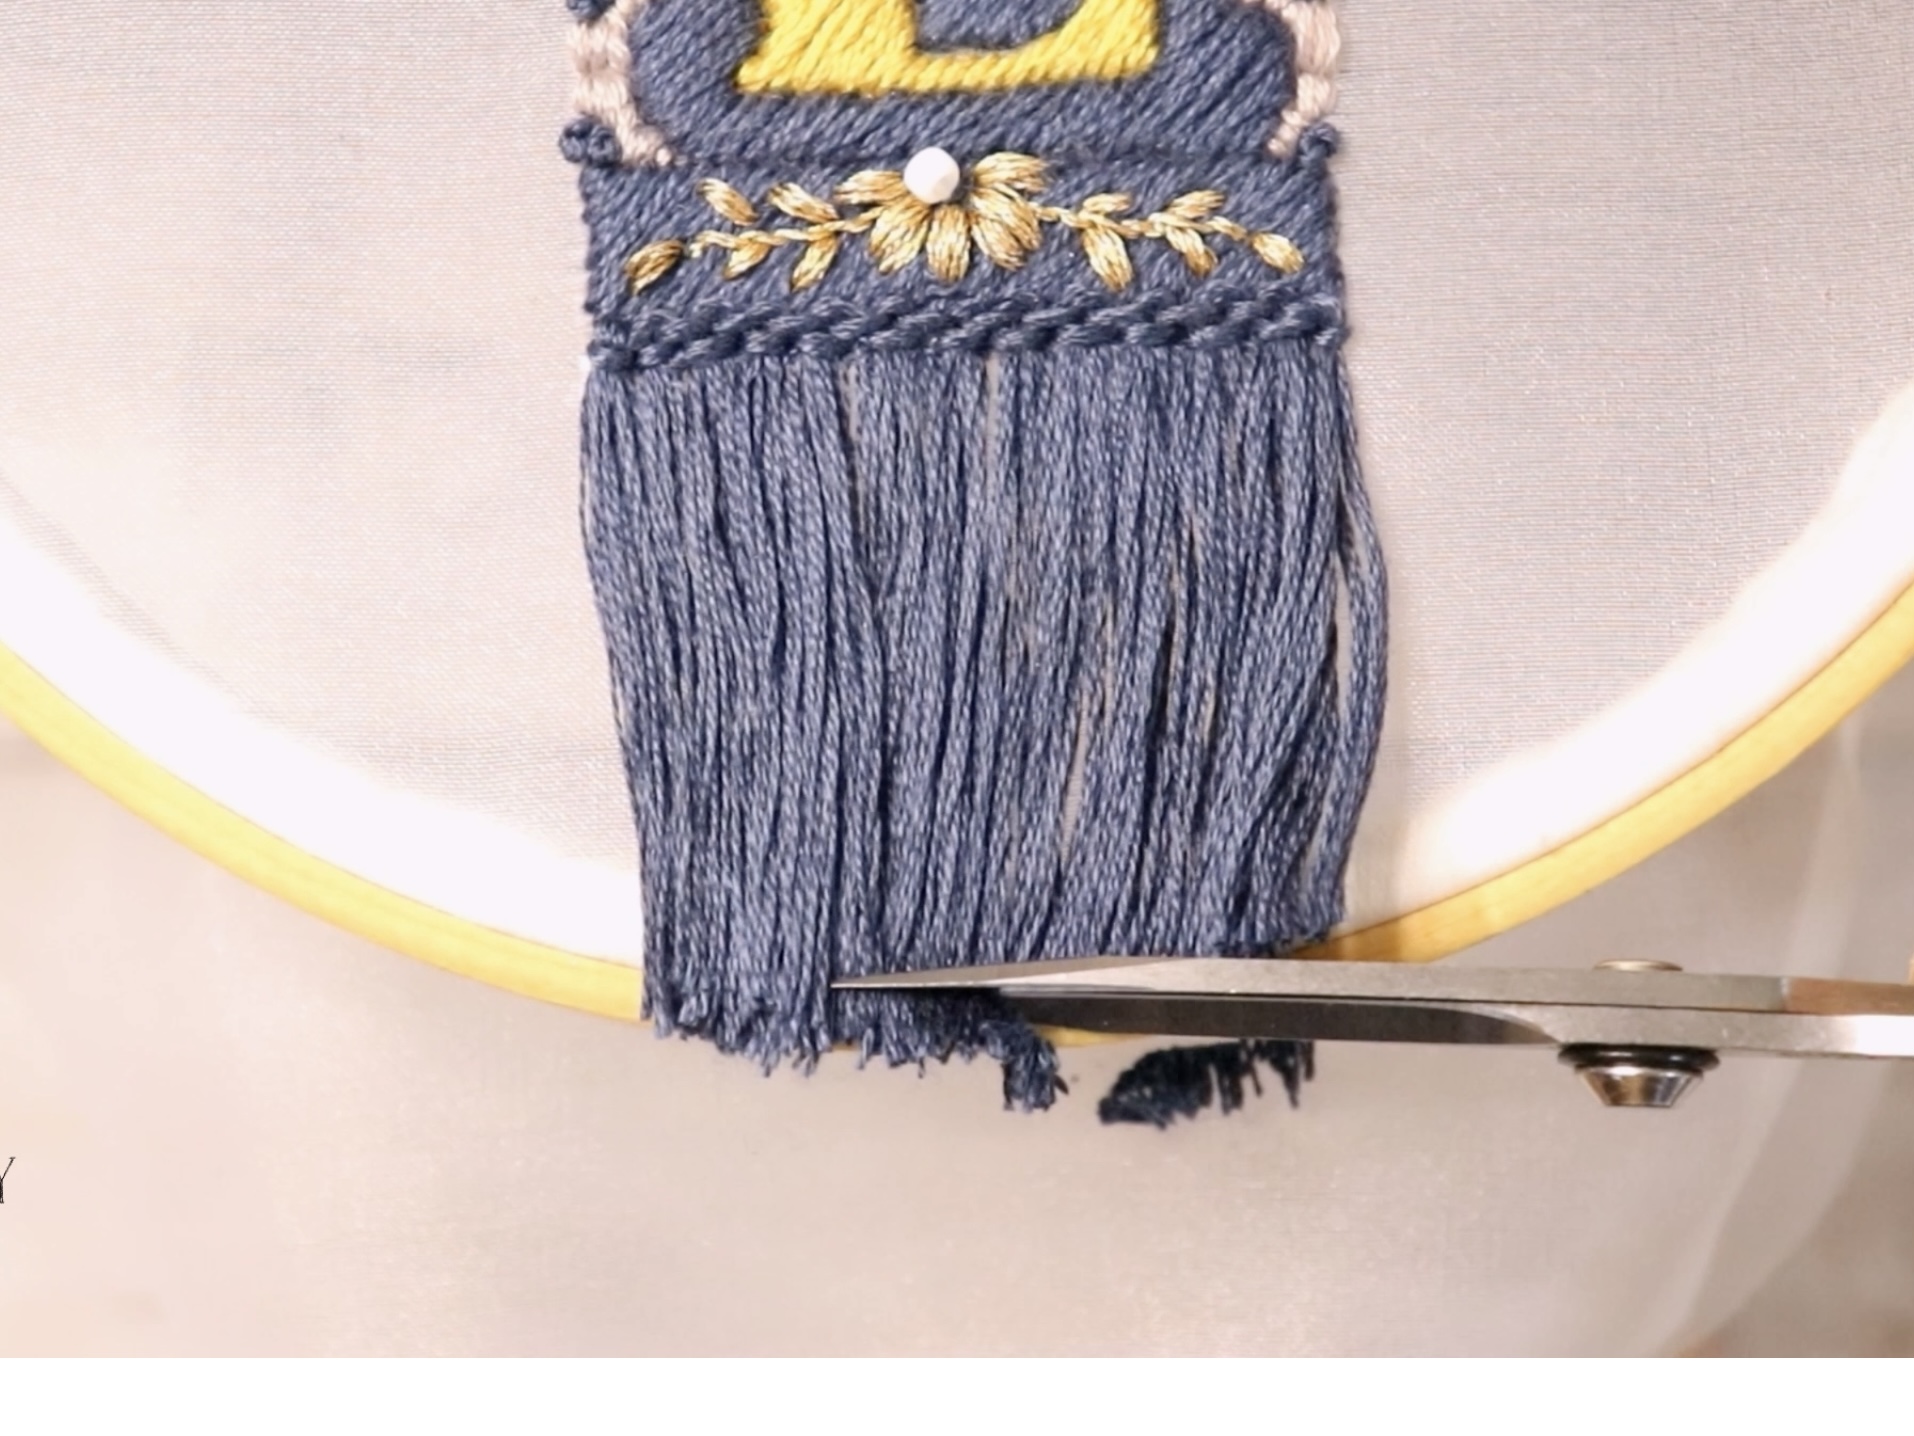
Cut the looped part of the fringe.
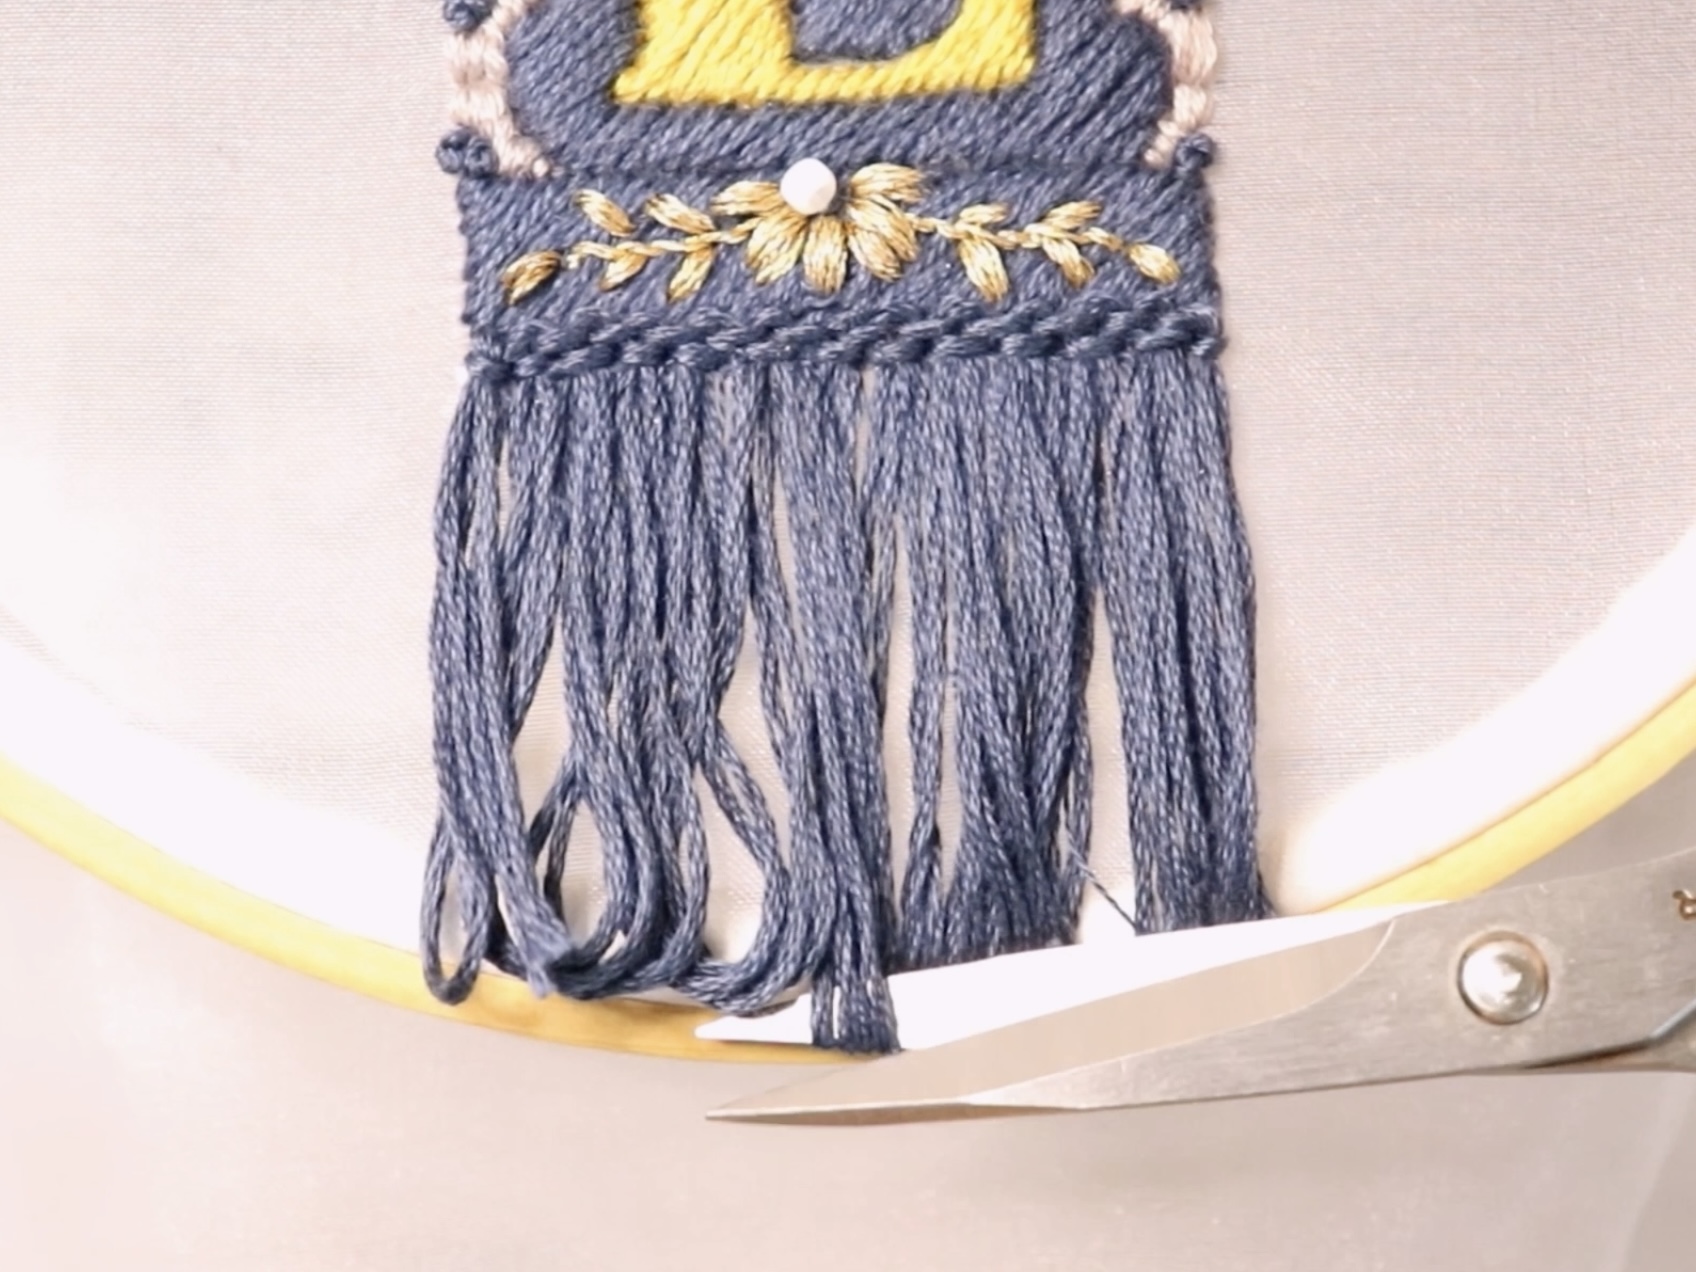
After cutting the ring part, cut to align the hem.
Combing the fringe with a comb at this time makes it easier to match the length when aligning the hem, so it is recommended.
Embroidery flow illustration ver.