


How to embroider fluffy satin stitches that look like cushions
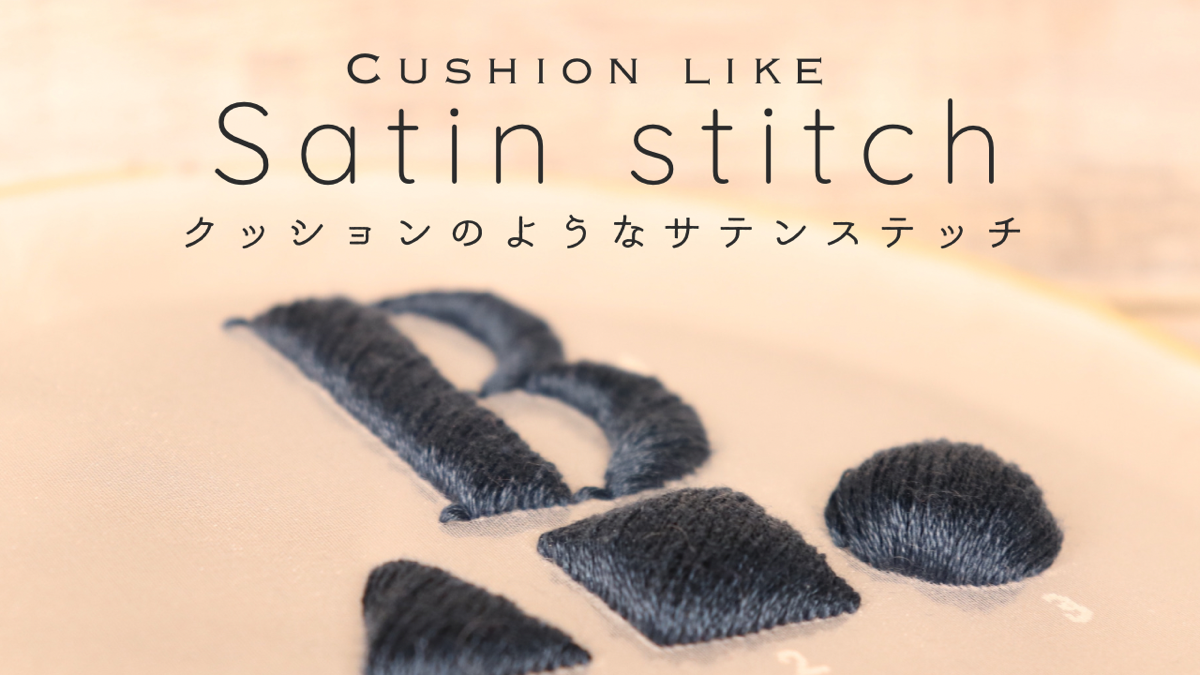
On this page, we have summarized how to embroider fluffy satin stitches that look like cushions.
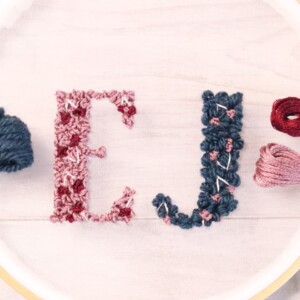
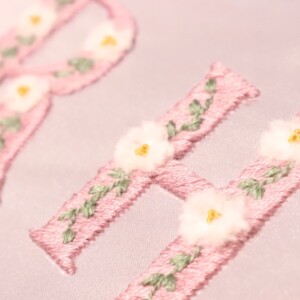
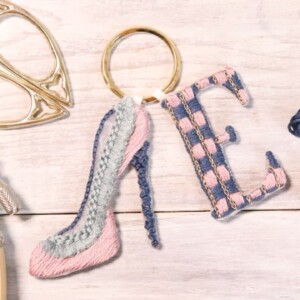
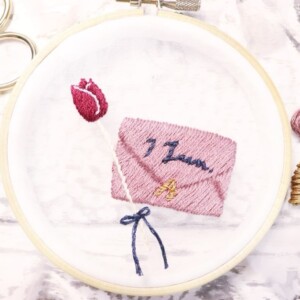
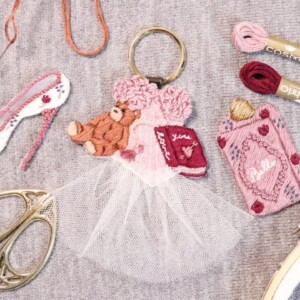
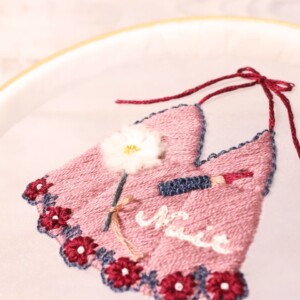
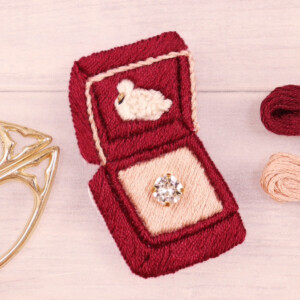
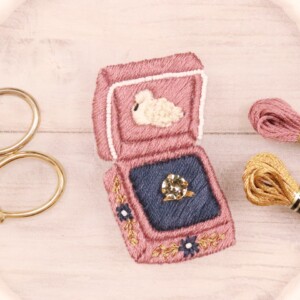
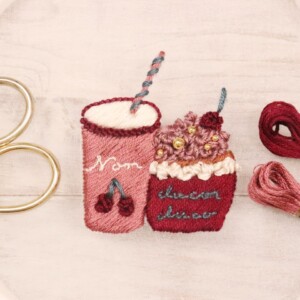
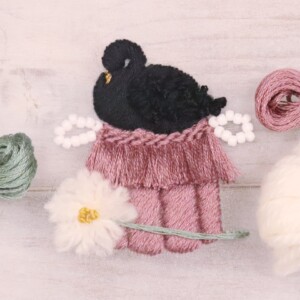
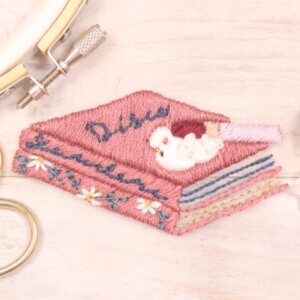
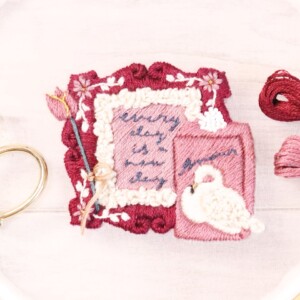
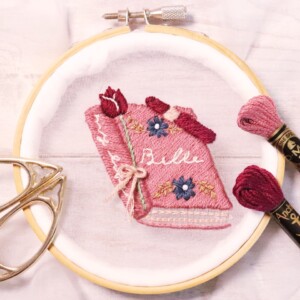
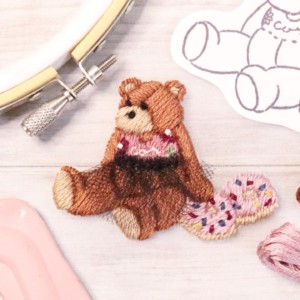
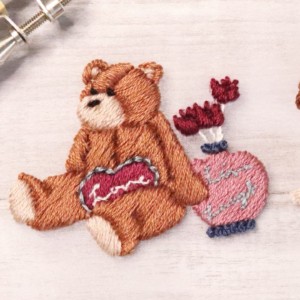
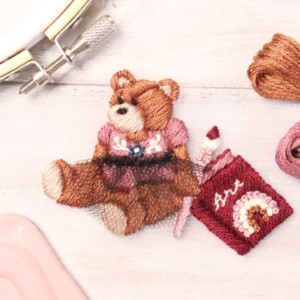
This cushion-like satin stitch is useful for creating a variety of embroidered decorations.
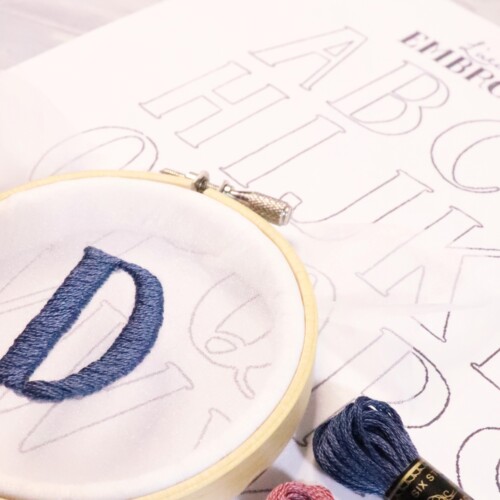
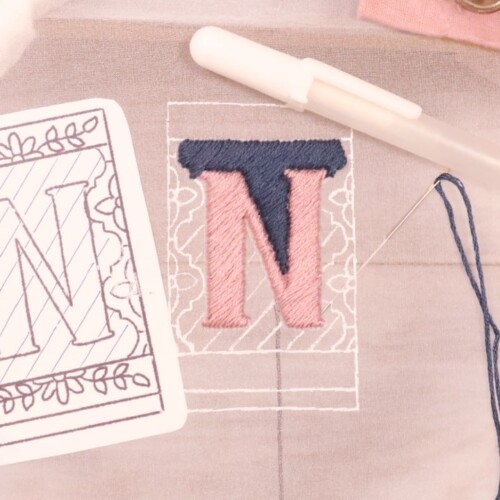
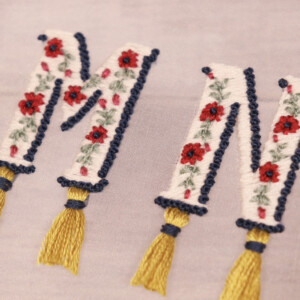
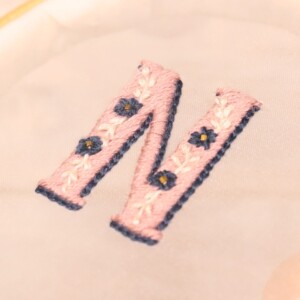
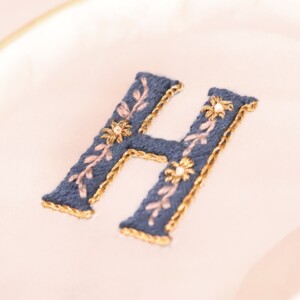
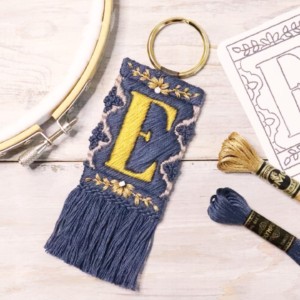
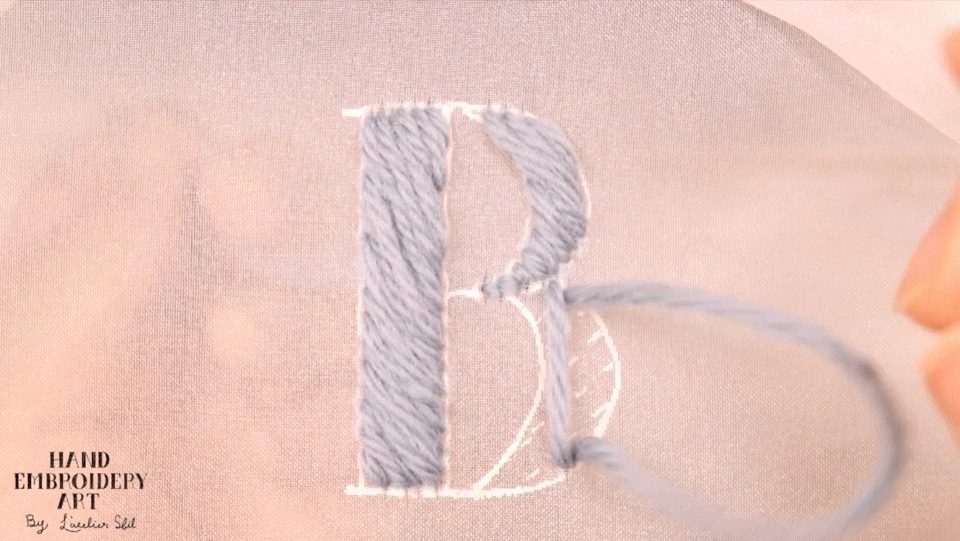
Also recommended for alphabet embroidery.
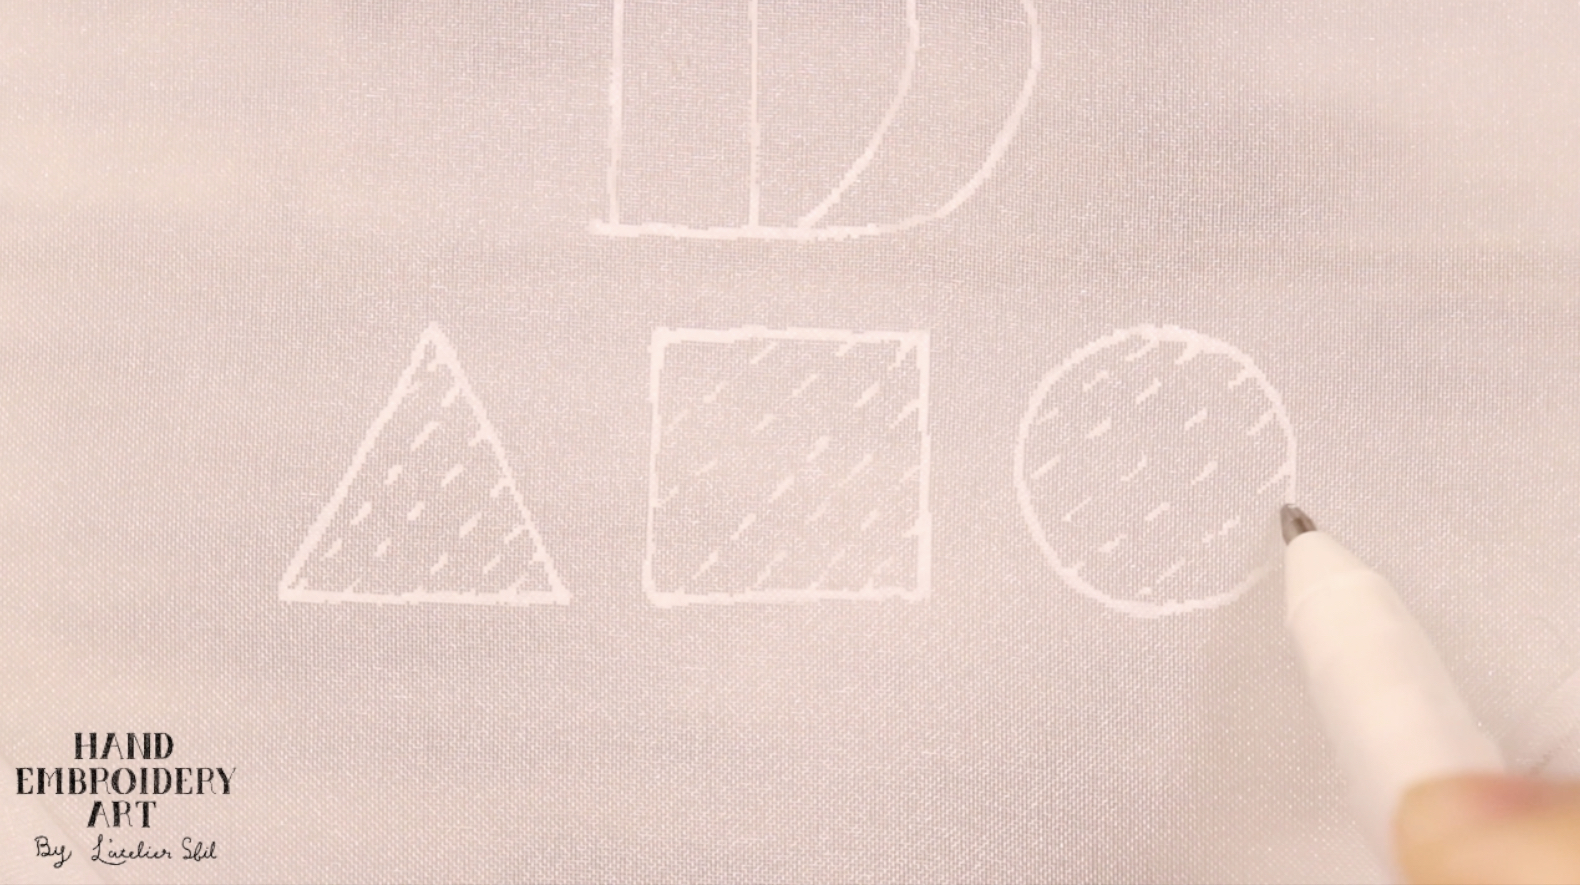
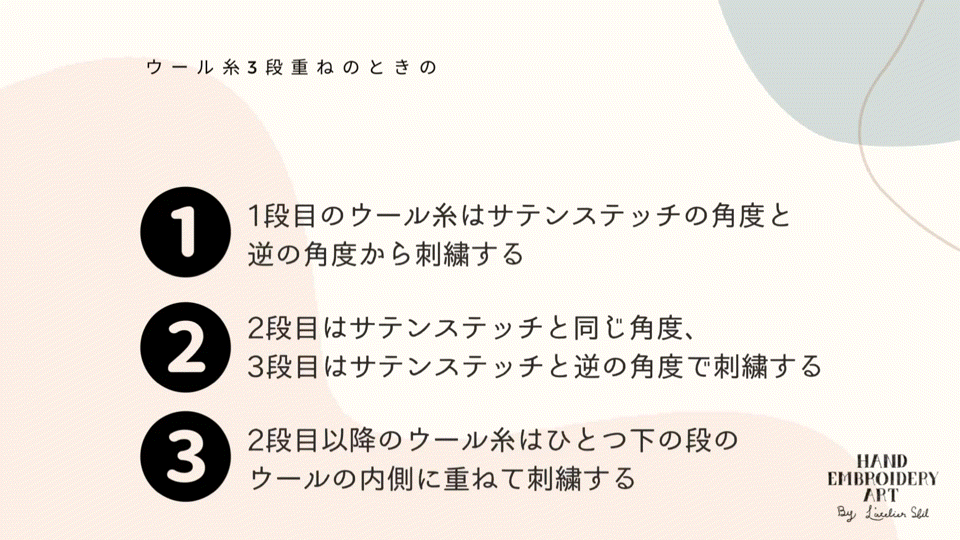
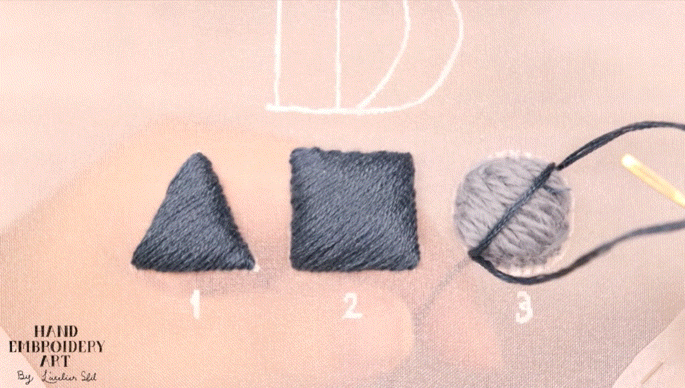
This time, we will compare and explain three different heights of wool thread for embroidery inside: 1 layer, 2 layers, and 3 layers.
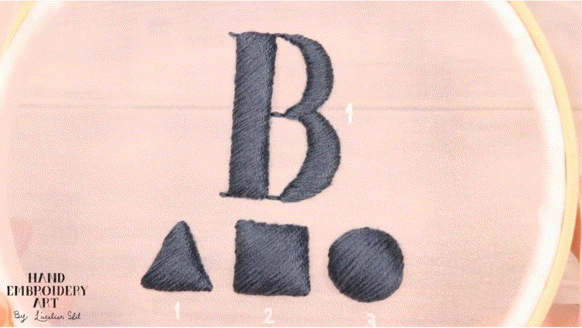
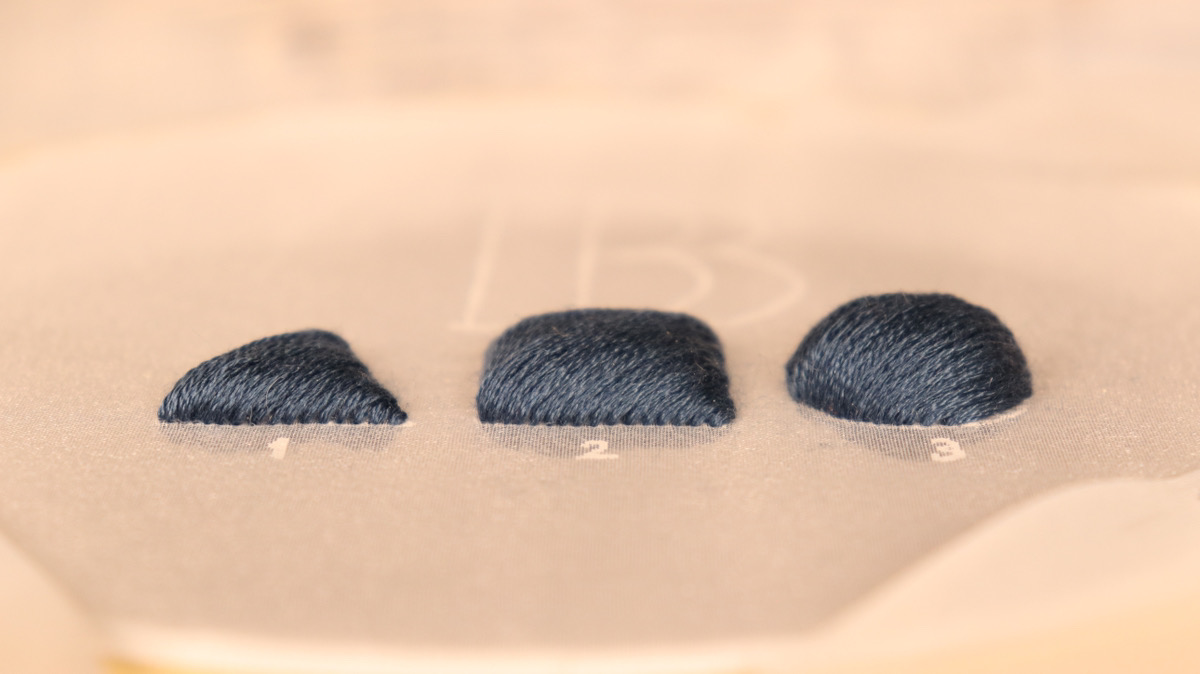
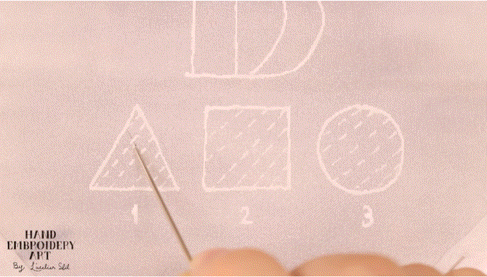
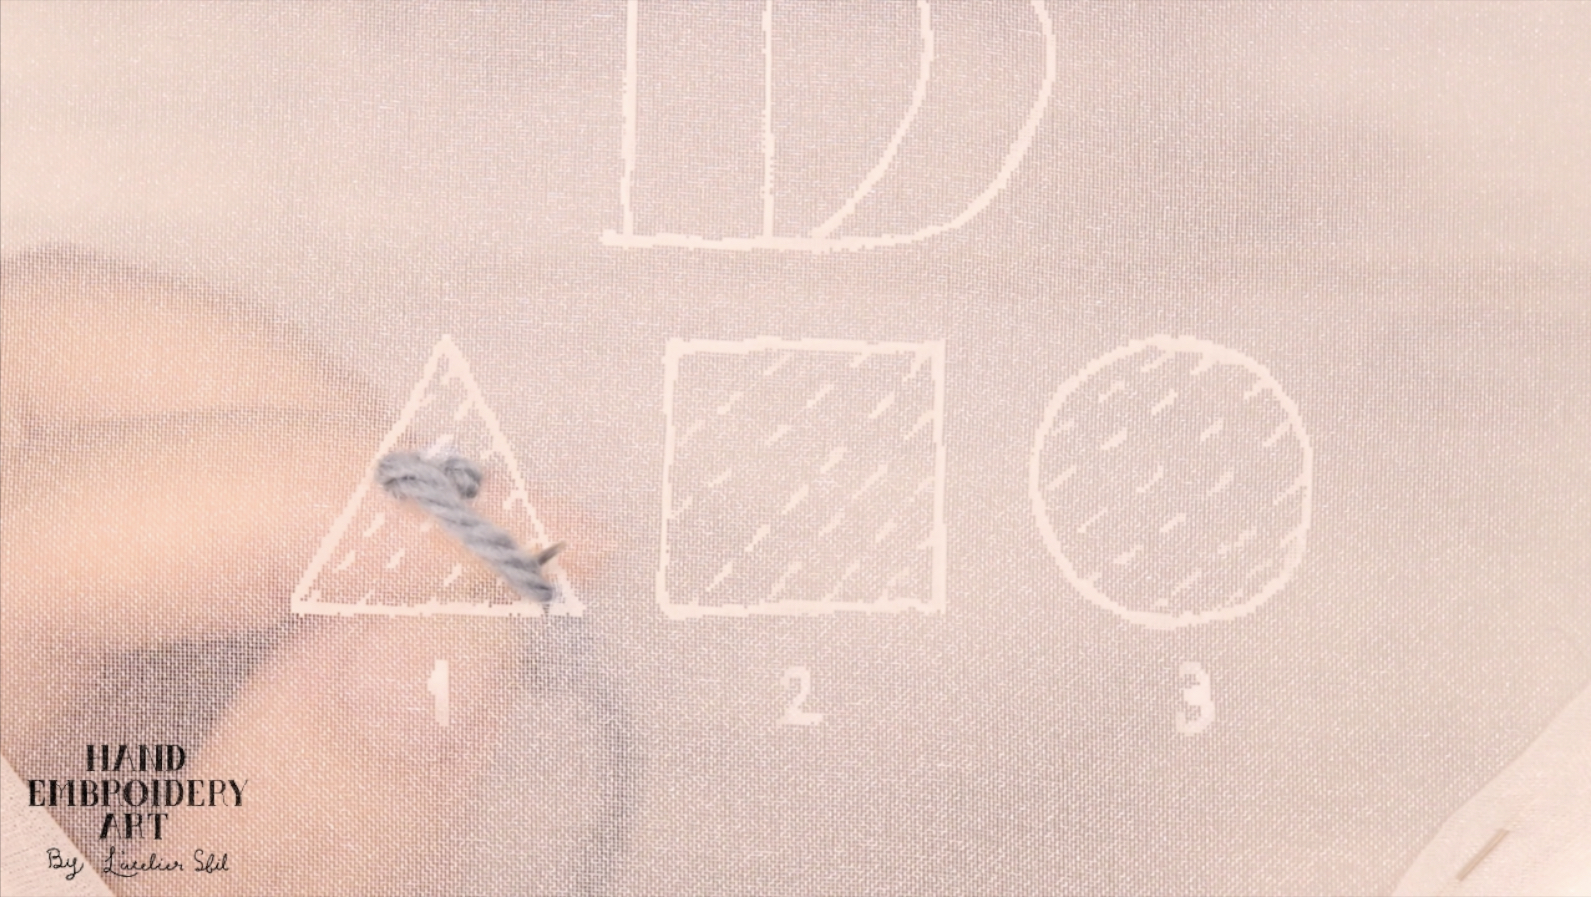
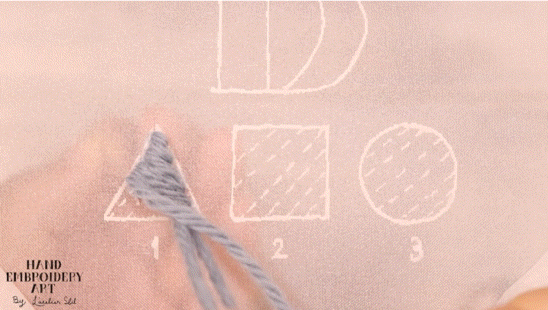
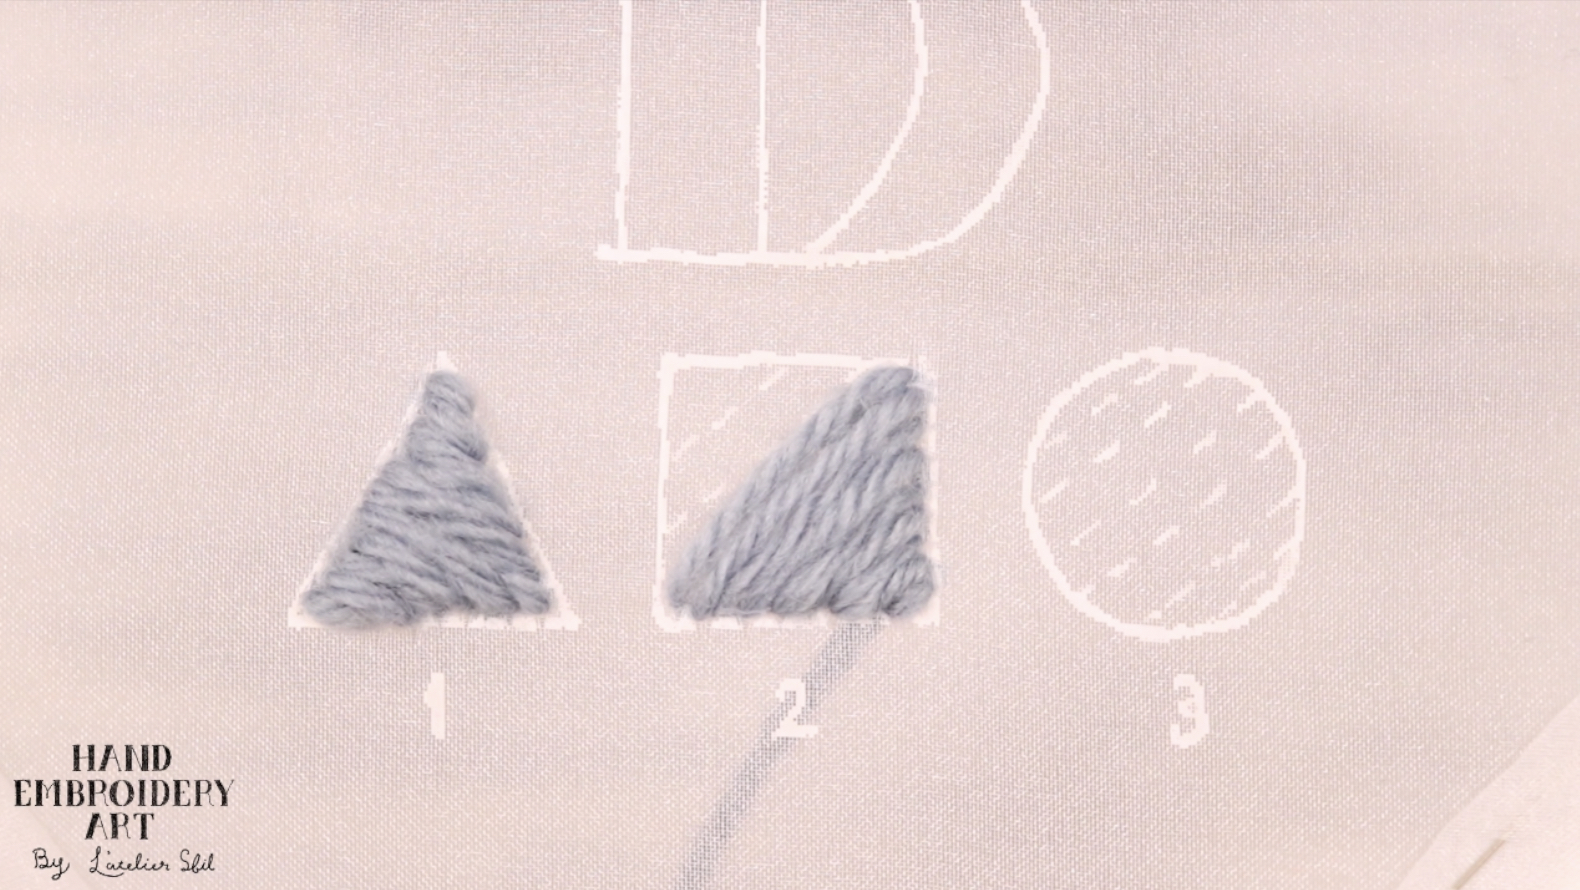
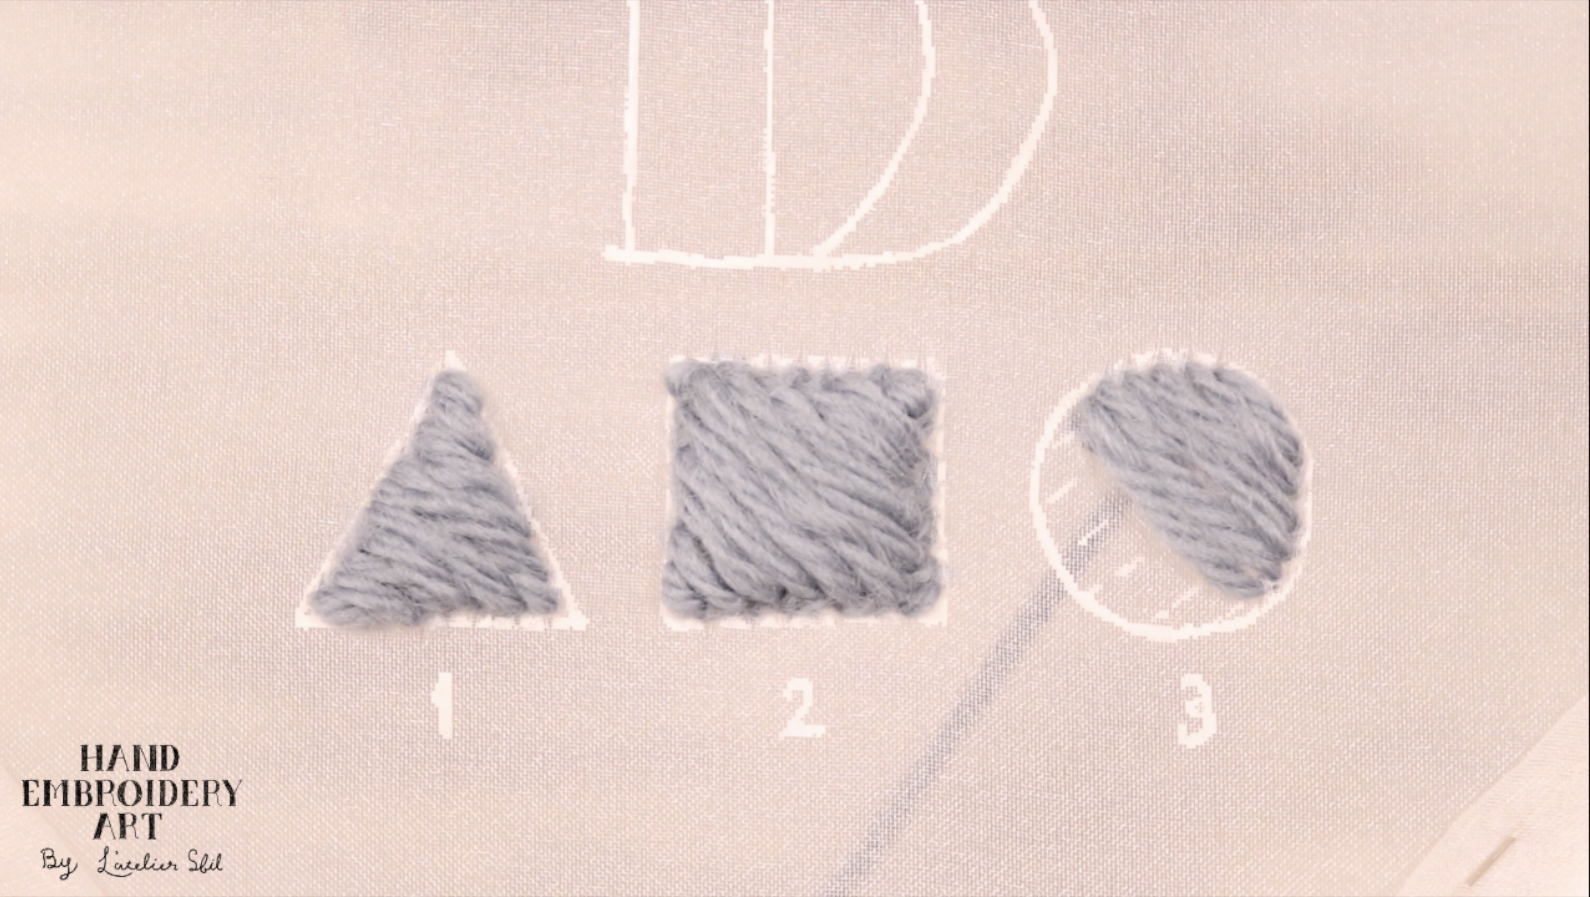
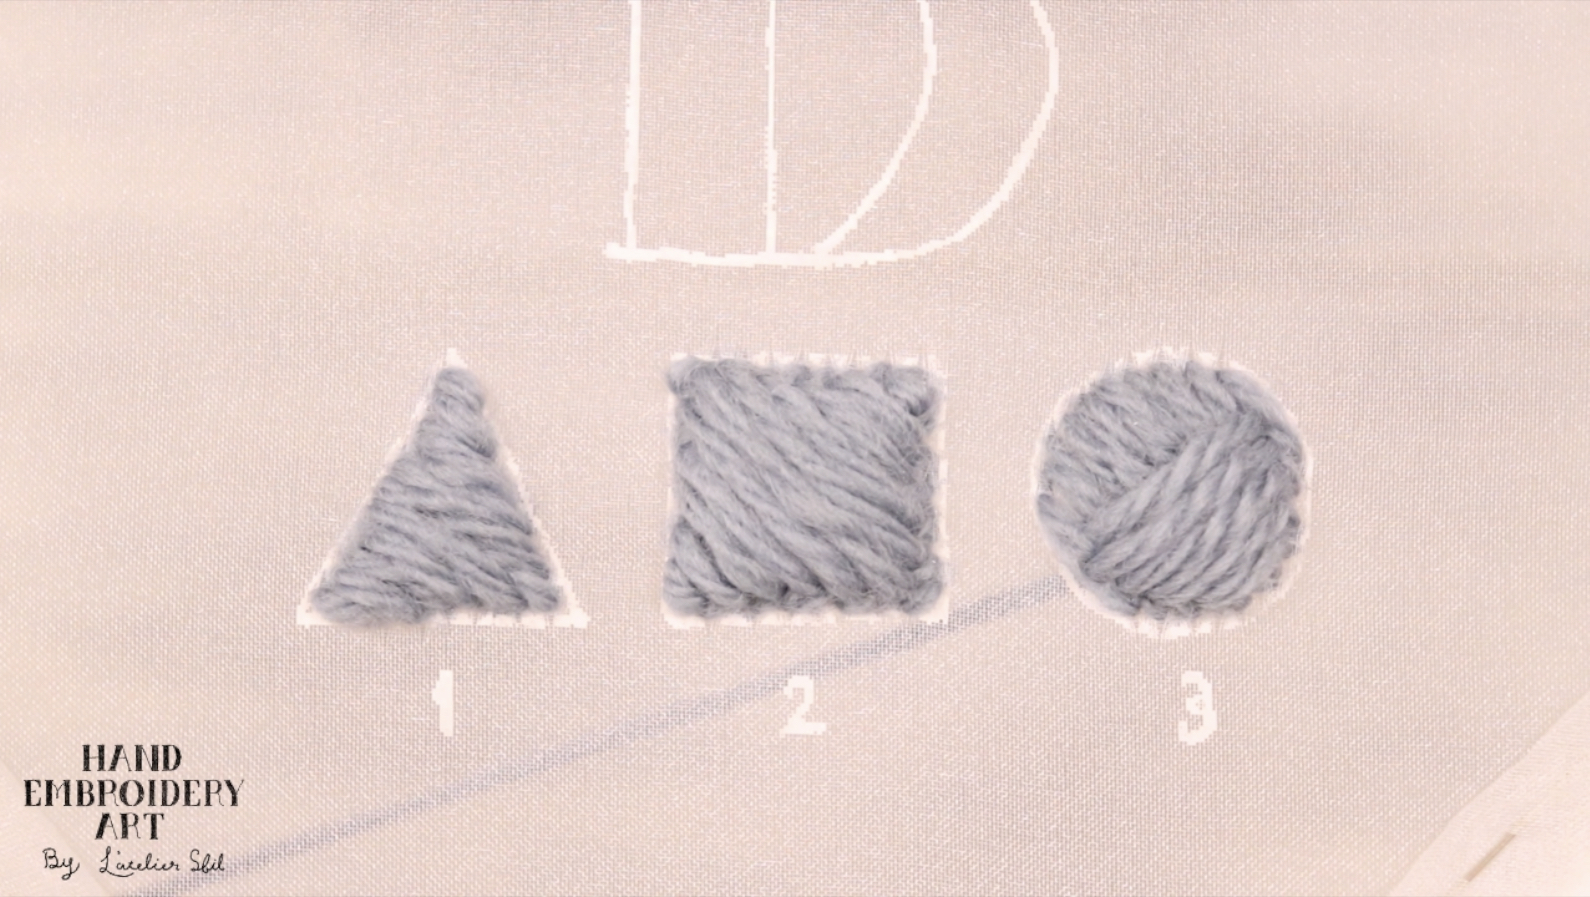
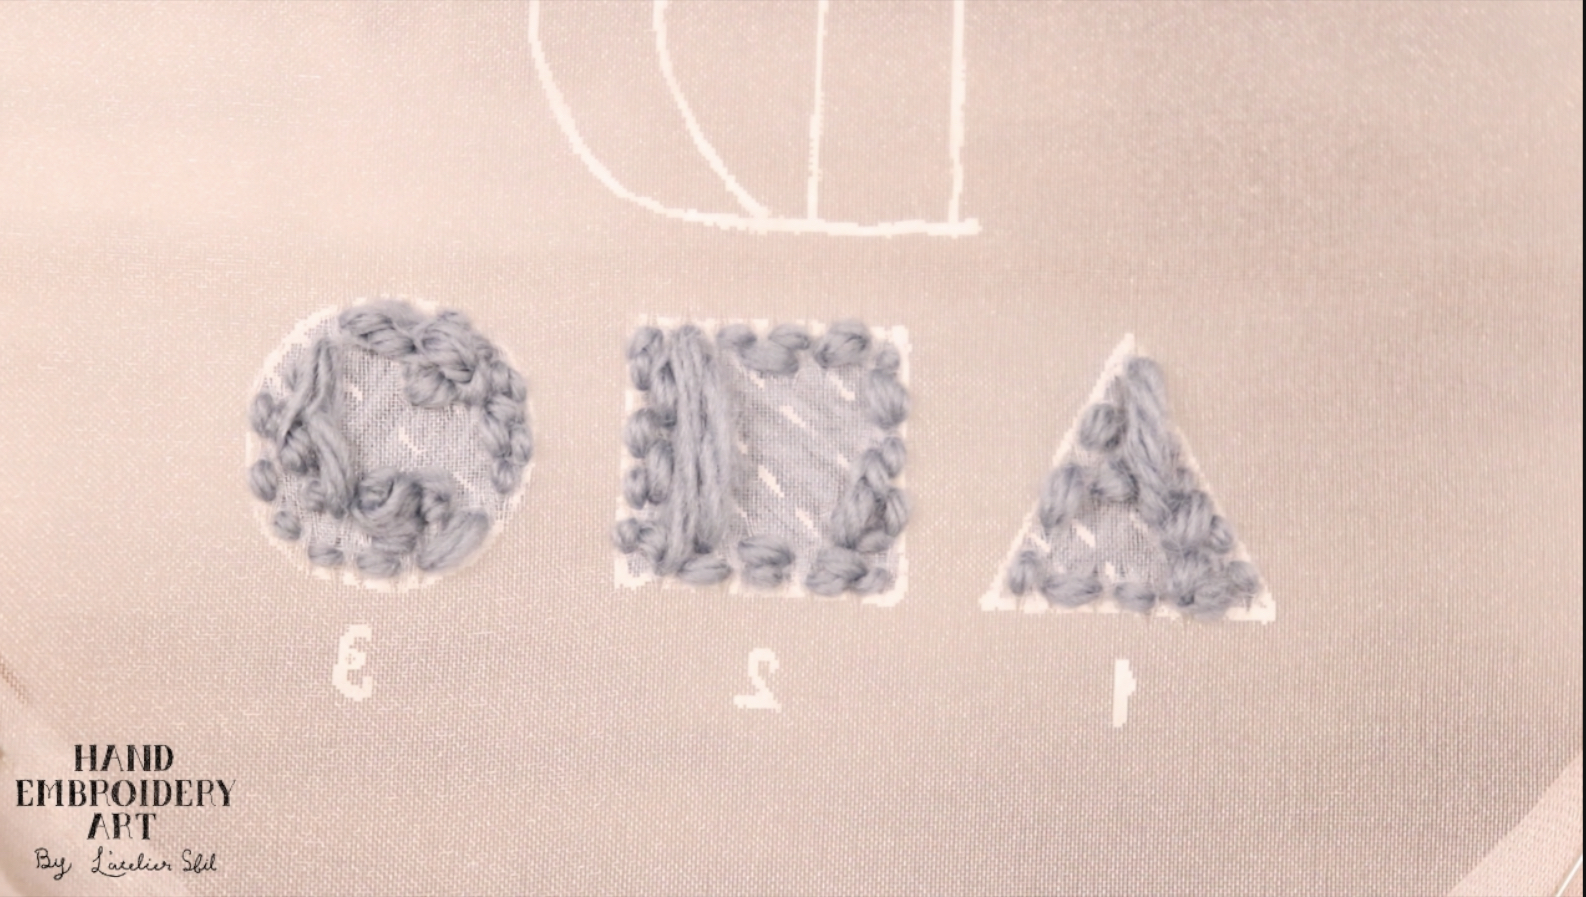
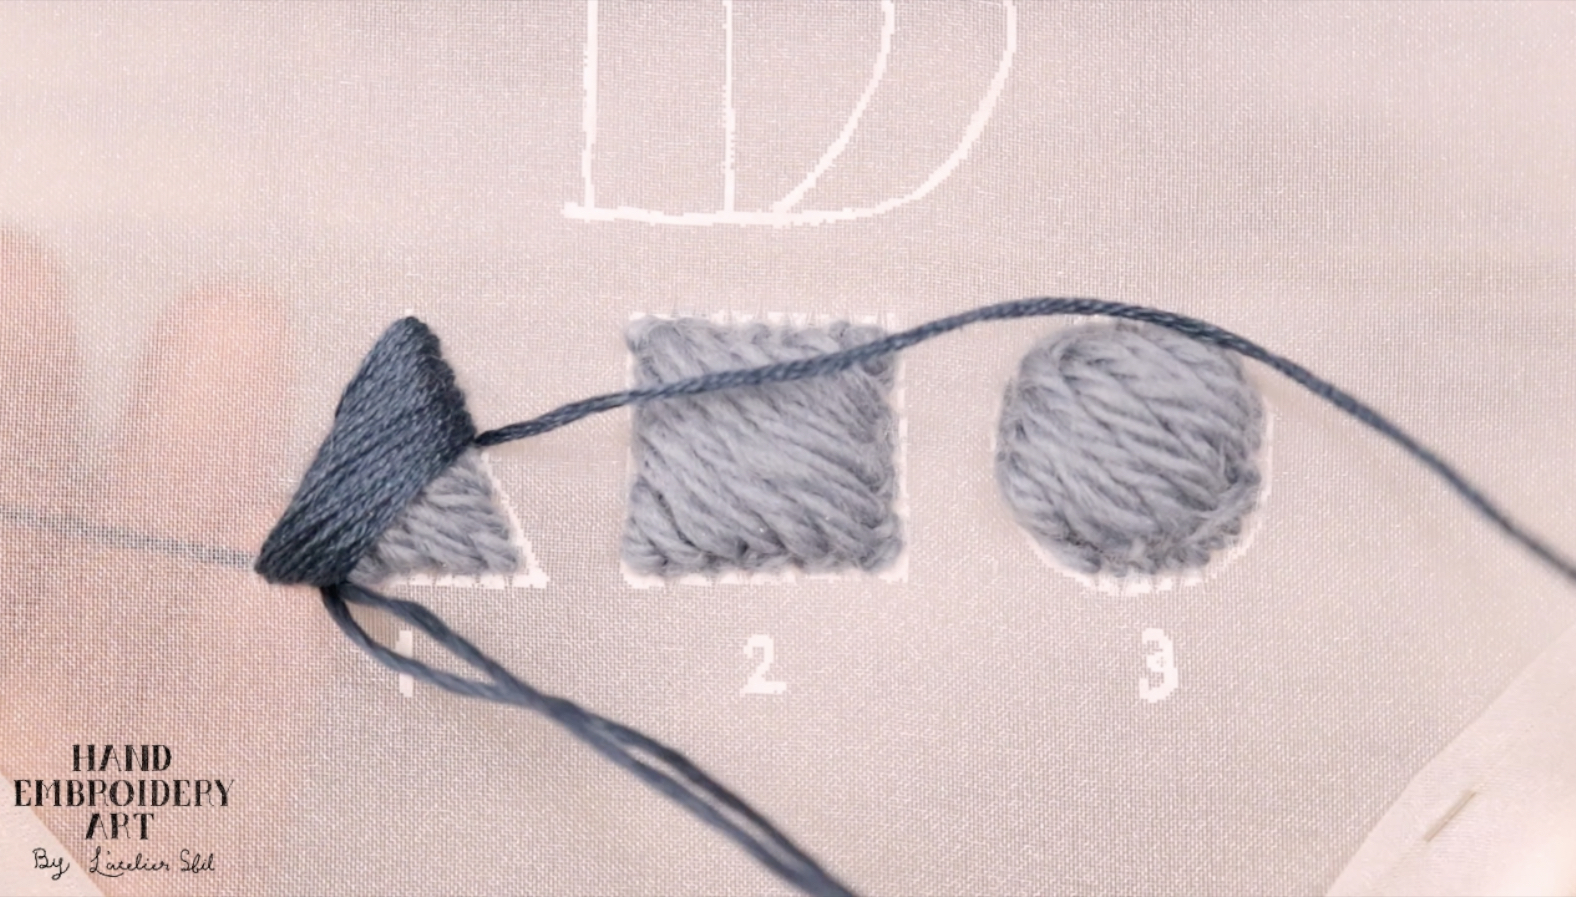
triangle
Satin stitch with one-tiered wool thread
square
Satin stitch with two-tiered wool thread
circle
Satin stitch with three-tiered wool thread
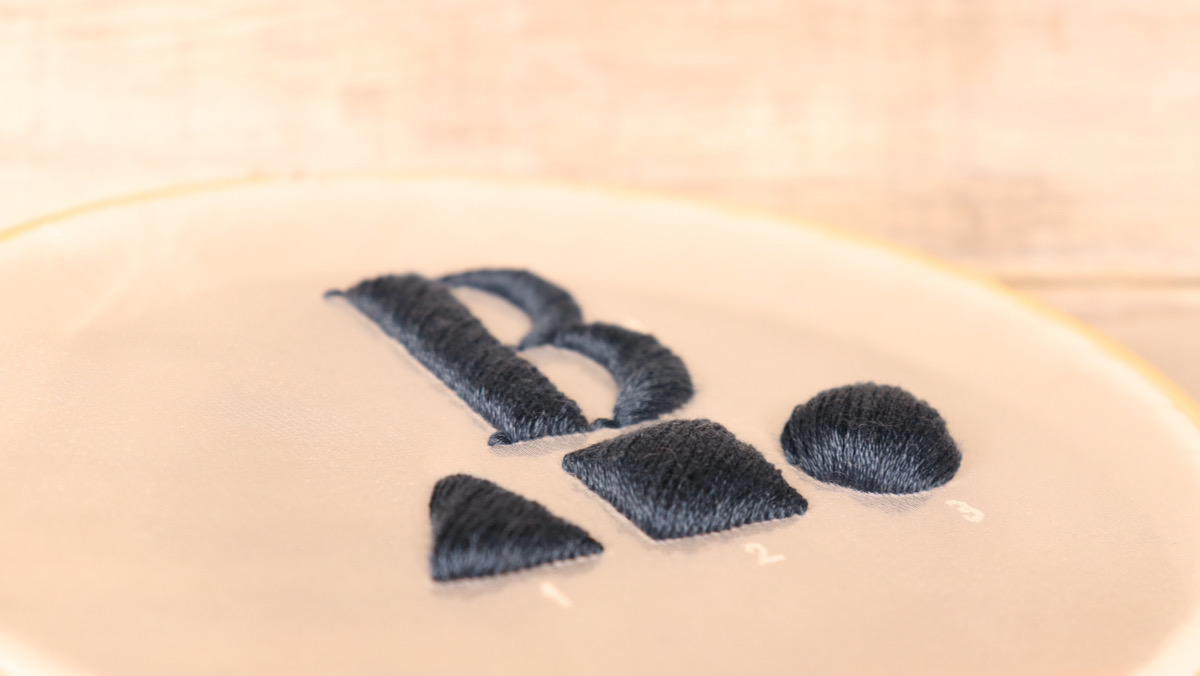
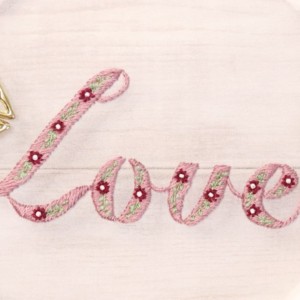
alphabet
Satin stitch with one-tiered wool thread
table of contents
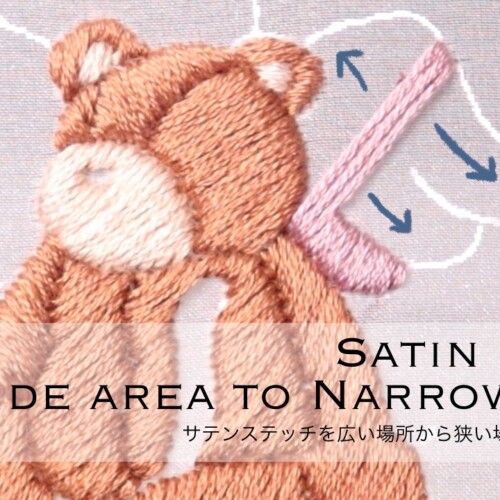
【1】Decide the angle of satin stitch
【2】Beginning stitch for wool thread
【3】Wool thread embroidery method (one-tiered)
【4】End stitch for wool thread
【5】Wool thread embroidery method (two-tiered)
【6】Wool thread embroidery method (three-tiered)
【7】Comparison of completed wool thread base
【8】Points to note when layering satin stitch on wool thread
【9】Cushion-like satin stitch completed
【1】Decide the angle of satin stitch
First, decide the angle of the final satin stitch.
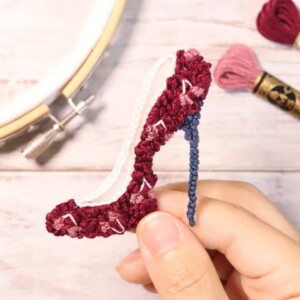
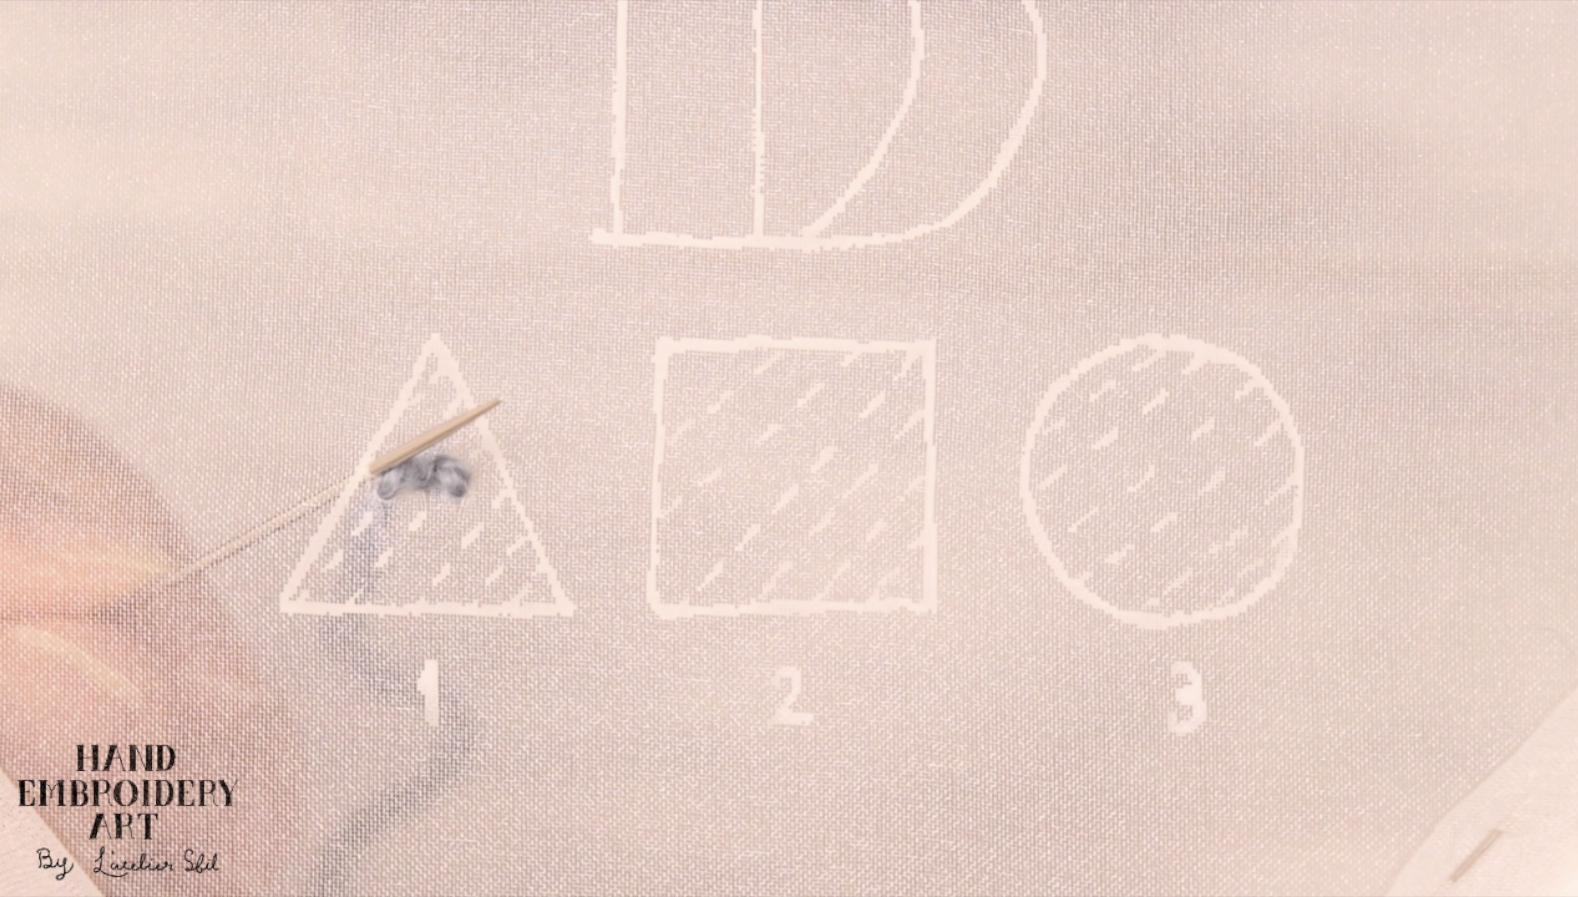
To embroider the cushion-like satin stitch, first embroider the wool thread that will be the inside.
The angle of the wool thread just before embroidering the satin stitch should be at a different angle than the angle of the satin stitch.
If you embroidery a satin stitch over wool threads at the same angle, the satin stitch thread will fill in the gaps between the wool threads.
Therefore, you need to think about the angle of embroidery first.
This time, we will embroider satin stitch at the angle shown above.
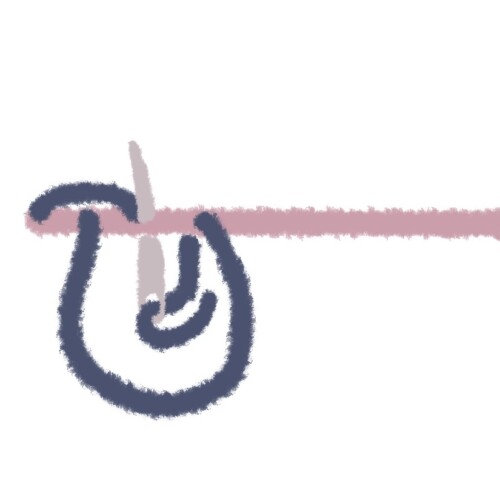
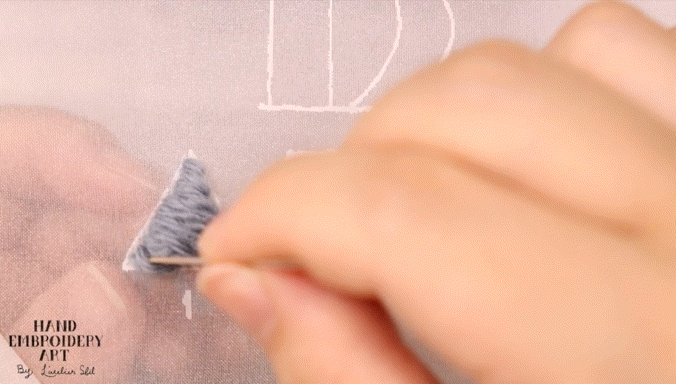
【2】Beginning stitch for wool thread
Beginning stitch is a small straight stitch twice.
【3】Wool thread embroidery method (one-tiered)
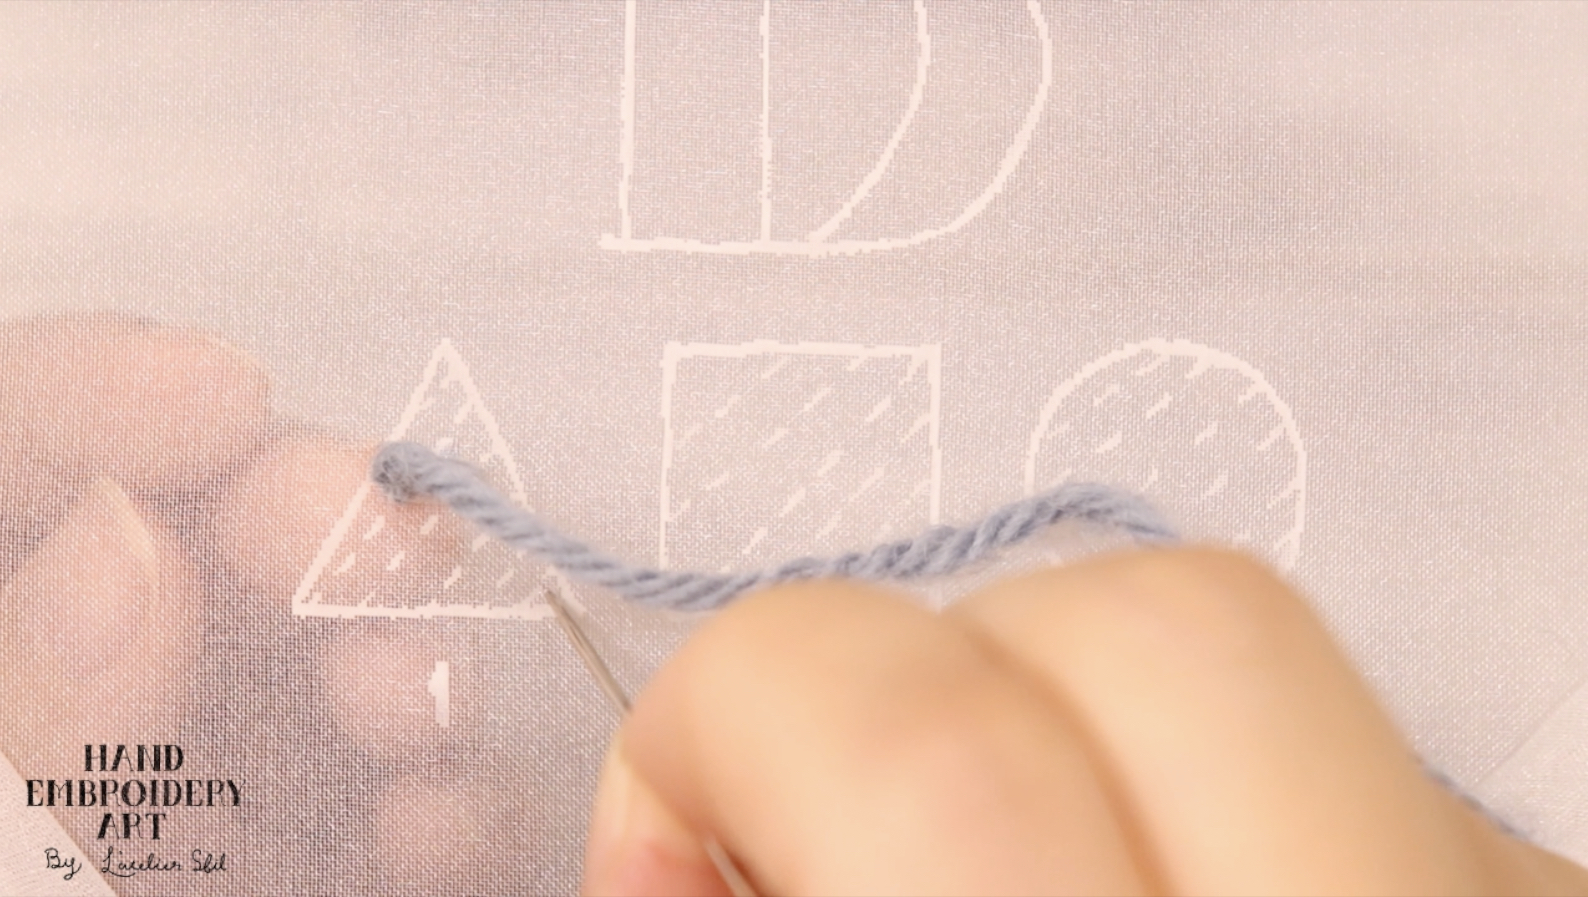
The wool thread will be embroidered slightly inside the draft line of the satin stitch.
The last satin stitch will be embroidered along the draft line, so the wool thread must be embroidered on the inside of it.
When using one layer of wool thread, embroidery is done at the opposite angle to the satin stitch angle.
Later, with satin stitch, this wool thread will be hidden on both the front and back sides.
It looks cleaner if the thread does not go around to the back side, so proceed with the embroidery by bringing the needle out to the front side from right next to where you put the needle in at the back side.
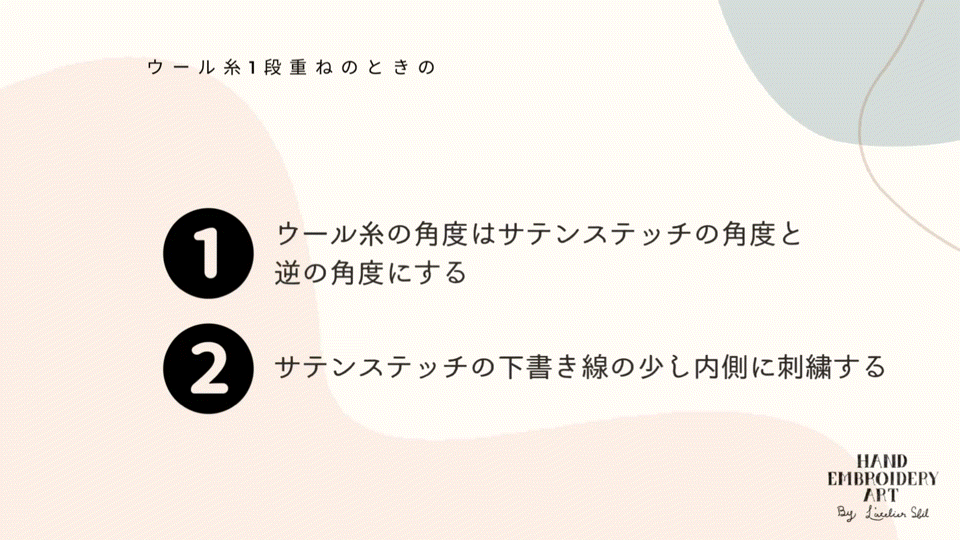
It's OK if it's not the same angle as the satin stitch, so it's OK if it's not the exact opposite angle.
【4】End stitch for wool thread
The stitch at the end of the stitch is the same as the stitch at the beginning, with two small straight stitches.
【5】Wool thread embroidery method (two-tiered)
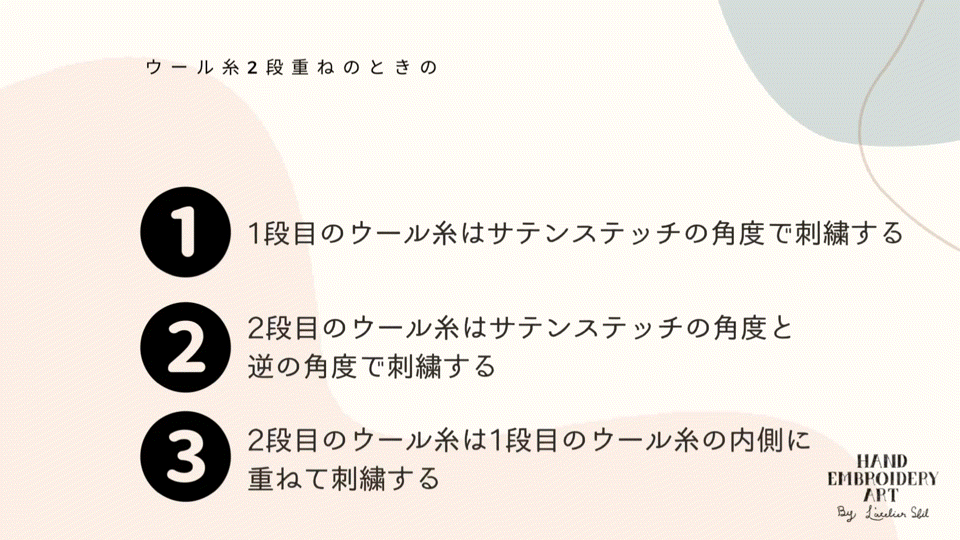
If you are using two-tiered of wool thread, the first row of wool thread will be embroidered at the same angle as the satin stitch.
The second row of wool thread is embroidered further inside the first row.
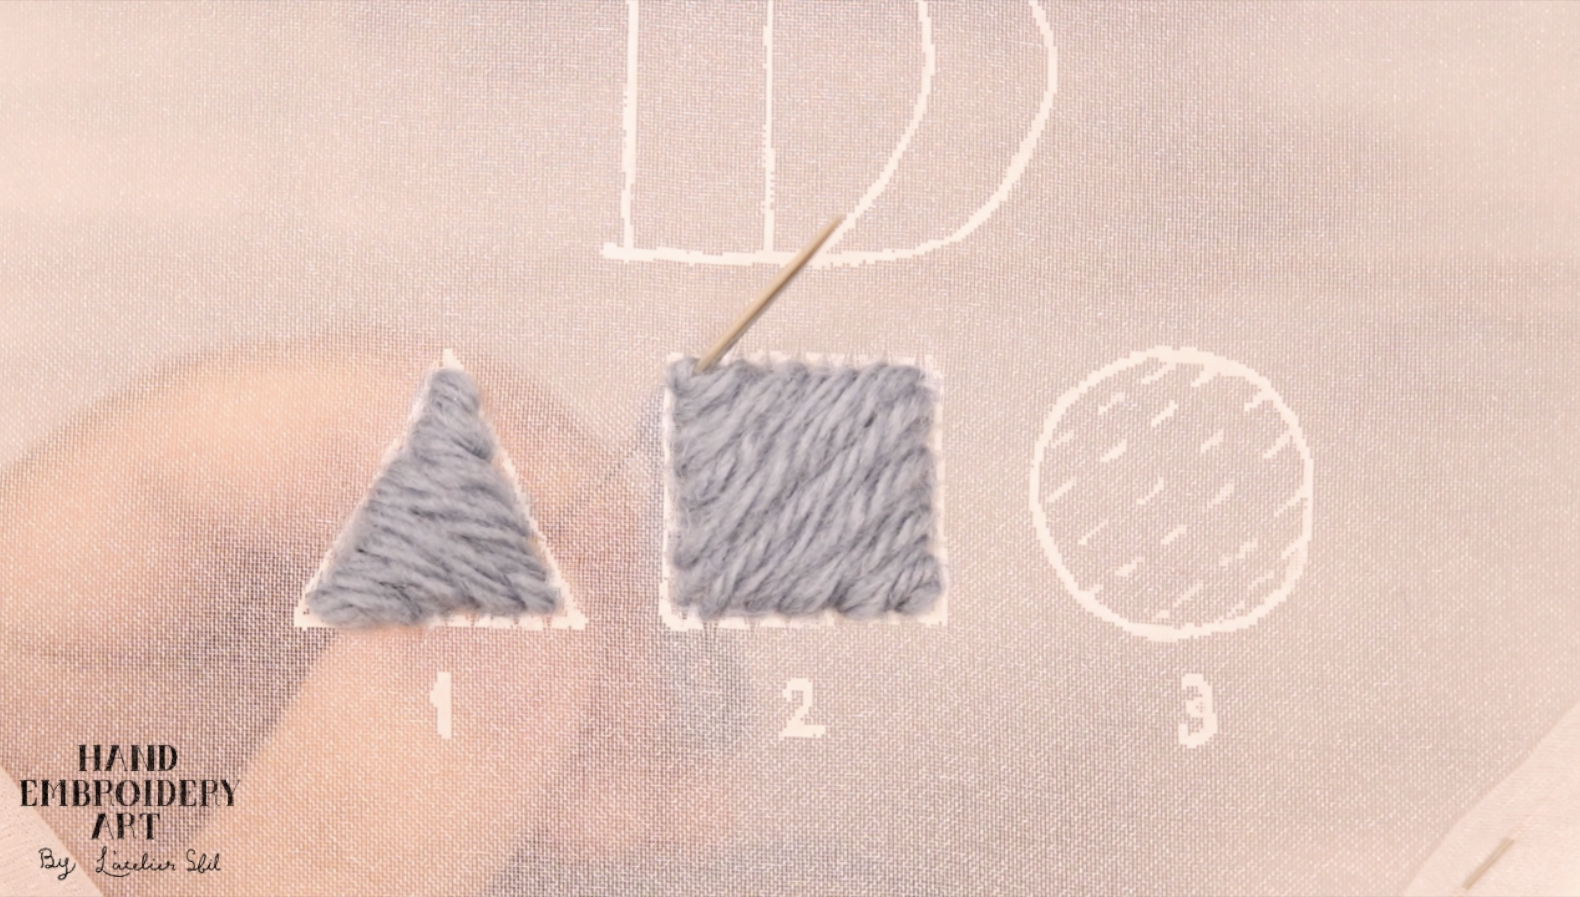
If you embroider on the outside of the first row, it will overlap with the actual satin stitch, so be sure to embroider on the inside.

When you have finished embroidering the second row of wool thread, make sure it is at the opposite angle to the actual satin stitch.

【6】Wool thread embroidery method (three-tiered)
If there are three-tiered of wool thread, the first row of wool thread will be embroidered at the opposite angle to the satin stitch.
The second row of wool thread is embroidered further inside the first row.
(The angle of the second stage is the same as the actual angle of the satin stitch)
The third row of wool thread is embroidered further inside the second row.
When you have finished embroidering the third row of wool thread, make sure it is at the opposite angle to the actual satin stitch angle.
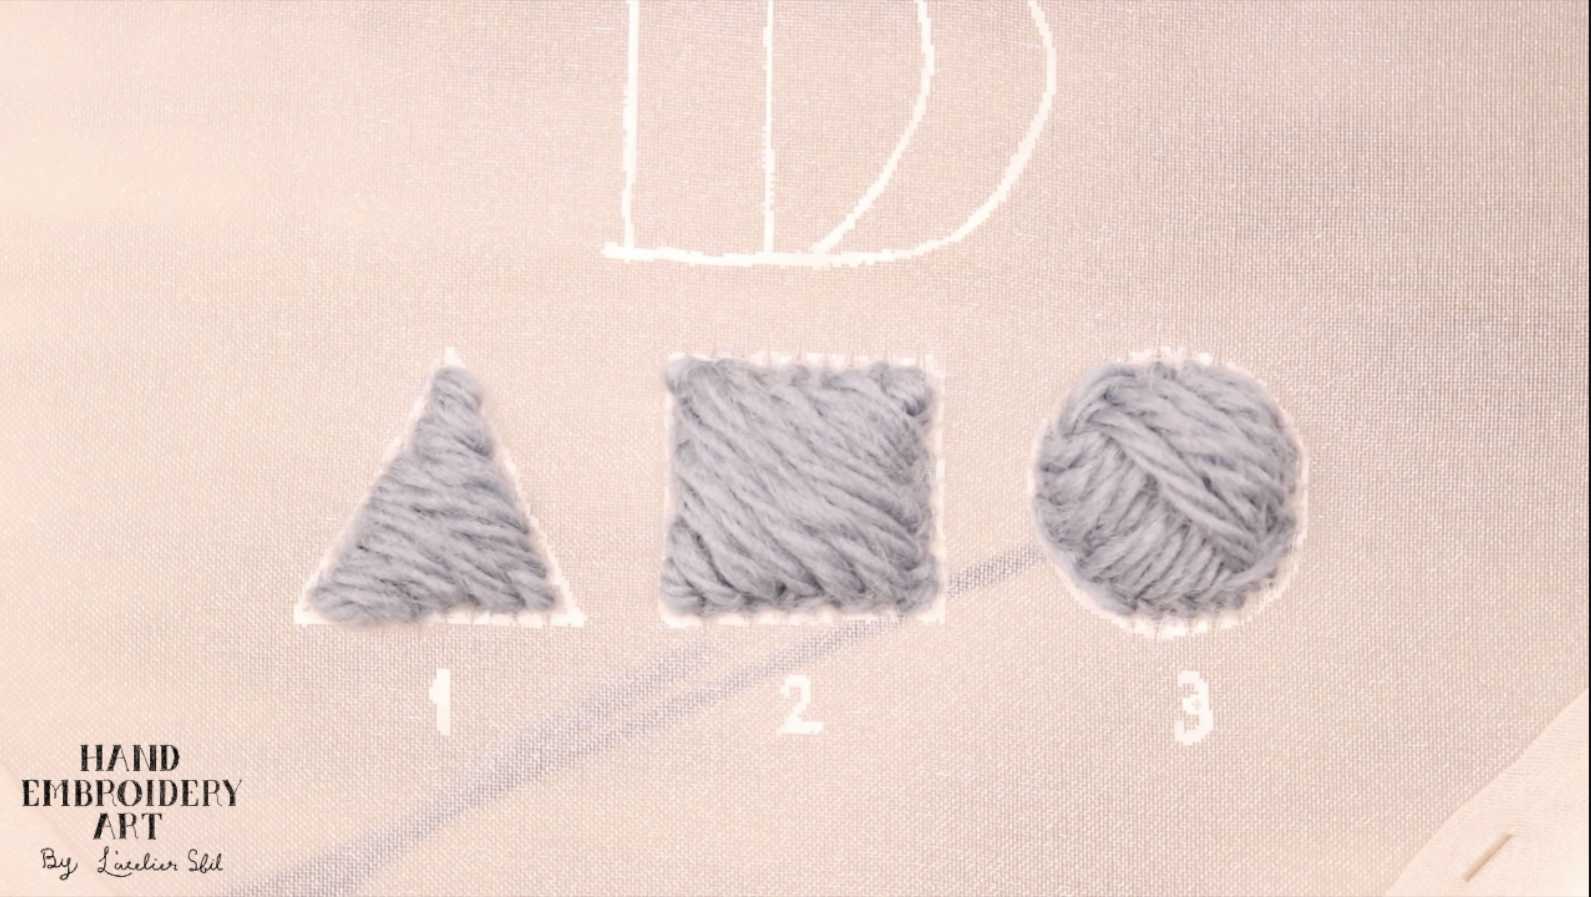
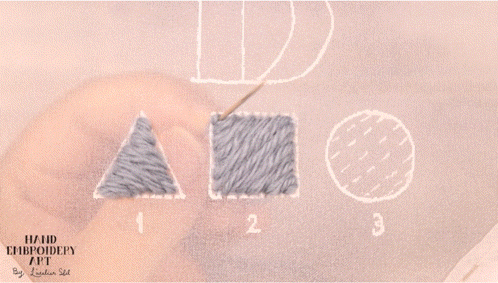
【7】Comparison of completed wool thread base
From the left, the heights of wool yarn are one-tier, two-tier, and three-tiered.
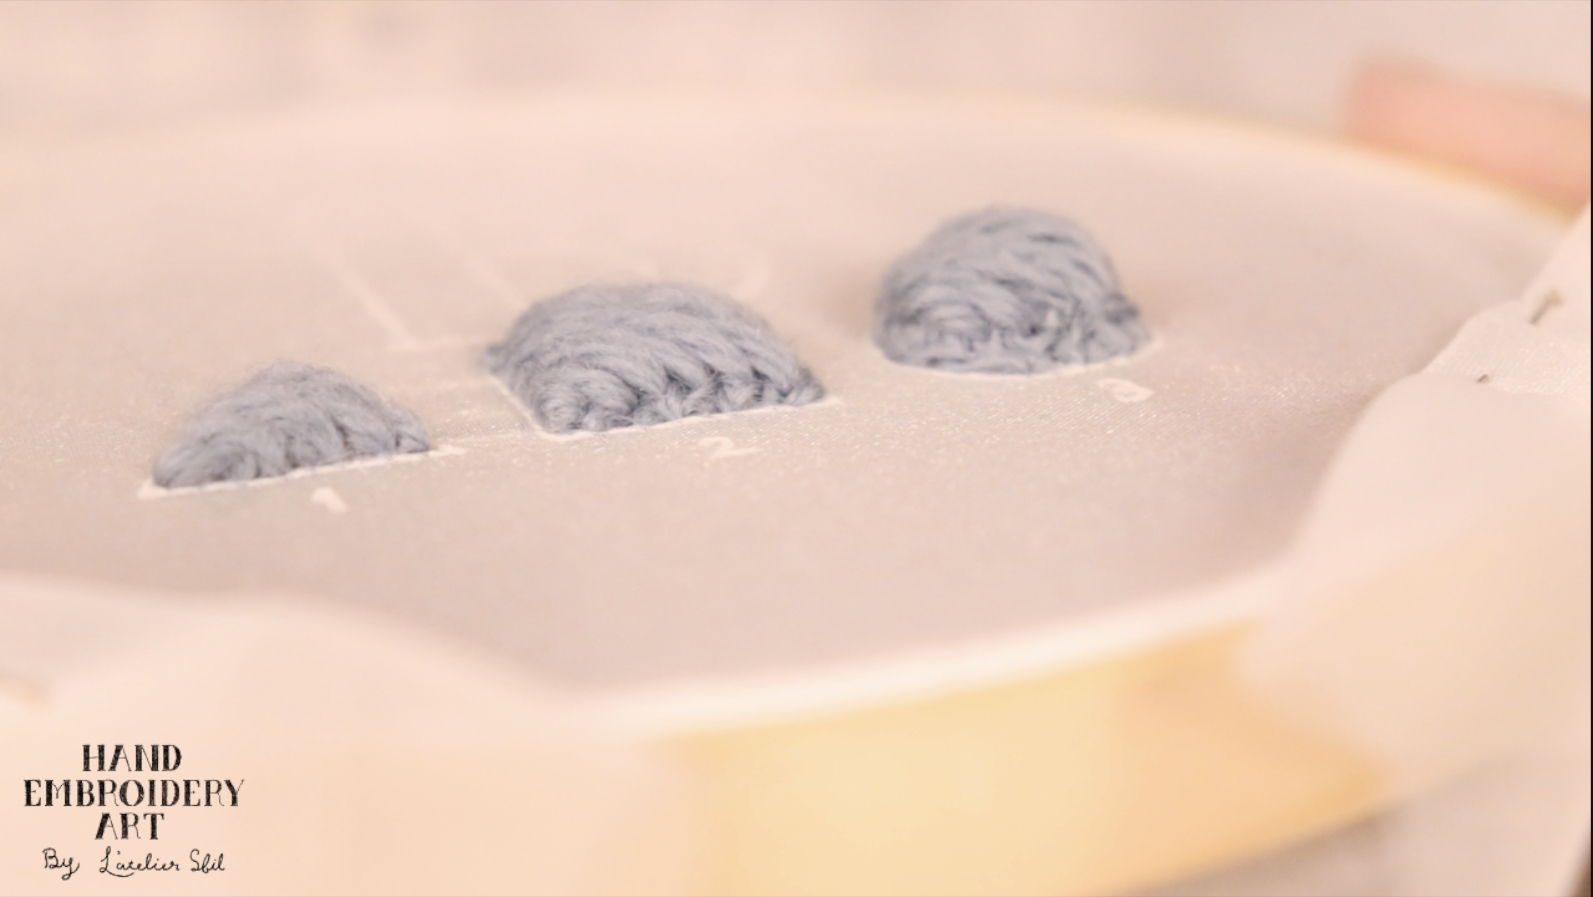
By embroidering the back side with as little wool thread as possible, it will be easier to embroider the last satin stitch.
After the satin stitch is embroidered, the back side will not be bulky with wool thread, giving it a clean look.
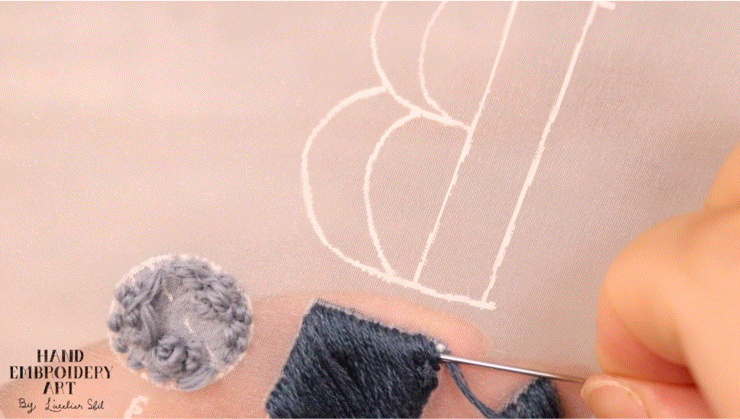
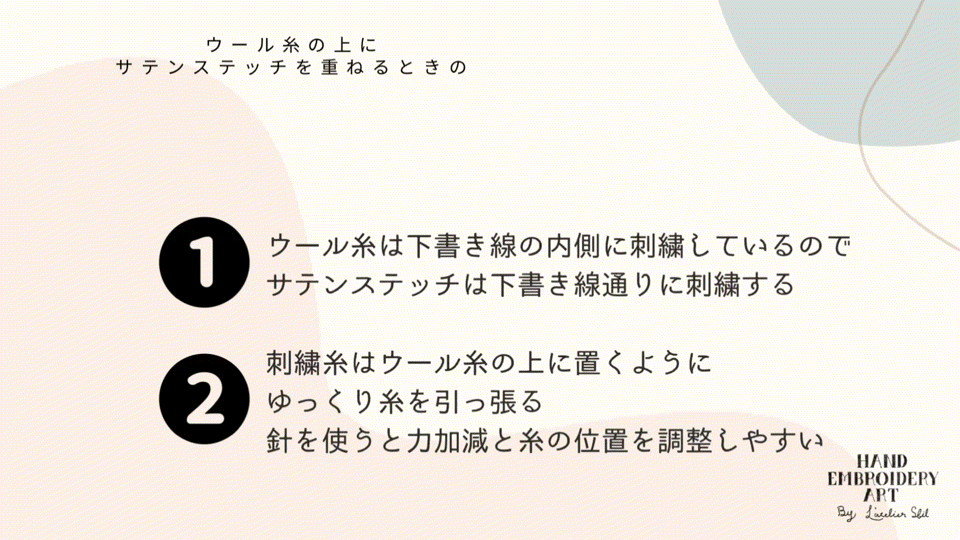
【8】Points to note when layering satin stitch on wool thread
Satin stitch is embroidered along the draft line.
When embroidering satin stitch over wool, we recommend using a needle as it makes it easier to adjust the tension and position of the thread.
It is easy to use two small straight stitches at the beginning of the stitch, but
Stitching at the end of the stitch may be difficult to do using the same method.
If it is difficult to pass the needle through because the thread is stuck inside,
If the satin stitch is beautifully finished and it seems better not to move the thread,
For the final stitch, you can also pass the thread through the back side of the embroidery twice.
For the stitches at the beginning and end of the embroidery, it is better to use two small straight stitches to prevent the embroidery from unraveling, and it has the advantage that both the front and back sides of the embroidery can remain in the same condition over time.
If it is difficult to stitch the end of the embroidery as described above, use the method of threading the thread twice on the back side of the embroidery as the end stitch.
【9】Cushion-like satin stitch completed