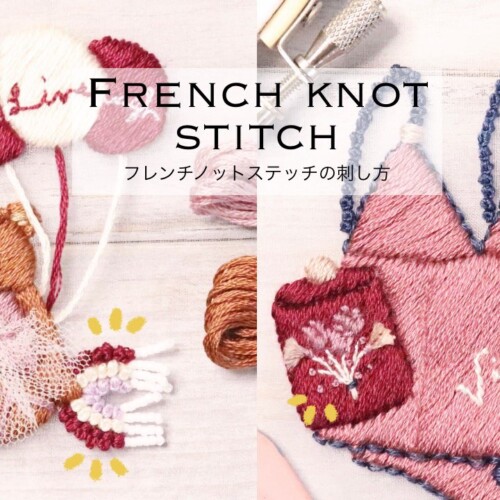

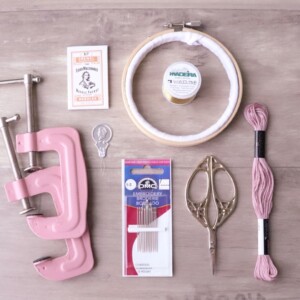
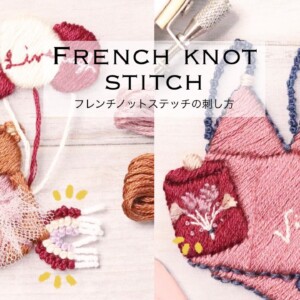


4 patterns of twisted rope embroidery methods
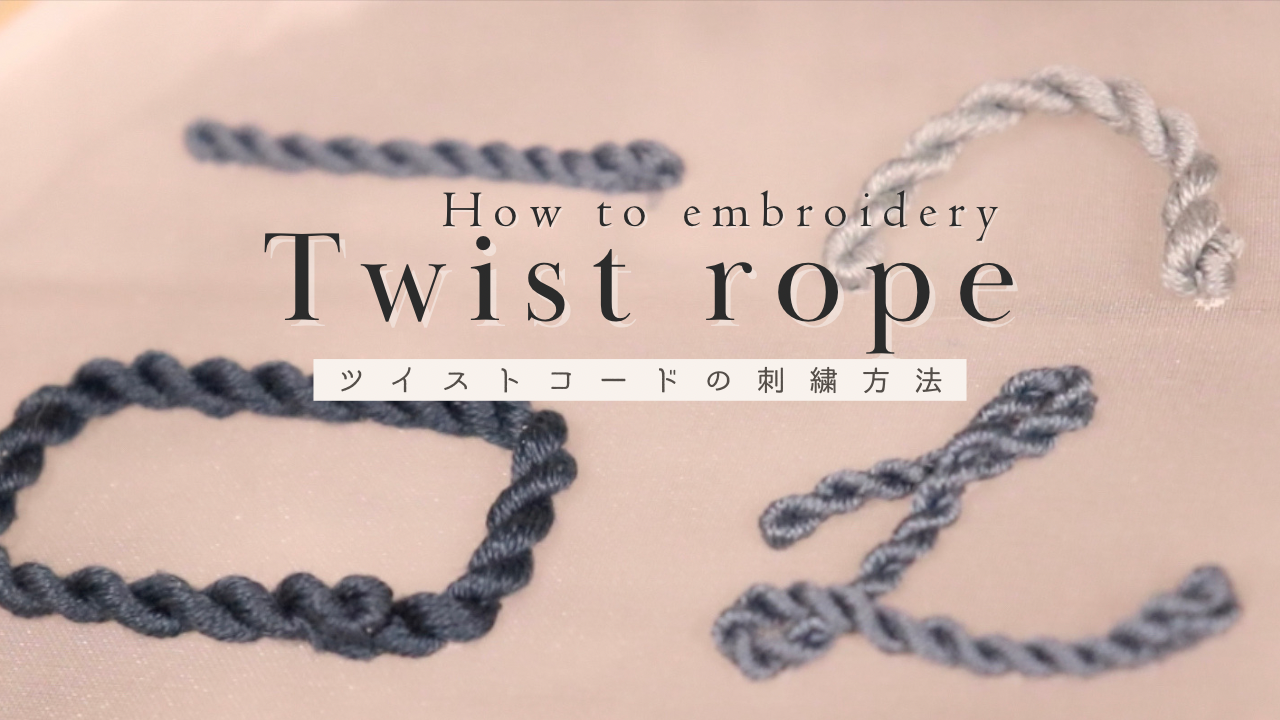
On this page, we have compiled four patterns for embroidering twisted rope.
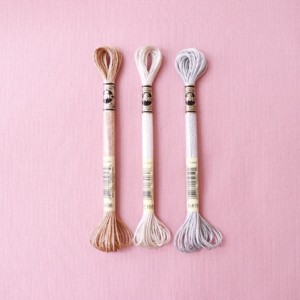
Twisted rope that can be easily done just by twisting.
You can make a twisted cord with your favorite color, length, and thickness.
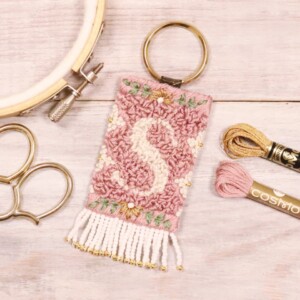
In addition to being used as part of embroidery, it can also be attached to the edges of tassel strings and pouches.
Twisted rope on the market are limited in color and thickness.
We recommend making your own twisted rope as the color and thickness will match the embroidery design you want to create.
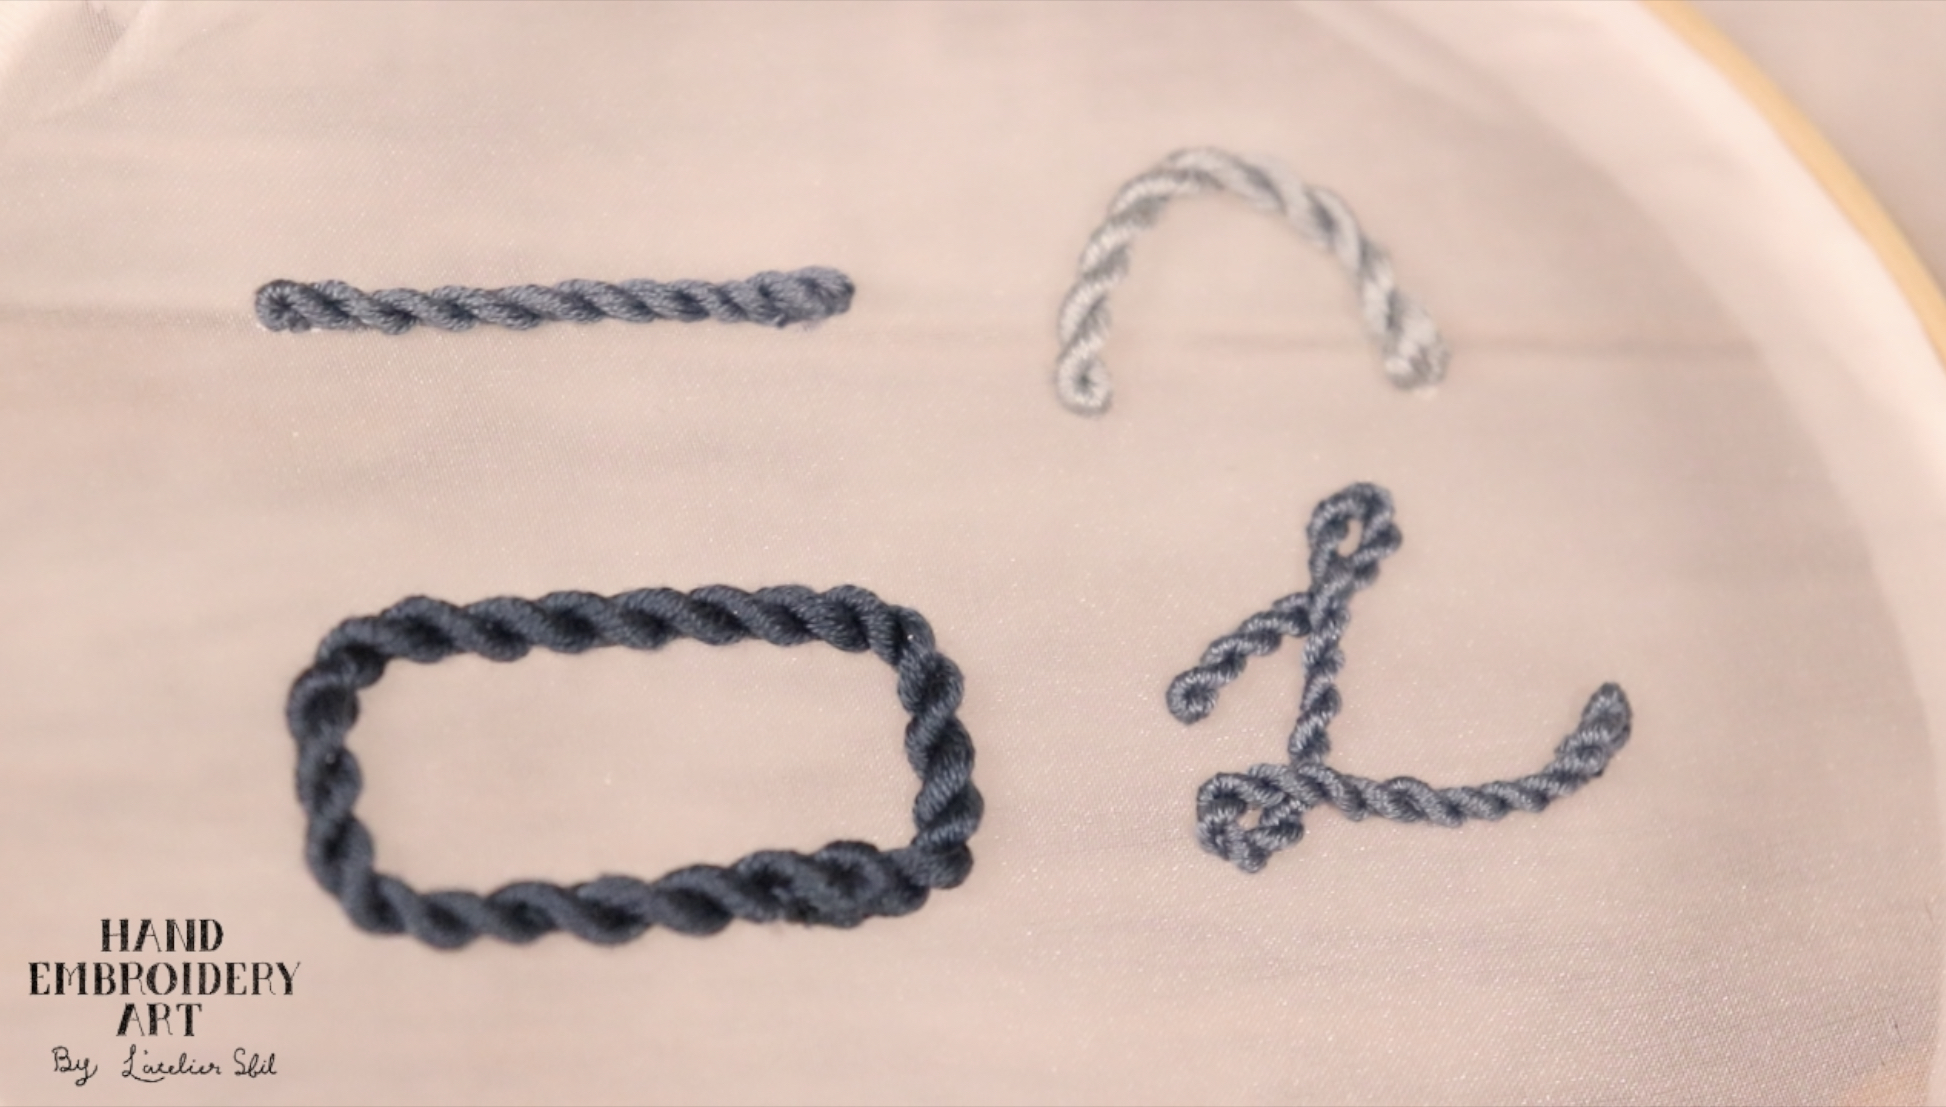
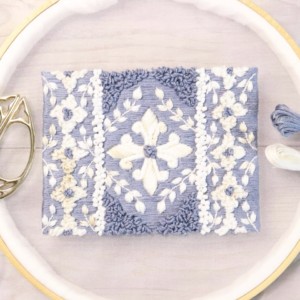
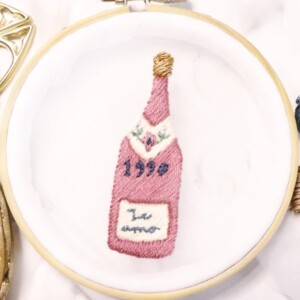
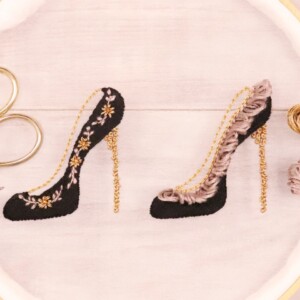
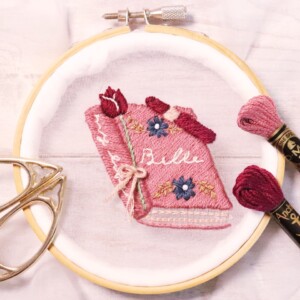
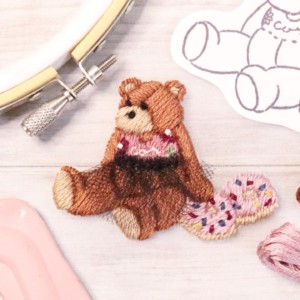
upper left
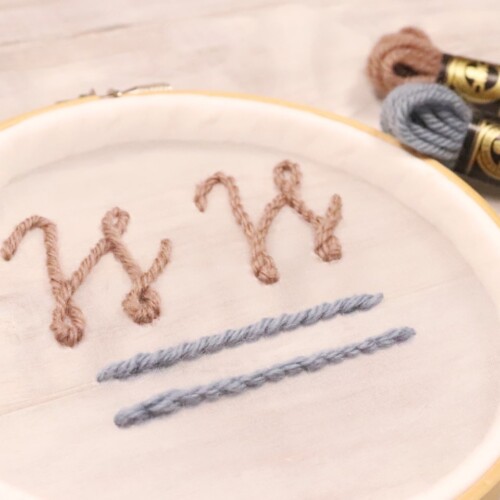
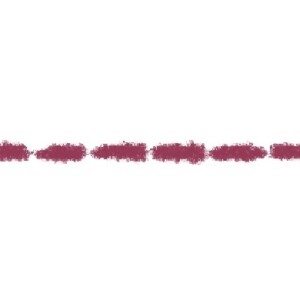
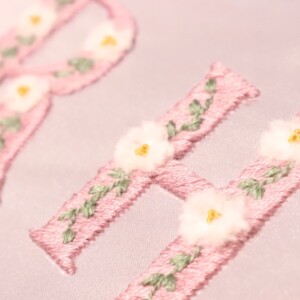
Embroidery a twisted rope straight
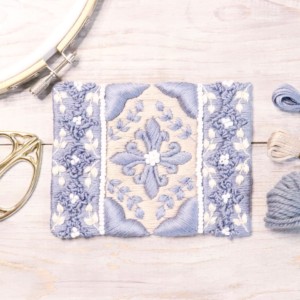
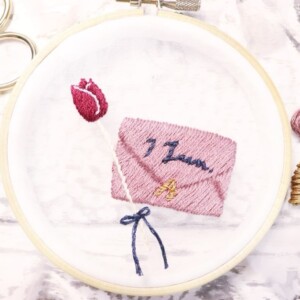
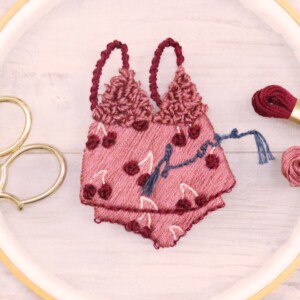
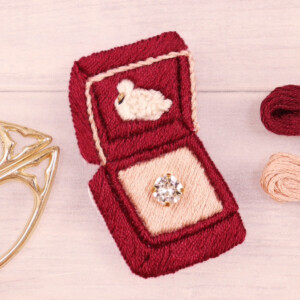
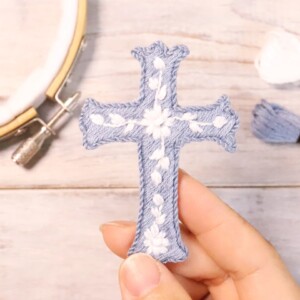
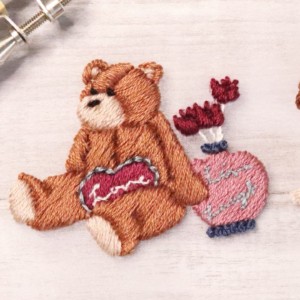
upper right
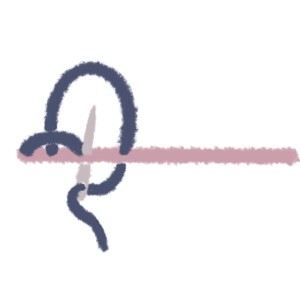
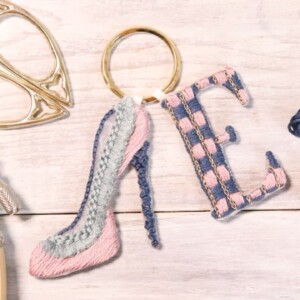
Fasten both ends of the twisted rope
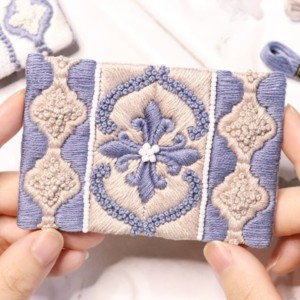
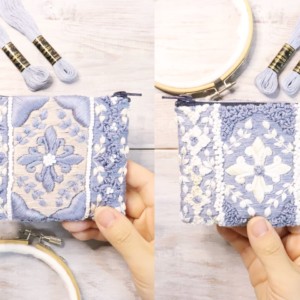
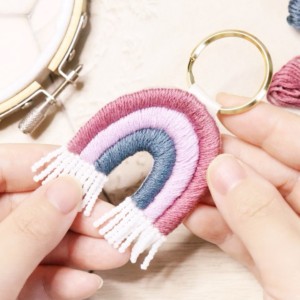
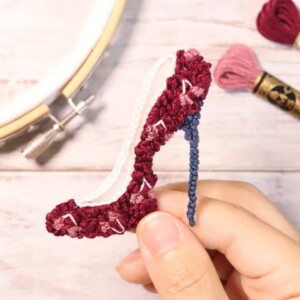
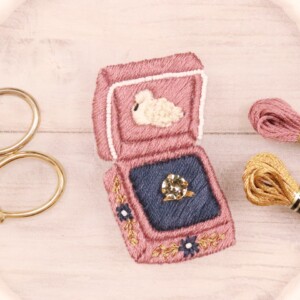
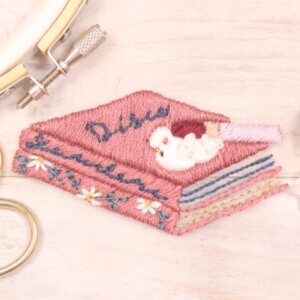
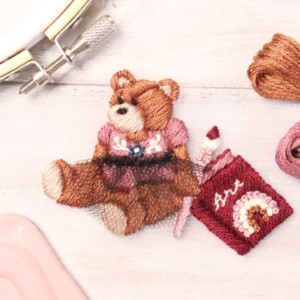
lower left
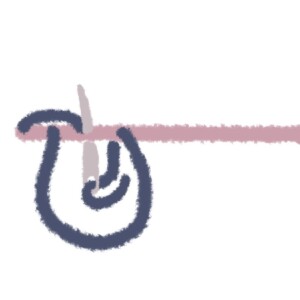
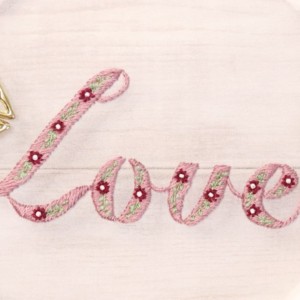
Connect and fasten the twist rope
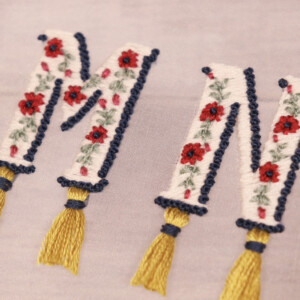
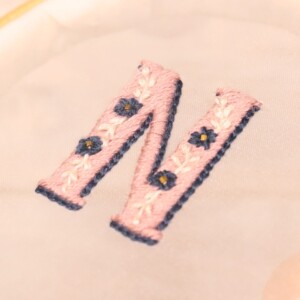
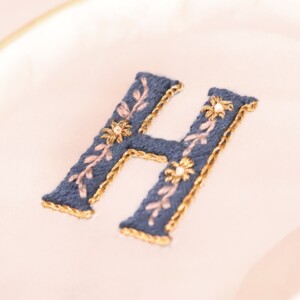
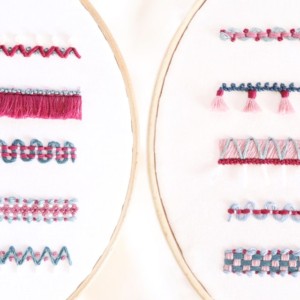
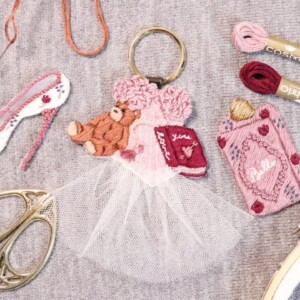
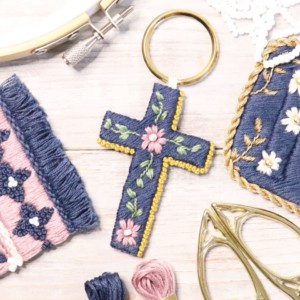
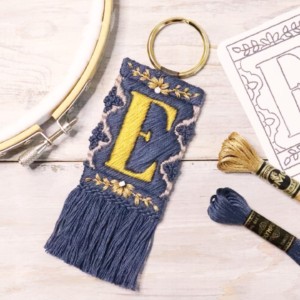
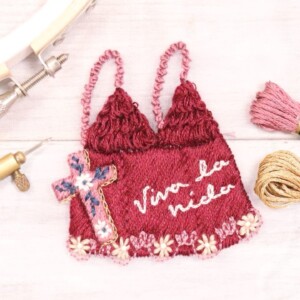
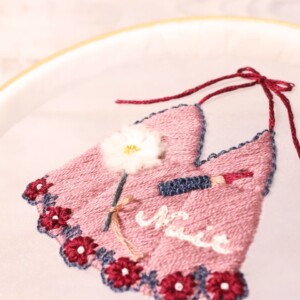
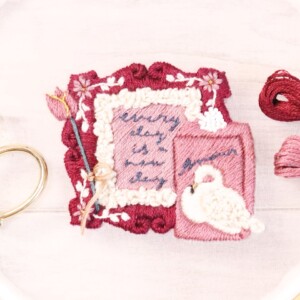
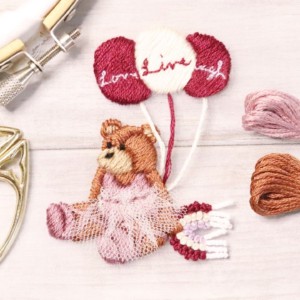
lower right
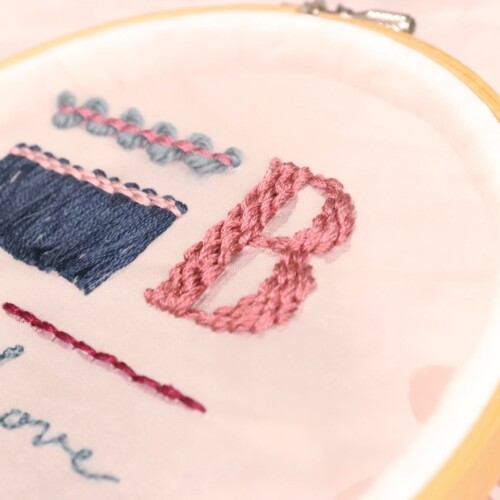
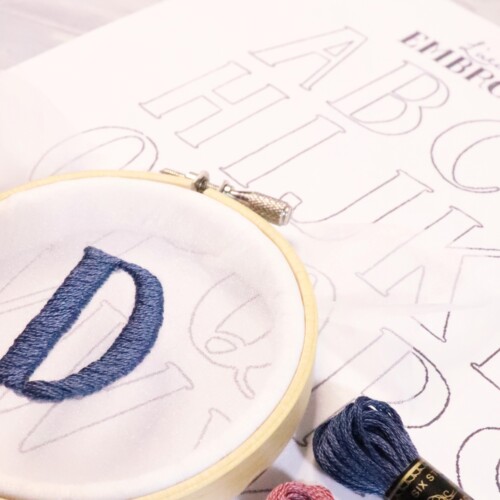
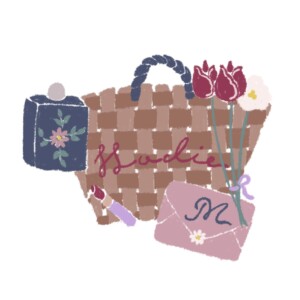
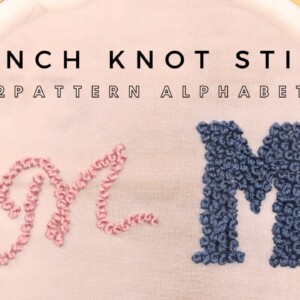
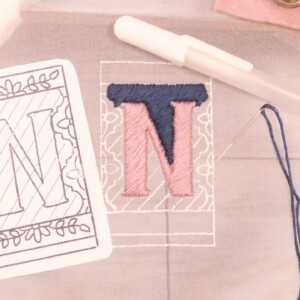
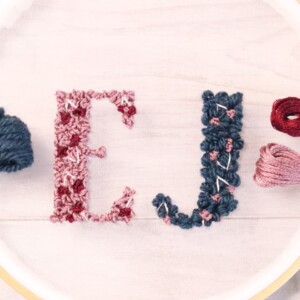
Create letters with twisted rope
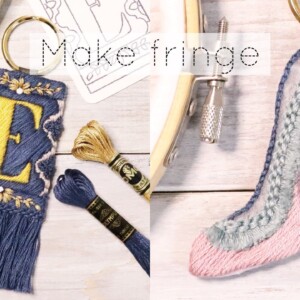
Make twist rope
How to make twisted rope is explained in detail in another video.
I also explain the length and thickness you want to make, so I hope you find it helpful.
How to make a twisted rope
table of contents
【1】Embroidery a twisted rope straight
【2】Fasten both ends of the twisted rope
【3】Connect and fasten the twist rope
【4】Create letters with twisted rope
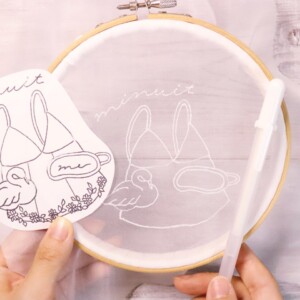
【1】Embroidery a twisted rope straight
First, I will explain how to embroider twisted rope straight.
We recommend using two small straight stitches at the beginning of the stitch, as it will look neater from the back side.
Or you can start with a ball knot.
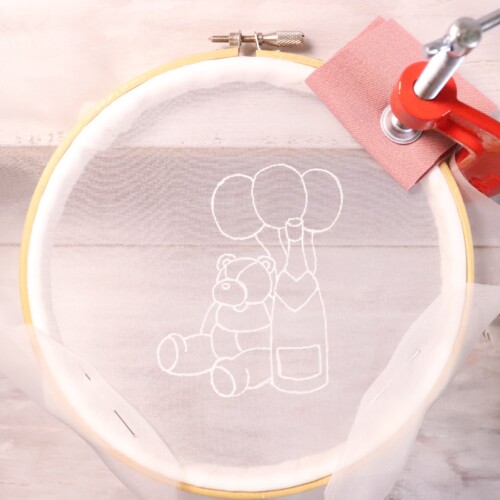
If you are starting with a ball knot and are using organdy fabric, be careful that the knot is not visible from the front side.
Embroidery begins with the side of the twist rope that does not have tape attached.
If you made a twisted rope using No. 25 embroidery thread, secure the cord with two strands of the same thread.
If you have made a twisted rope using wool thread, etc., use two threads of similar colors to secure the rope.
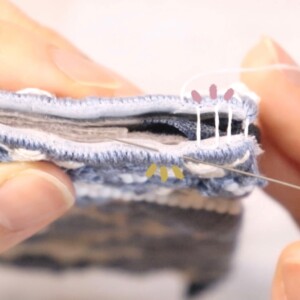
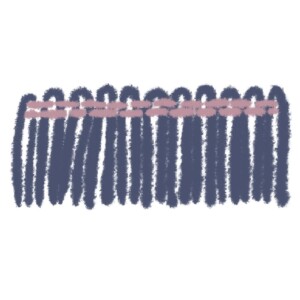
Use two strands of thread to secure between the twists of the twisted rope.
When you are almost at the end, fold the twisted rope inward to finish the end of the thread.
(How to treat the ends of the thread is explained at the bottom of the page)
Once you have finished working with the ends of the thread, continue to fasten the twists of the twisted rope all the way to the ends.
You can also make two small straight stitches at the end of the stitch, just like at the beginning.
You can also tie it in a ball knot as shown below.
How to treat the ends of twisted rope
First, cross the twisted rope once with the thread.
Next, insert a needle from both ends toward the center to secure the twisted rope.
We recommend applying anti-fray to the ends of the threads so that they will come together more easily when you cut them.
【2】Fasten both ends of the twisted rope
First stitch: 2 small straight stitches OR ball knot
Fasten the twisted rope in two or three places between the twists.
Process the ends of the twisted cord at an angle so that they are hidden by the twisted rope, as shown below.
After processing the ends of the twisted rope, secure it with thread in two or three places as shown below.
【3】Connect and fasten the twist rope
When connecting and securing the twist rope, start by leaving a space at the end.
After finishing the end of the twisted rope, cover it with the remaining end on the opposite side and secure it in two or three places with thread.
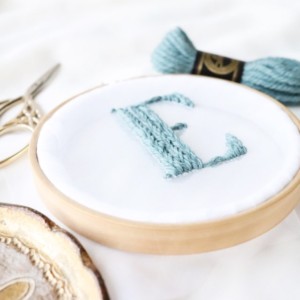
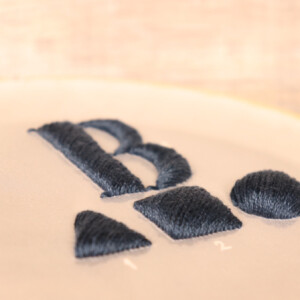
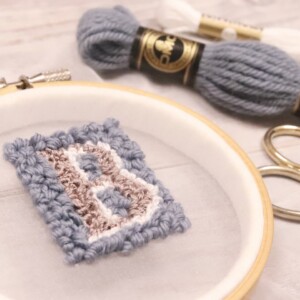
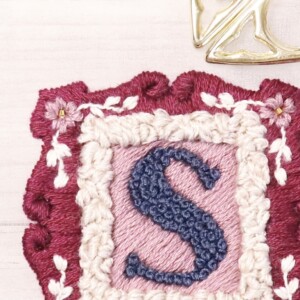
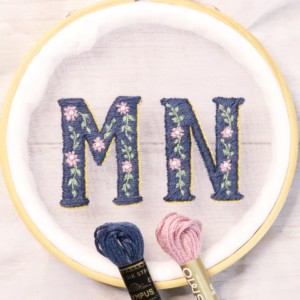
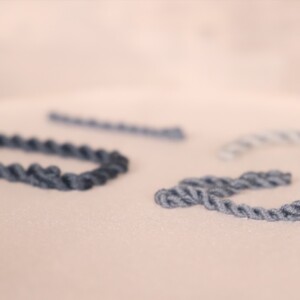
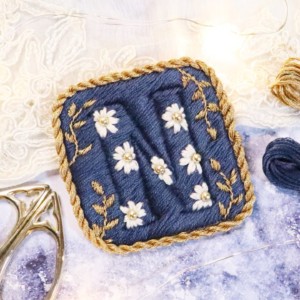
【4】Create letters with twisted rope
When embroidering letters such as the alphabet with twisted rope, use the same method as【1】when embroidering straight twisted rope.
If you loop or curve the twisted rope as shown above, the angle at which the thread is held will change.
It is OK to fasten it from either the left or the right.