


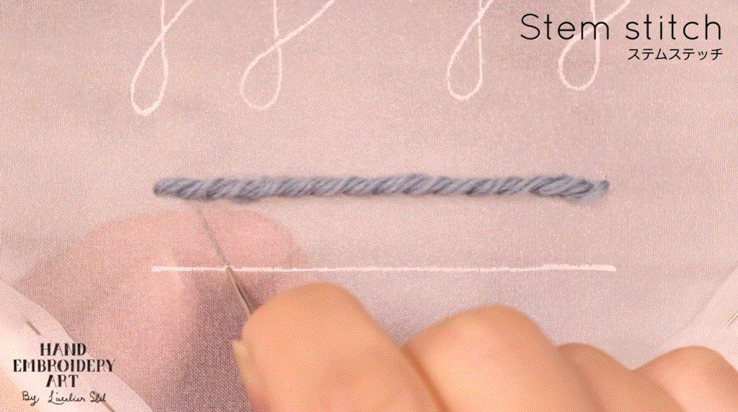
How to Stem stitch
On this page, we explain the embroidery method and points of "Stem Stitch" with photos and GIF videos.
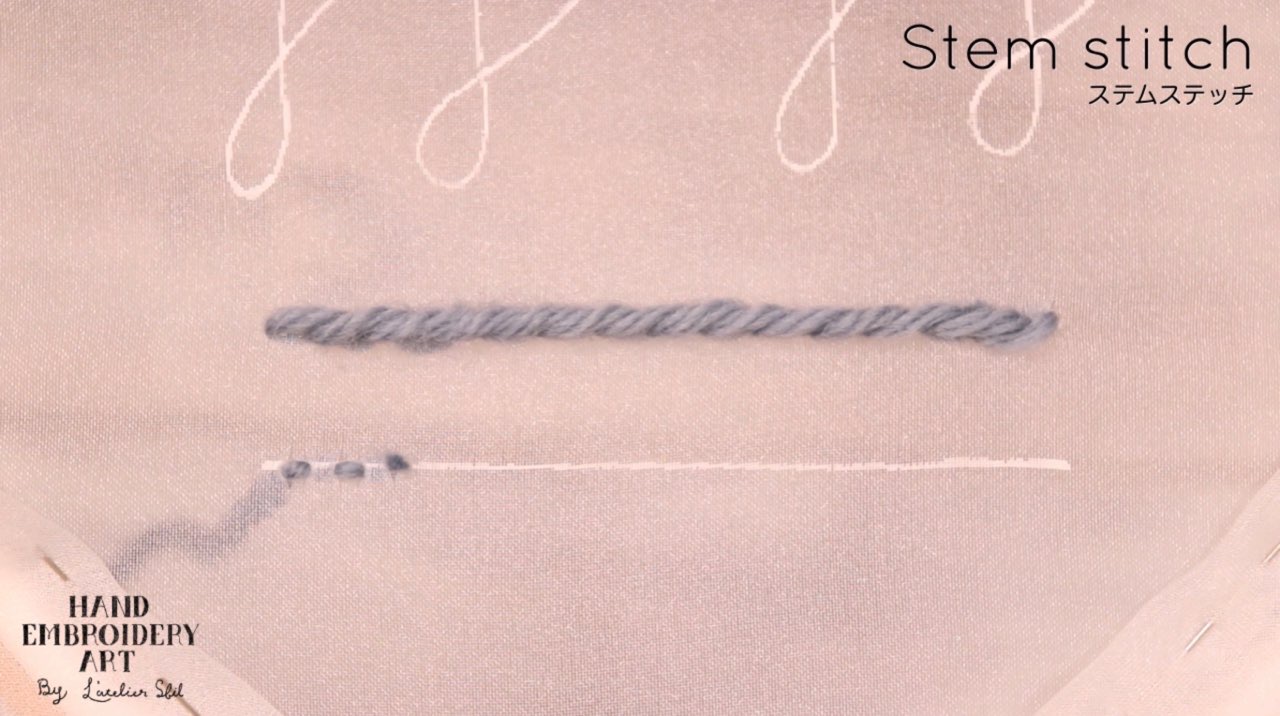
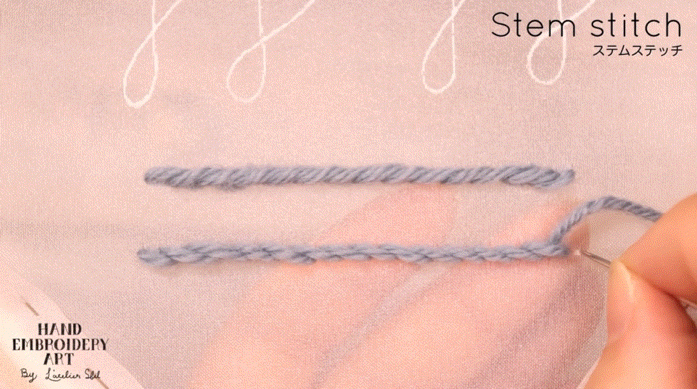
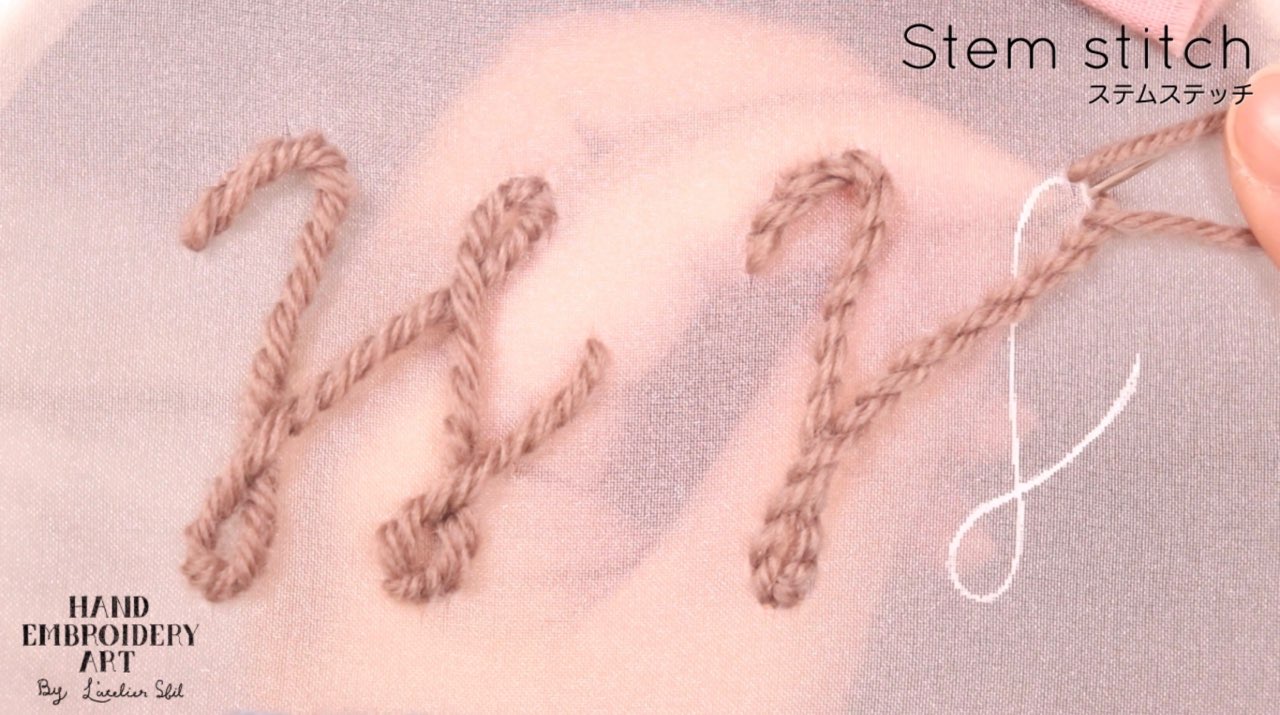
A stem stitch is a line stitch that is very similar to an outline stitch.
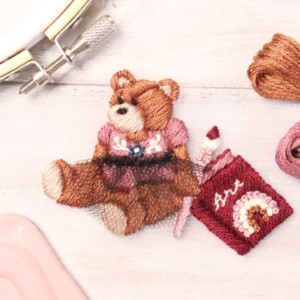
This time, I embroidered with wool thread so that the flow of the thread is easy to understand.
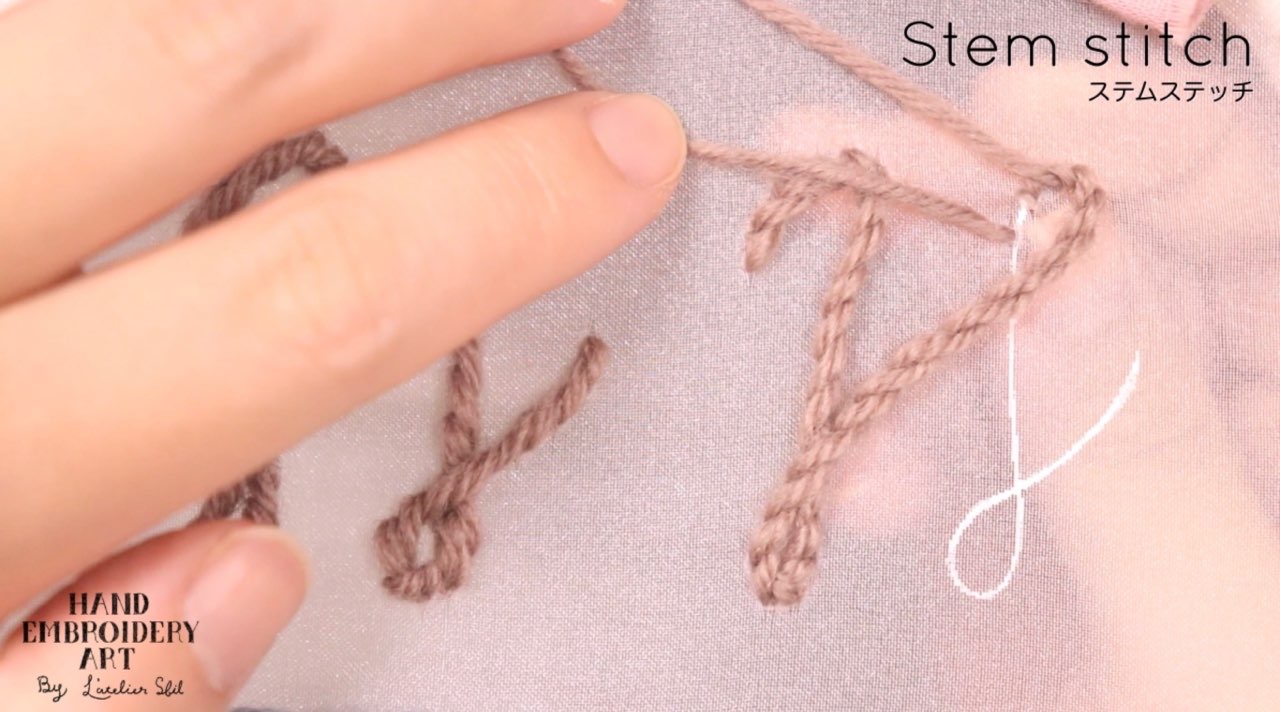
The back side is embroidered on transparent organza fabric, so please refer to how the hands are on the back side of the embroidery frame.
The beginning and end of stitching are embroidered in an inconspicuous way from the front and back.
Stem stitch

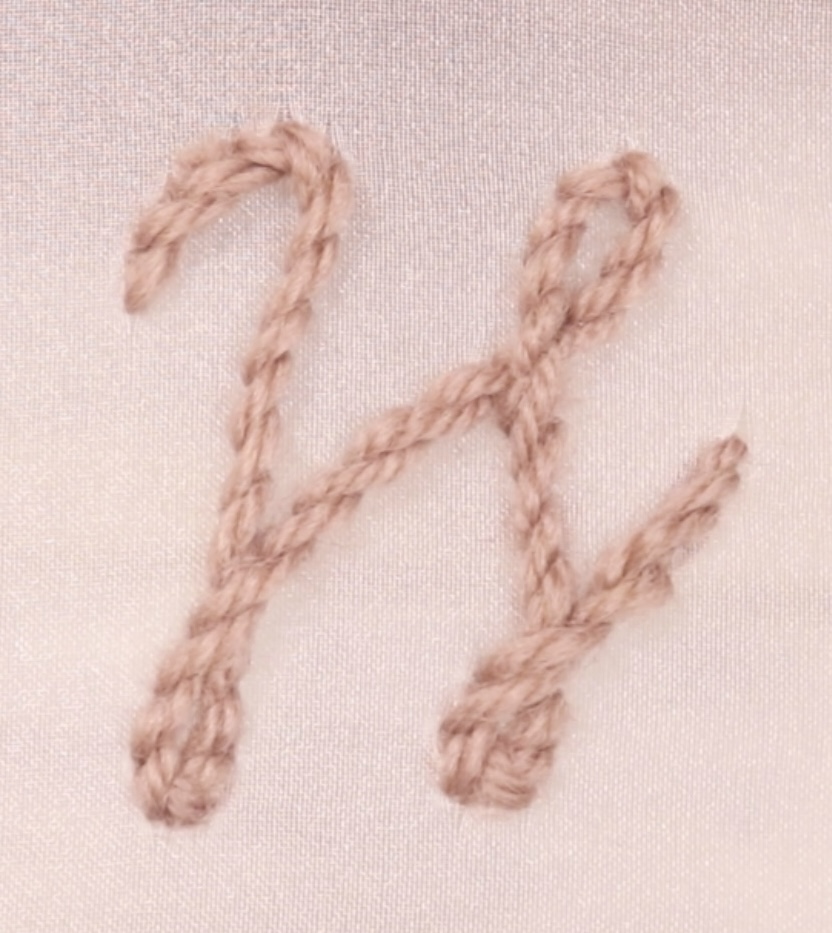
Table of contents
【1】Beginning stitch
【2】How to Stem stitch
【3】End stitch
Thread loop position during embroidery (pattern with many curves)
【1】Beginning stitch
Make Beginning stitch near the start position
This time, Stem stitch is going from left to right, so make Beginning stitch slightly inside the left edge of the draft line.
Make Beginning stitch so that it is hidden by Stem stitch that will be embroidered later.
The stitch at the beginning of stitching is completed by stitching two small straight stitches as shown in the video.
The point is to make the stitch at the beginning of the stitch as small as possible on the draft line.
By doing so, the stitches at the beginning of the embroidery can be completely hidden, and the back side of the embroidery can be finished without being bulky.
Point
・Create above the construction line
・Make it as small as possible
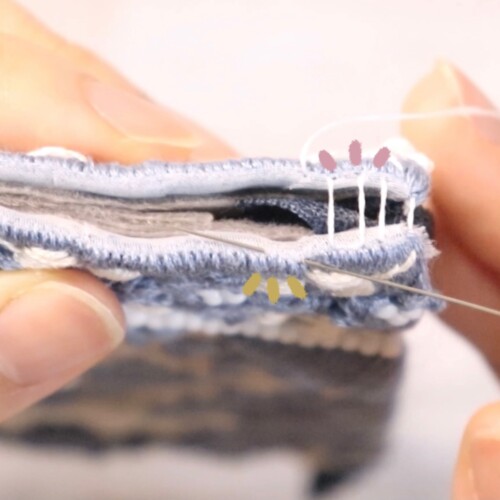
【2】ステムステッチの刺繍方法
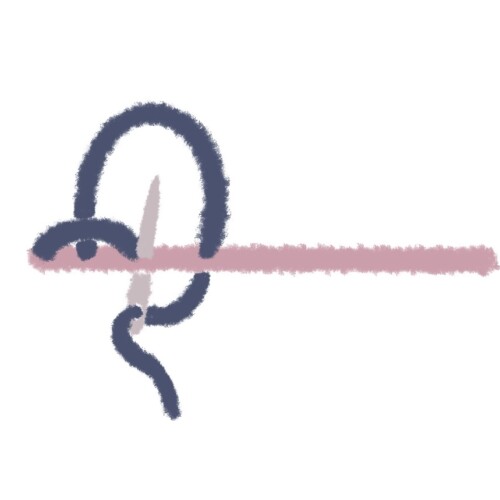
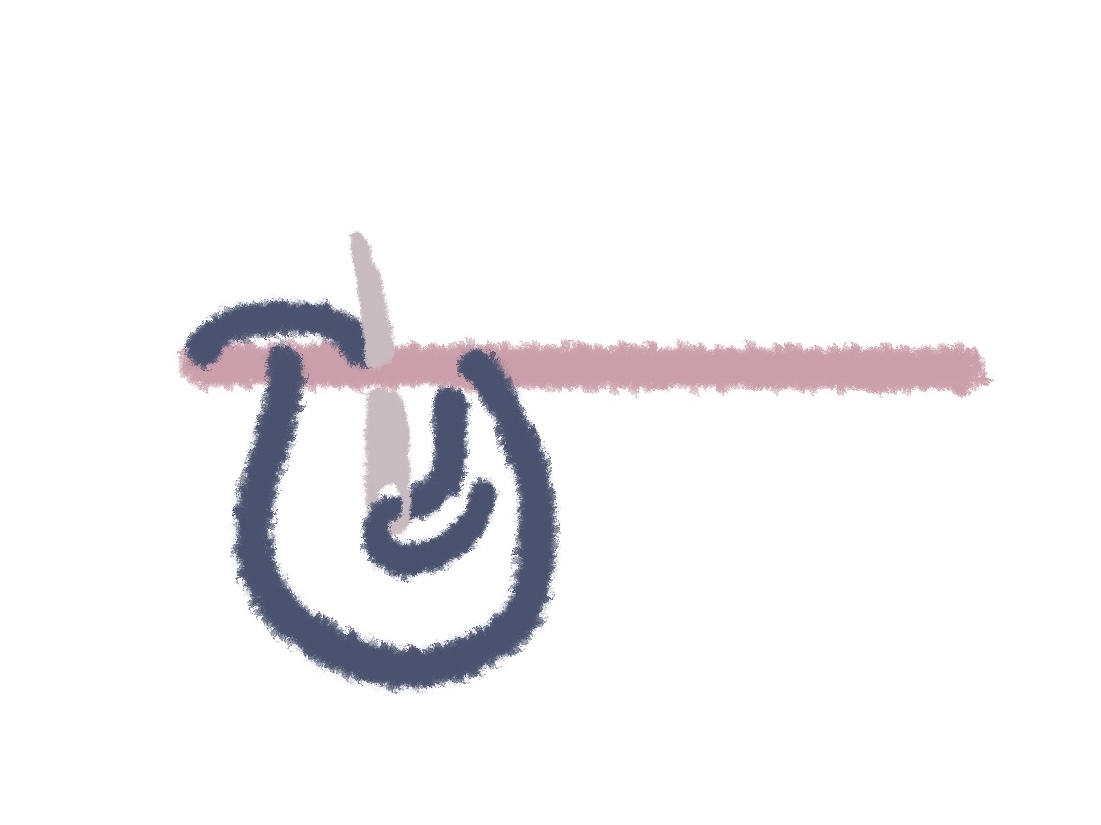
Stem stitch is "the loop position of the thread during embroidery is on the bottom side"
Make one stitch in the direction of travel and let the thread come out from the end of the previous outline stitch.
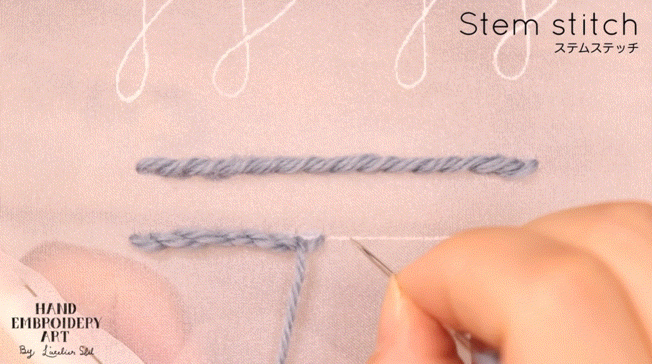
As you advance one stitch in the direction of travel, pull the thread out from the edge of the previous outline stitch without pulling the thread completely.
Then the reverse side of the Stem stitch becomes like a backstitch.
The key point when embroidering Stem stitches is that the loop position of the thread in the embroidery should be on the bottom side.
When this loop of thread is on the upper side, it becomes an Outline stitch, so always keep the position of the loop of thread in mind as you proceed with embroidery.
Point
・The loop position of the thread during embroidery is on the lower side
・When advancing one stitch in the direction of travel, the needle is brought out from the end of the previous stitch without pulling the thread completely.
・Pull out the needle from the same place as the previous needle hole
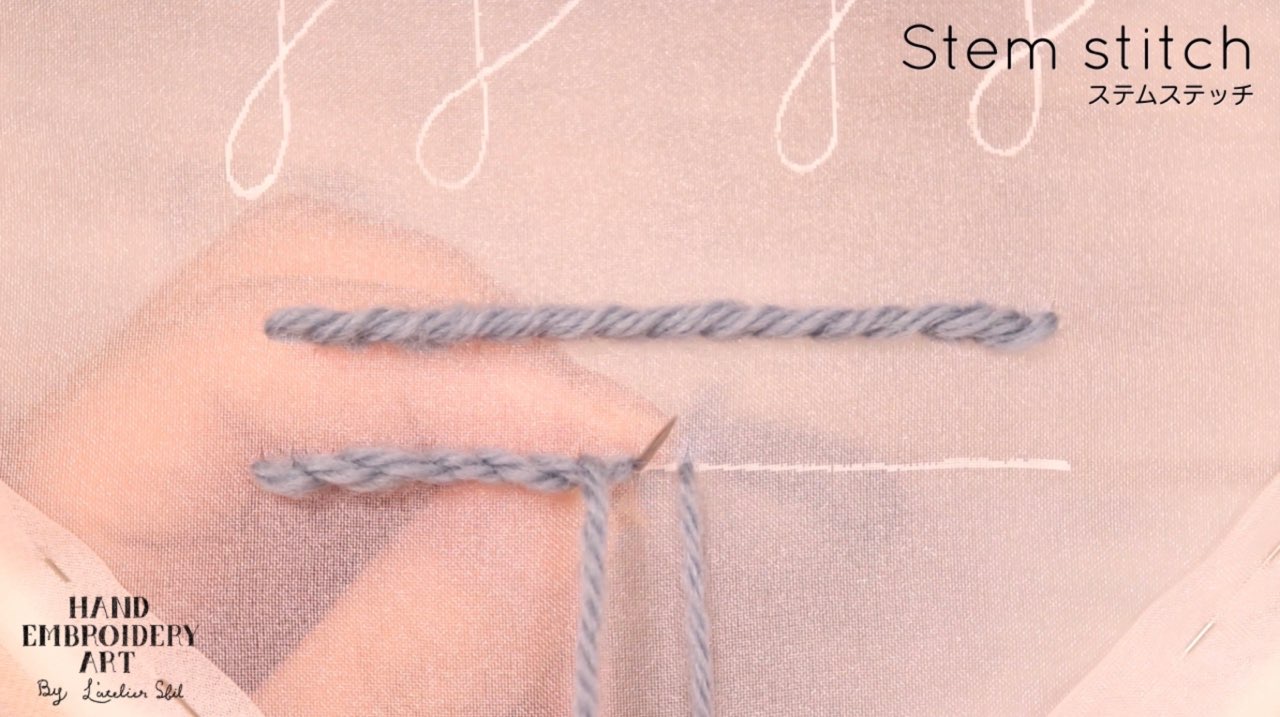
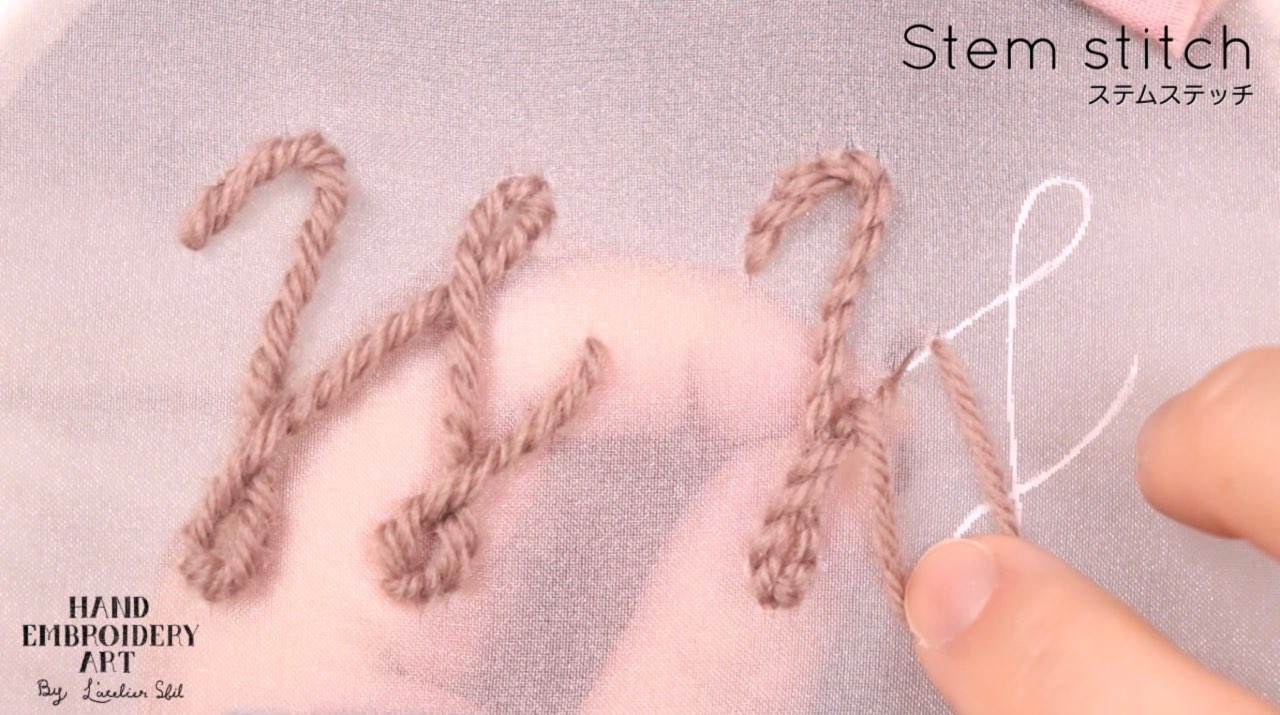
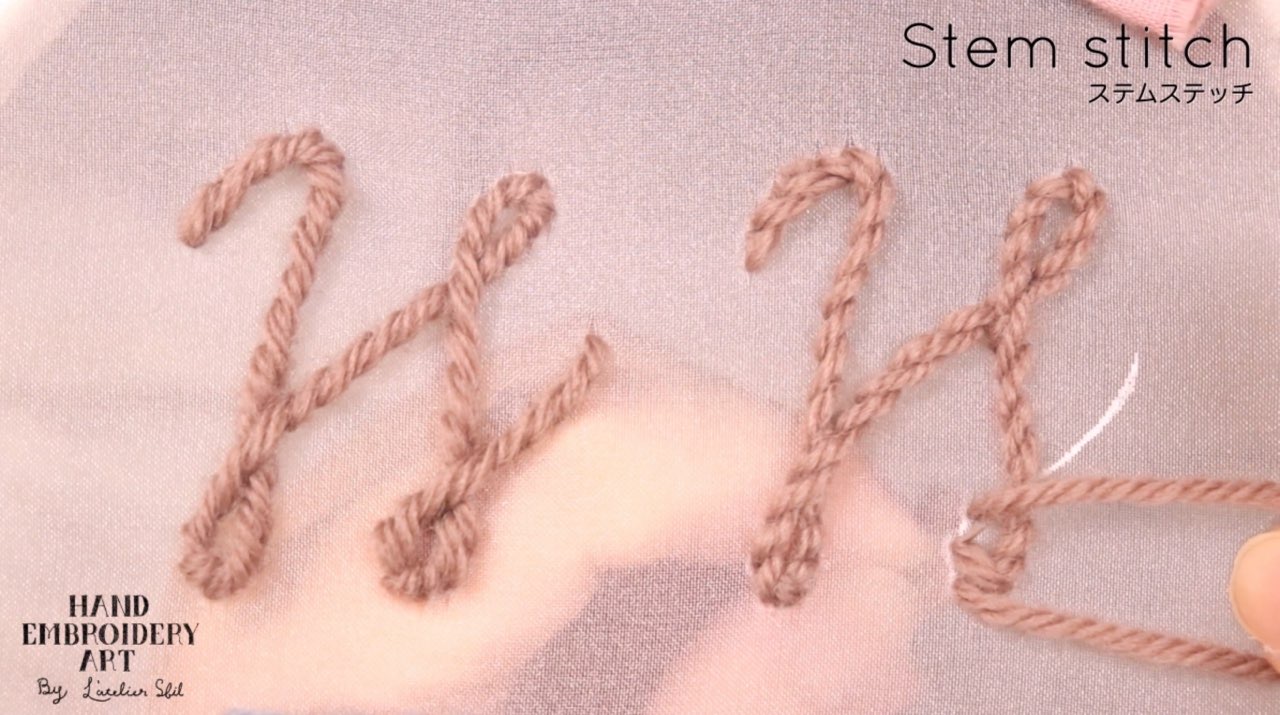
【3】End stitch
Make it hidden under the Stem stitch
Make End stitch so that it is hidden under the two Stem stitches.
Just like the stitch at the beginning of the stitch, two small straight stitches will be the stitch at the end of the stitch.
Since the final stitch will be embroidered just below the Stem stitch, shift the thread with your finger and embroider.
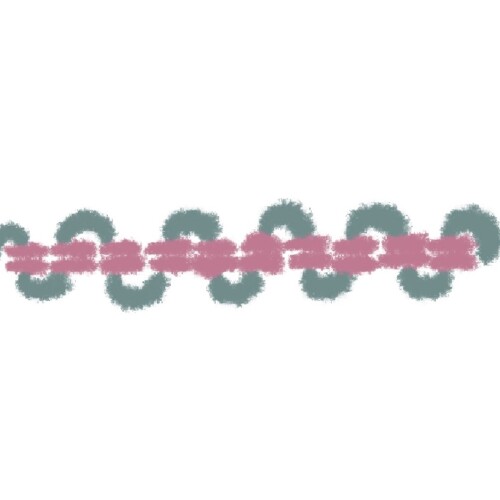
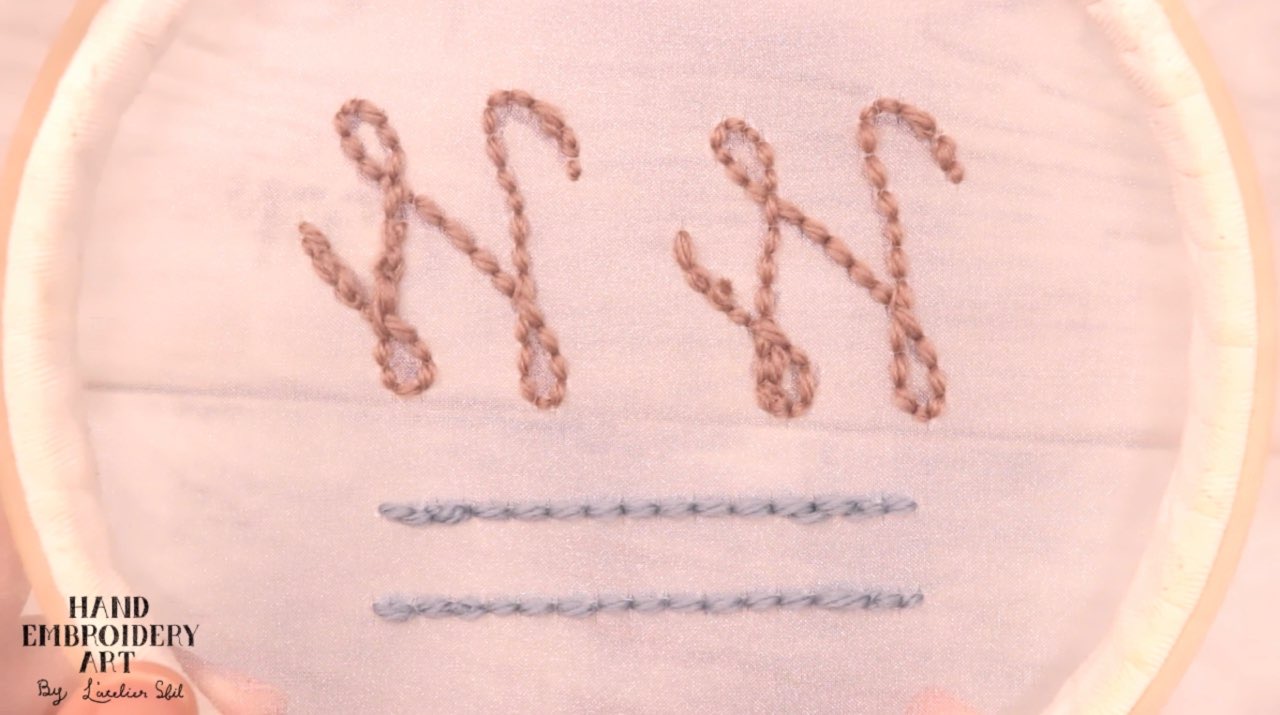
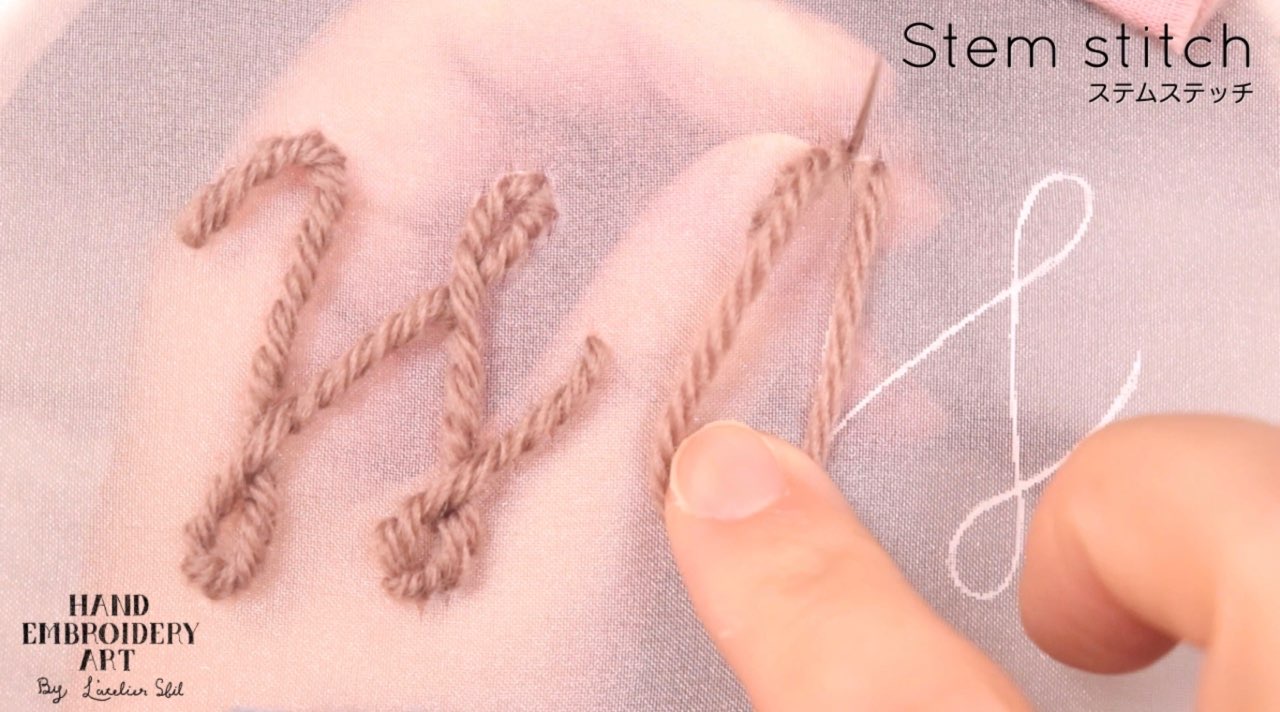
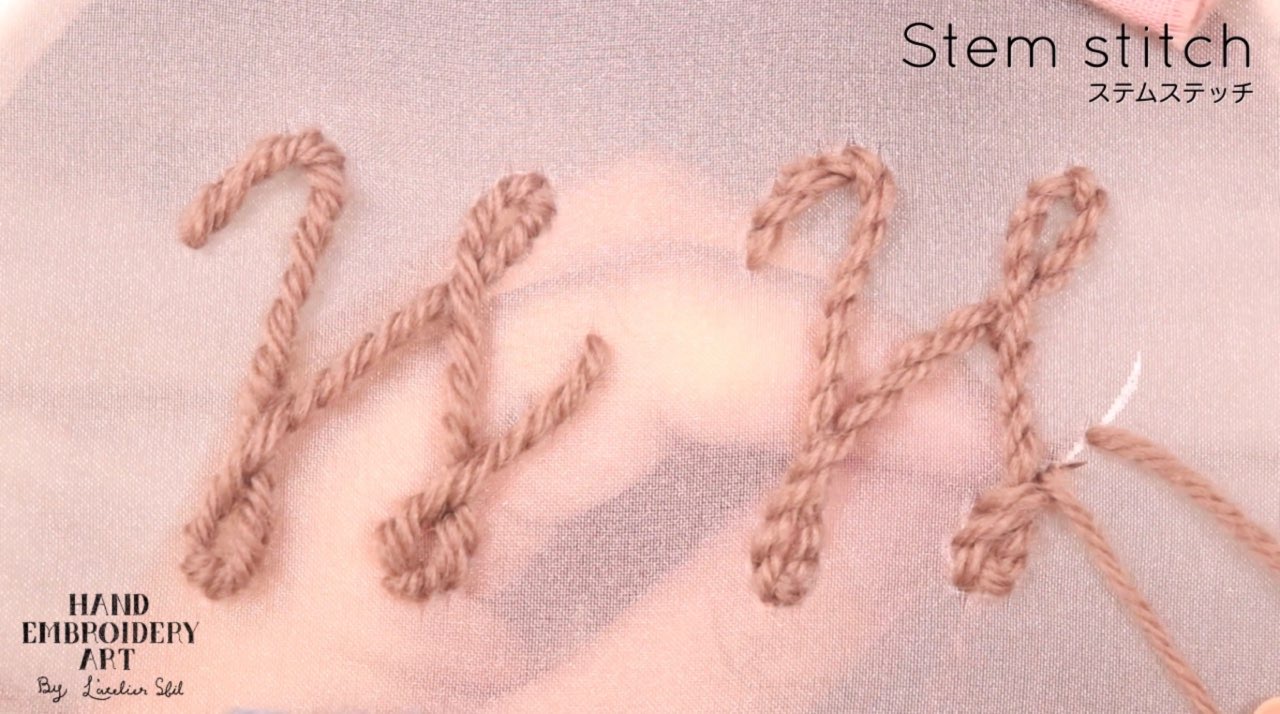
【4】Thread loop position during embroidery (pattern with many curves)
When embroidering a straight line with stem stitch, the position of the thread loop is easy to understand.
When embroidering characters with a lot of curves, it may be difficult to know which side of the loop is which.
As shown in the image below, proceed with the embroidery while checking that the thread loop position is always on the "lower side" in the direction of travel.
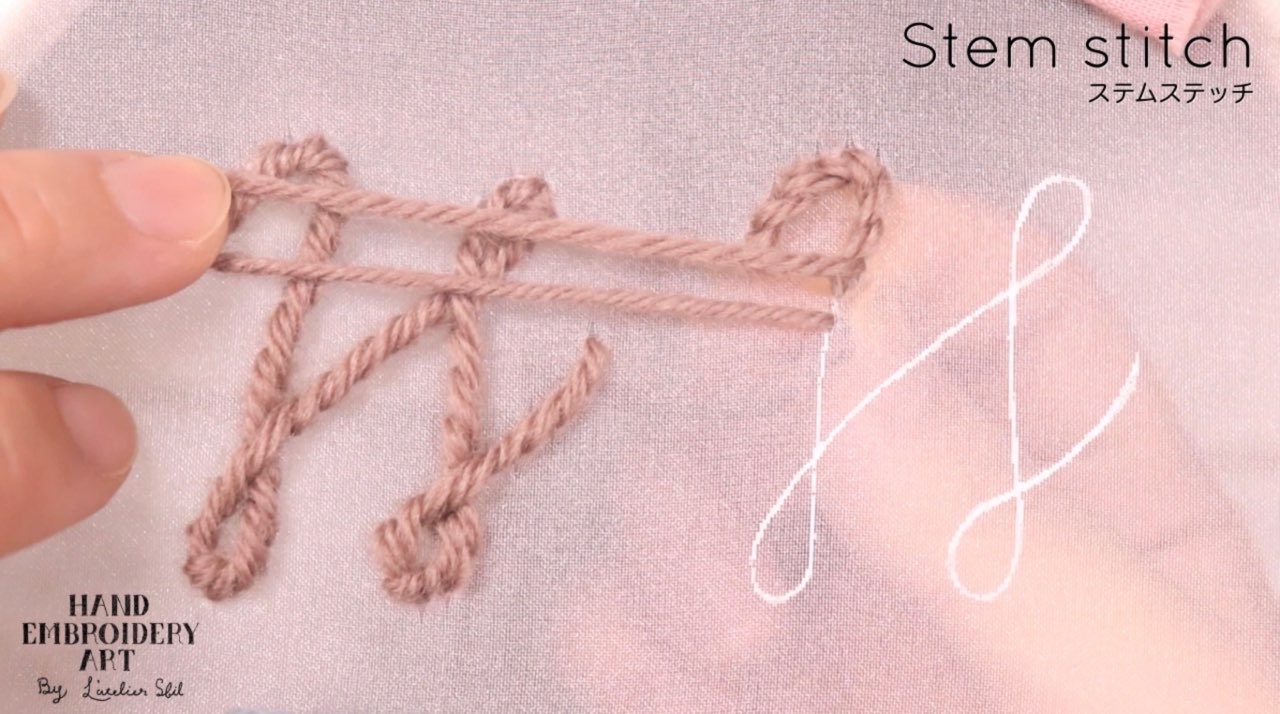
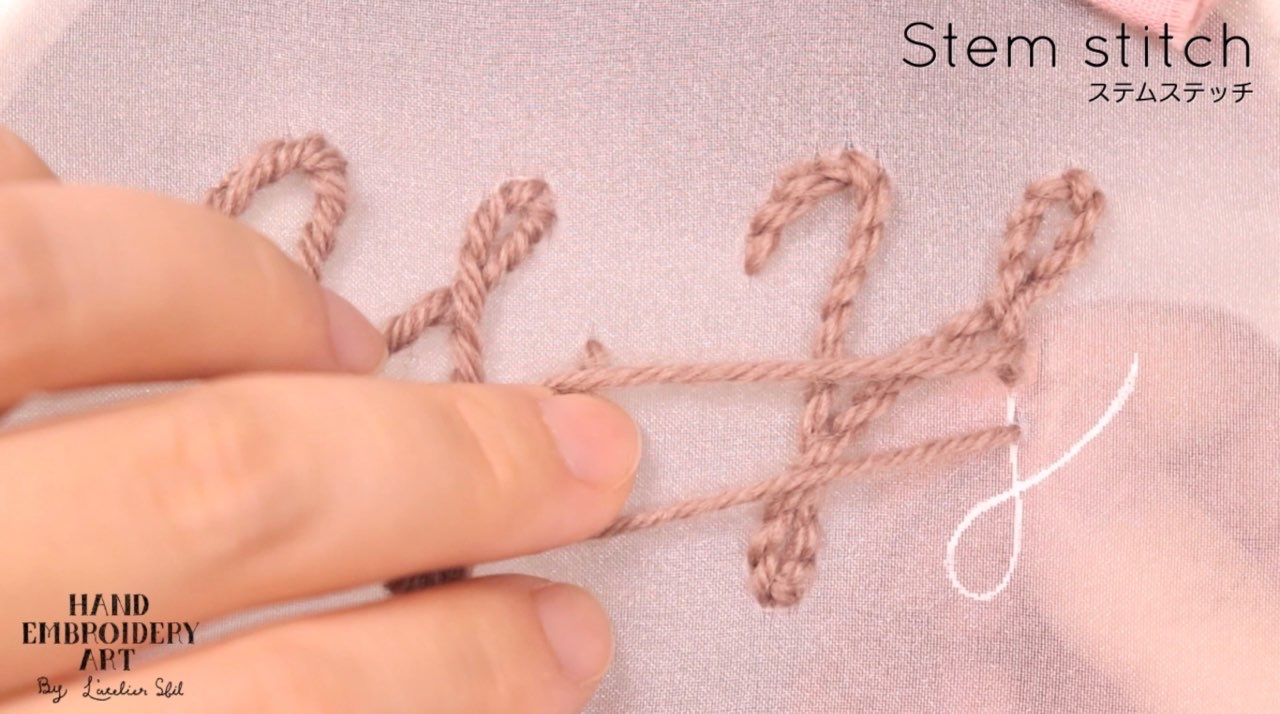
↑ When the direction of embroidery changes, it is difficult to decide which side the loop of thread is on. Embroider while remembering that it is the "lower side".

↑ If you don't know where to place the thread, try moving the embroidery frame to check the direction of movement.

Watch a video on how to embroidery
“How to Straight Stem stitch” is explained from 1:52.
“How to Curved Stem stitch” is explained from 8:31.
Subtitles are included, so please turn them on and watch.
Click here to download the Free embroidery pattern
Print the PDF in A4 size and borderless.
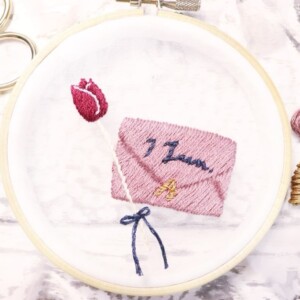
Outline stitch and Stem stitch explanation page
How to Outline stitch