


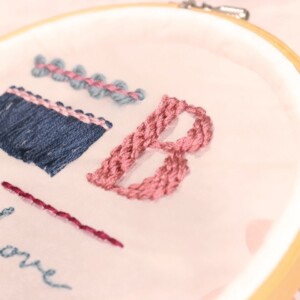


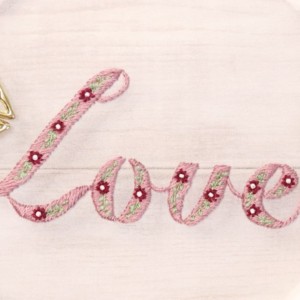


How to embroider letters and patterns as per design on satin stitch
On this page, a video explains how to embroider letters and patterns on satin stitch.
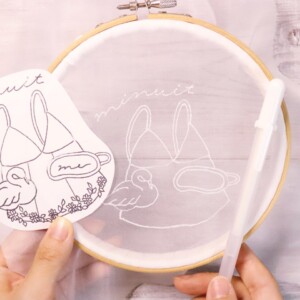
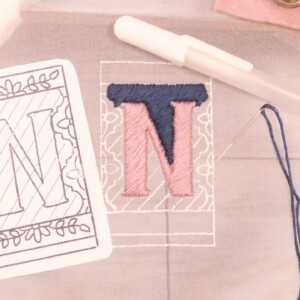
Embroider the printed design paper on top of the satin stitch.
This is the recommended method because it is embroidered on the embroidery design itself, so you can easily embroider according to the design.
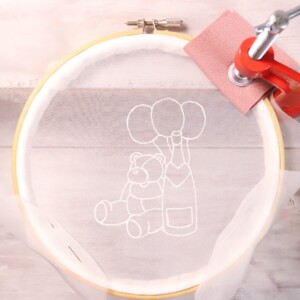
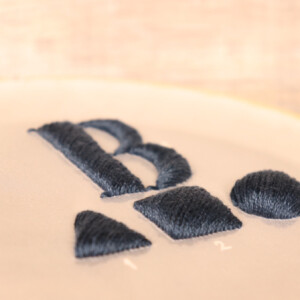
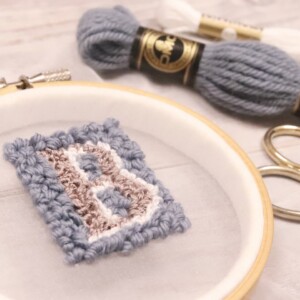
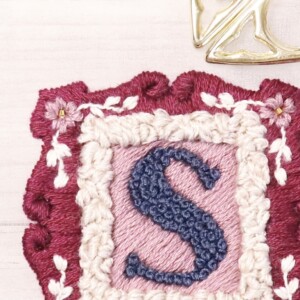
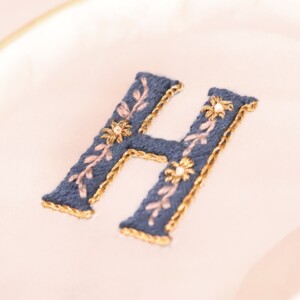
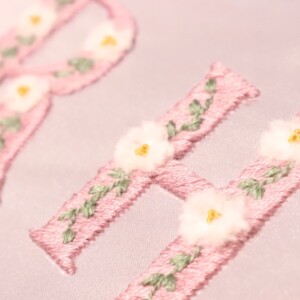
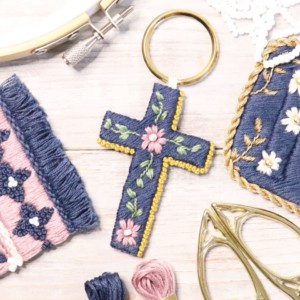
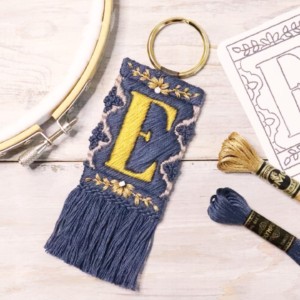
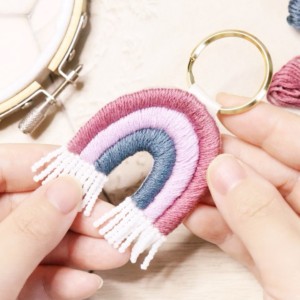
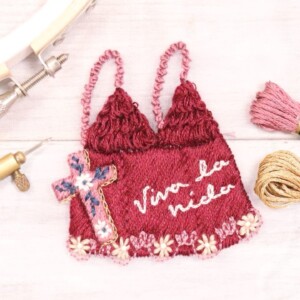
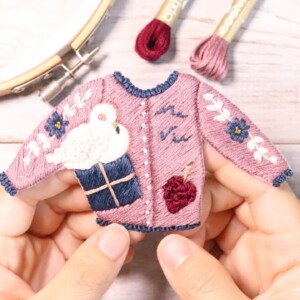
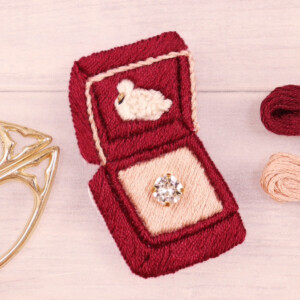
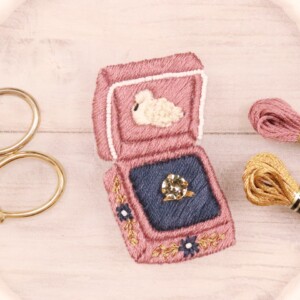
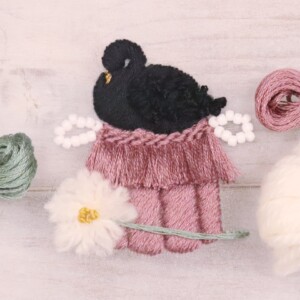
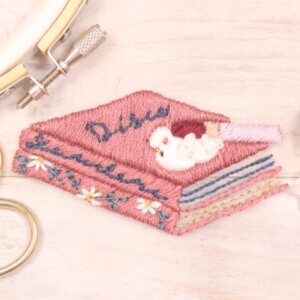
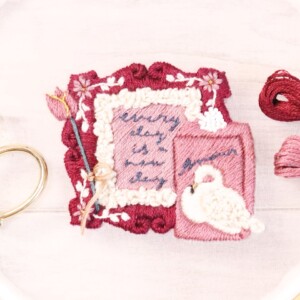
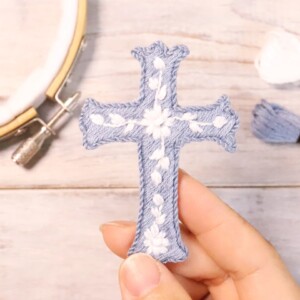
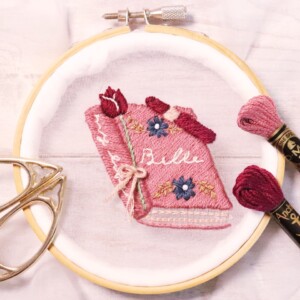
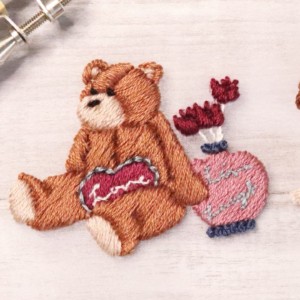
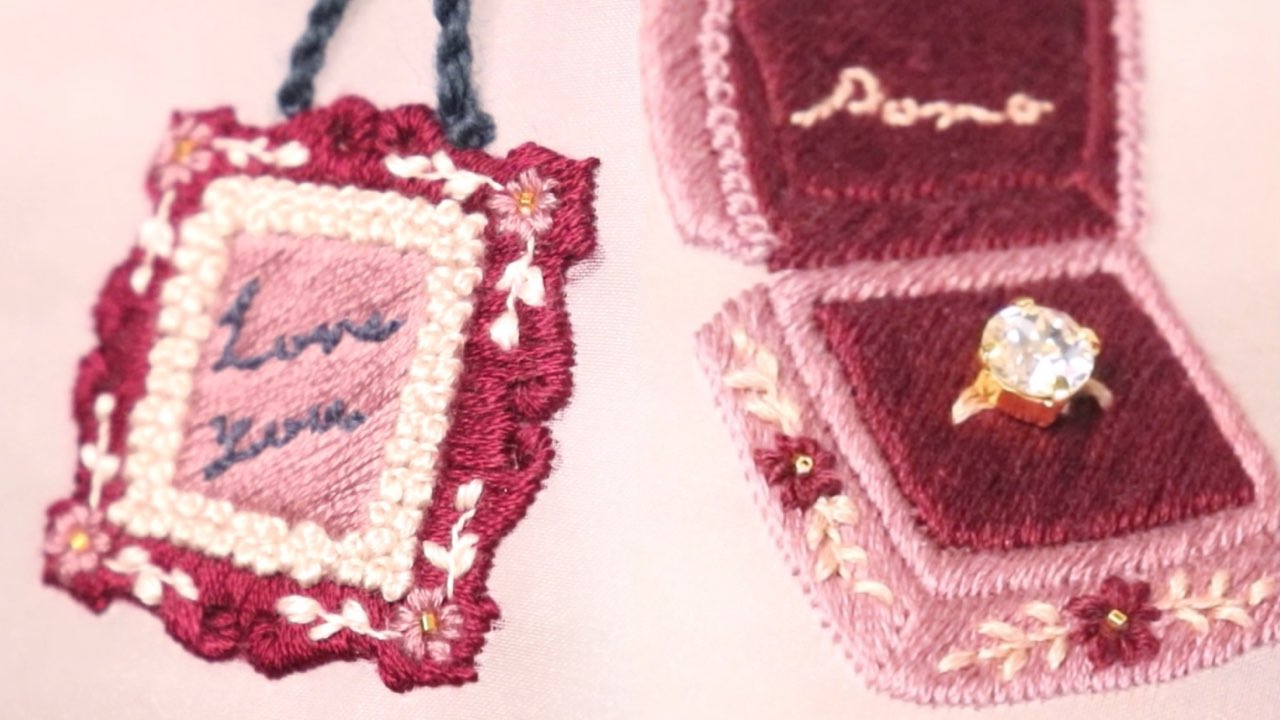
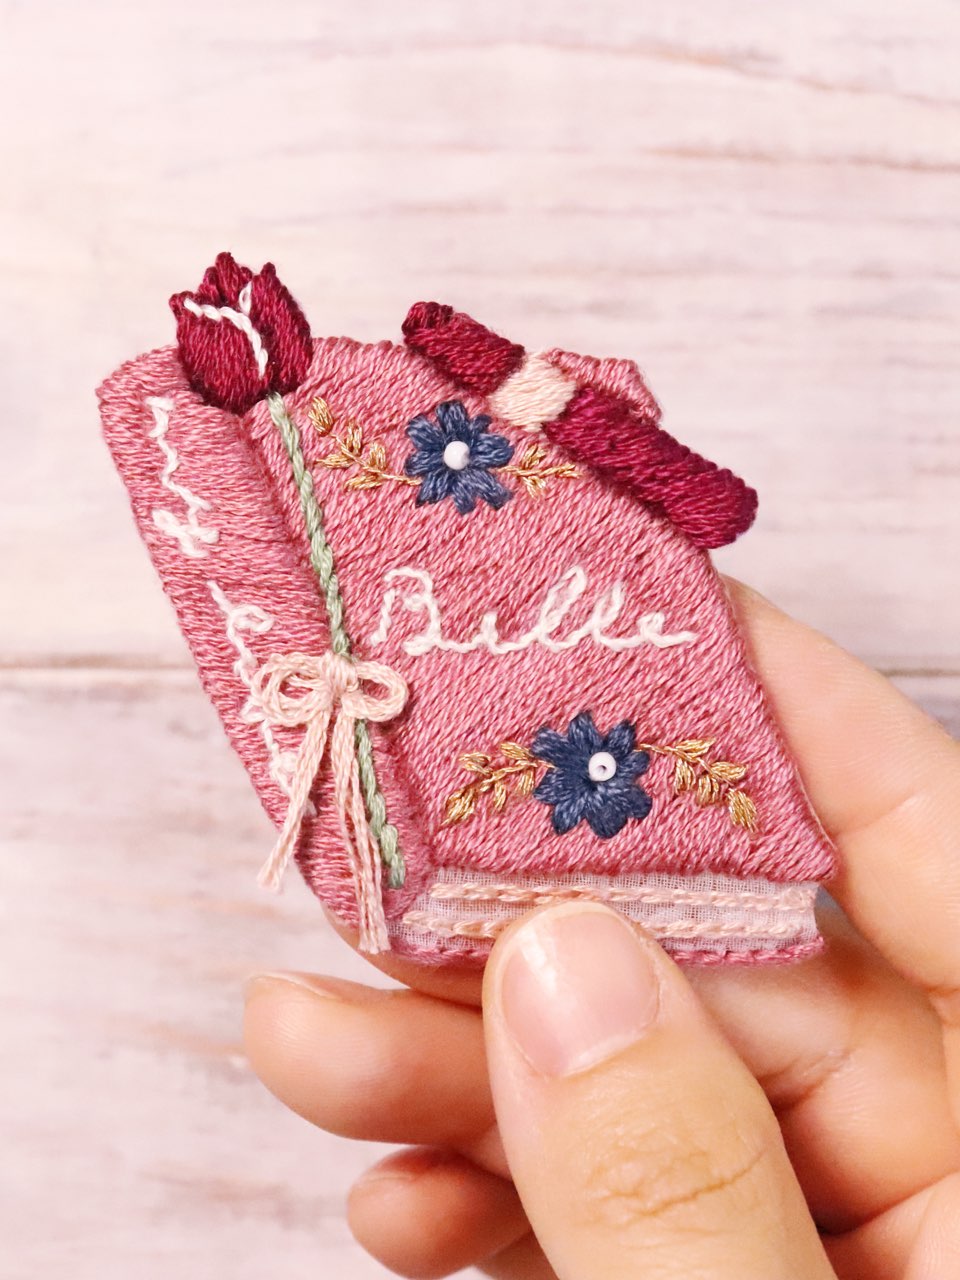
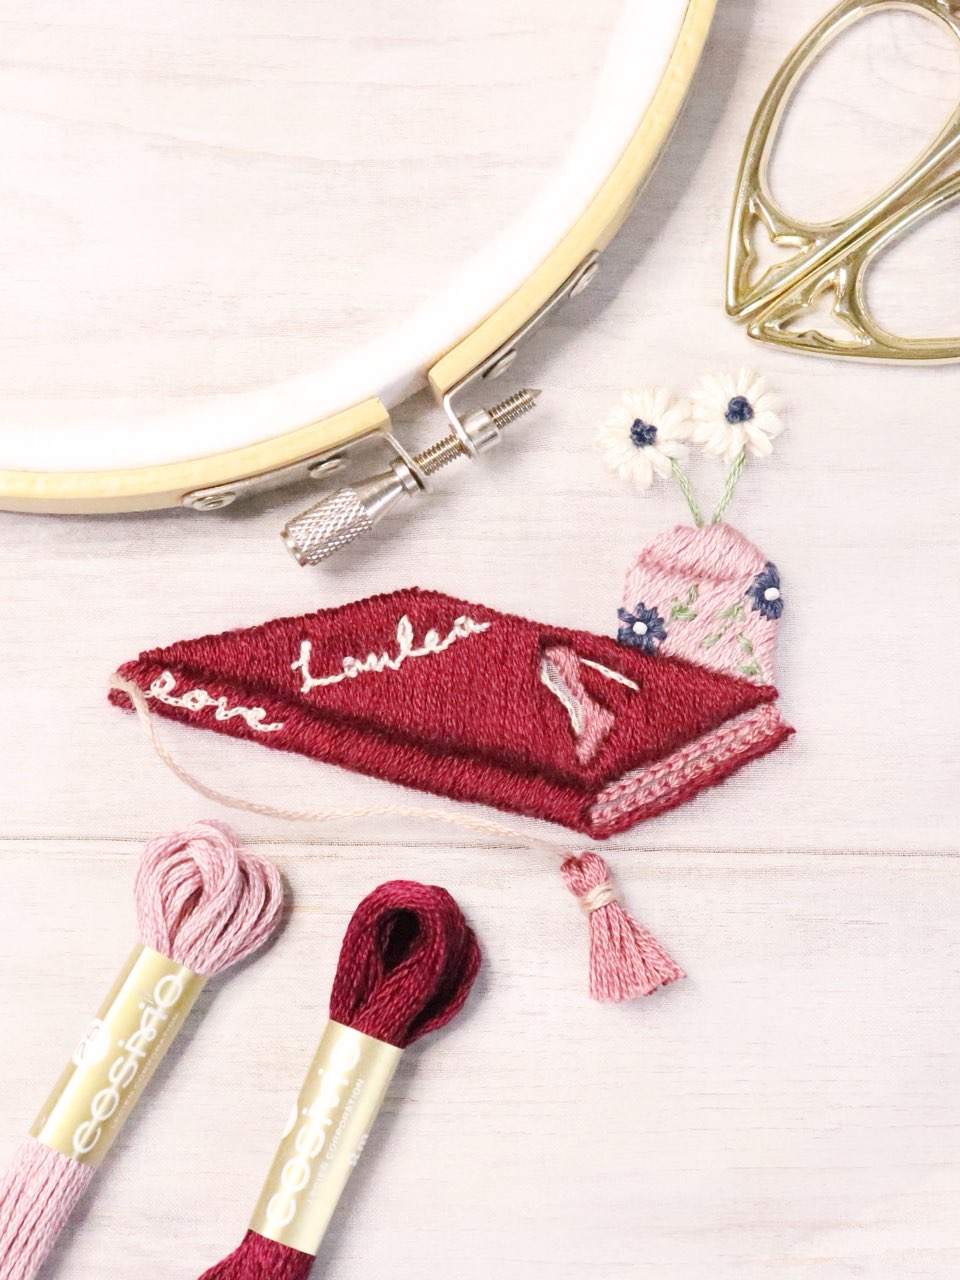
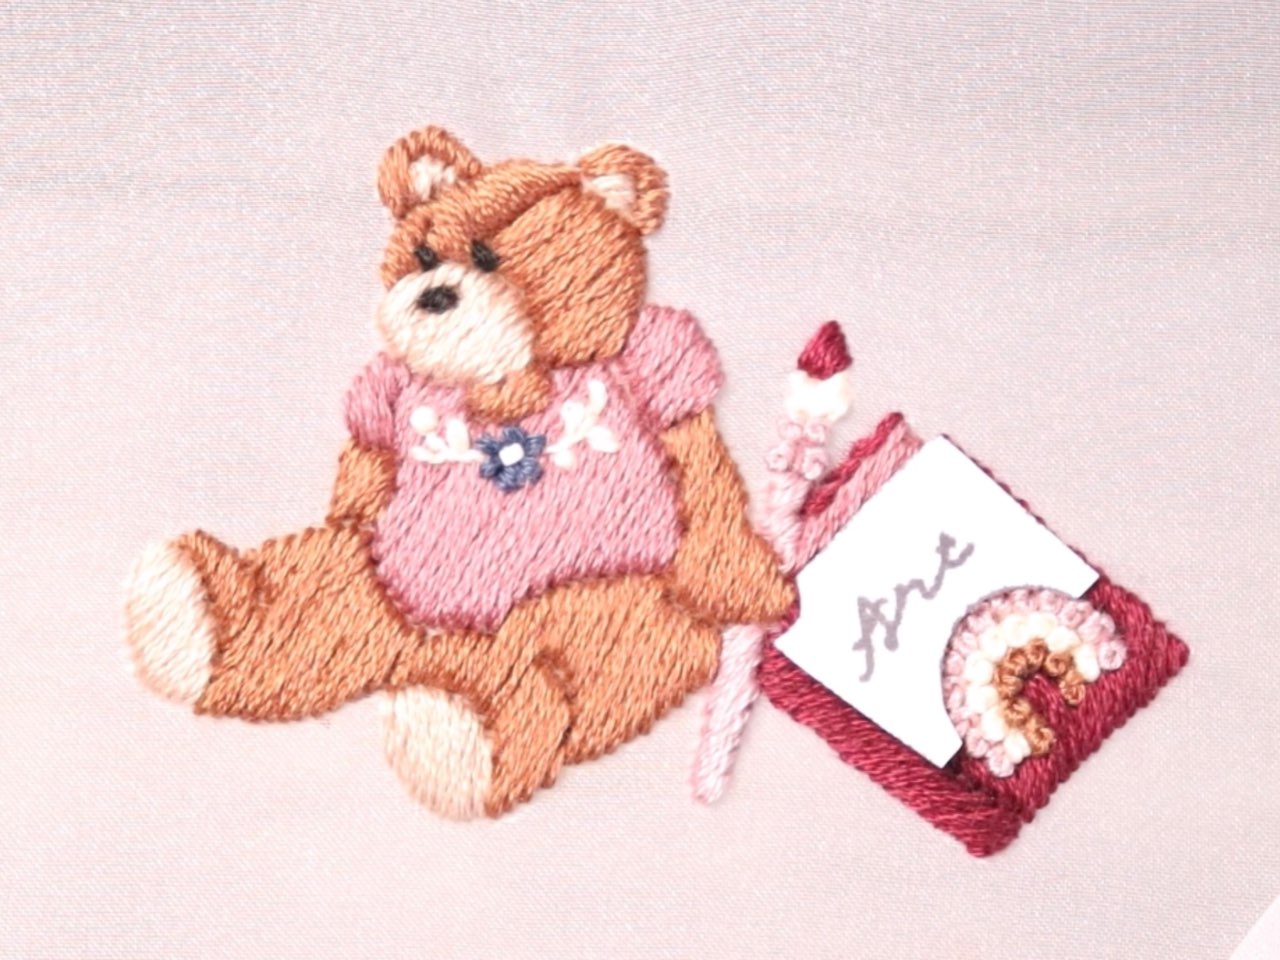
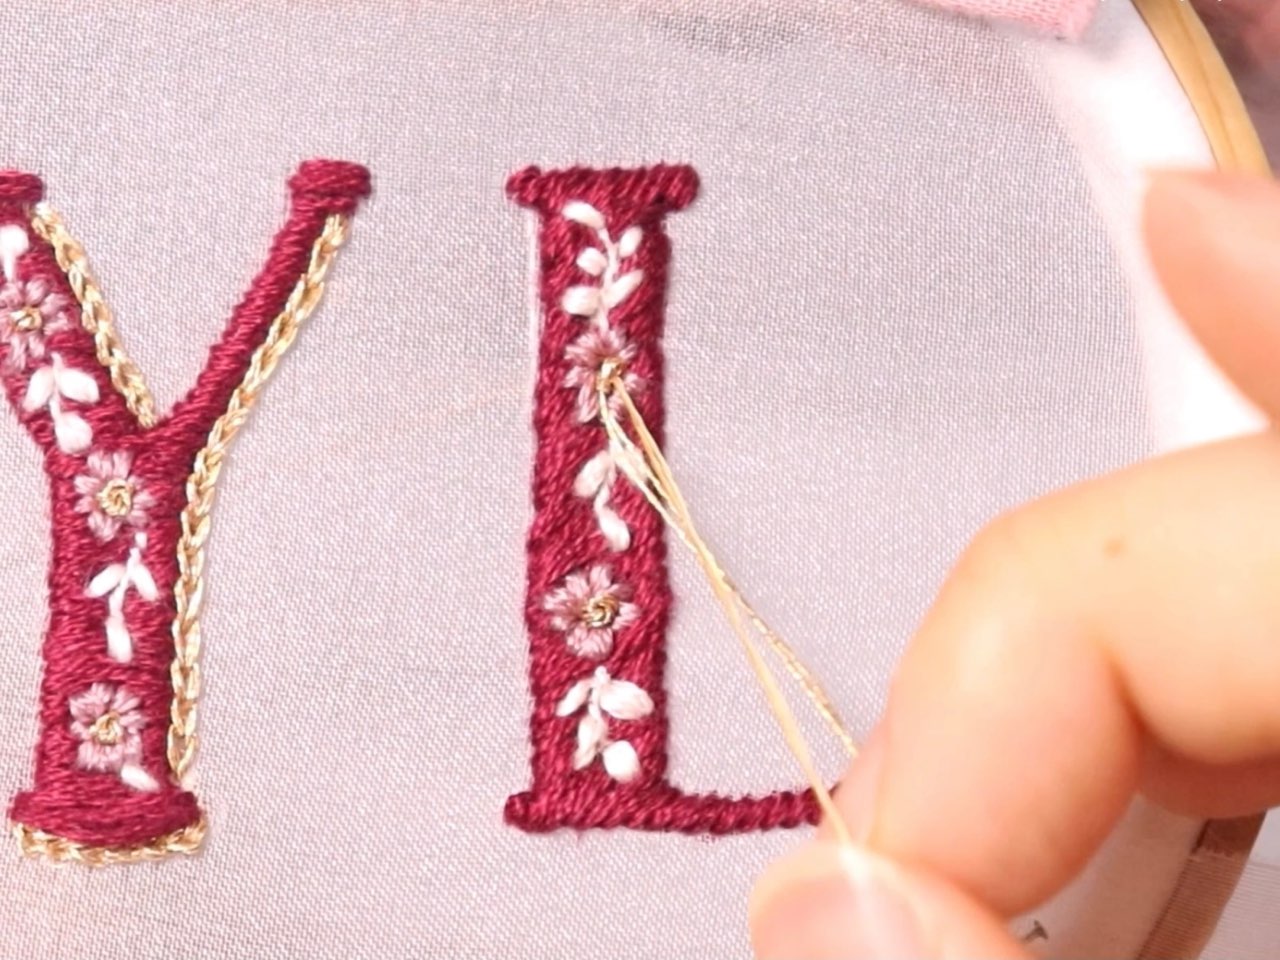
embroidery example

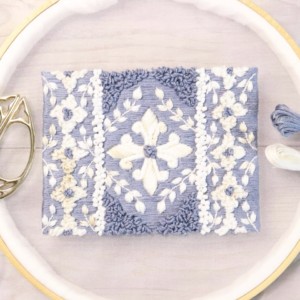
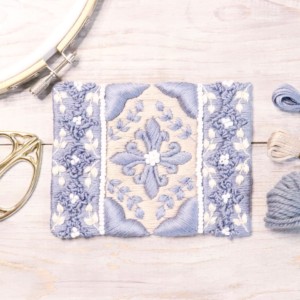
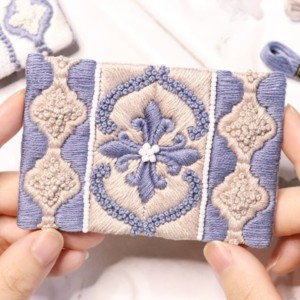
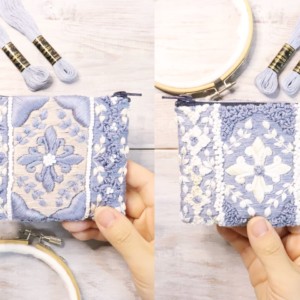
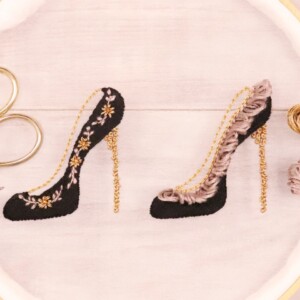
Part embroidered from above the satin stitch: flower pattern on the picture frame
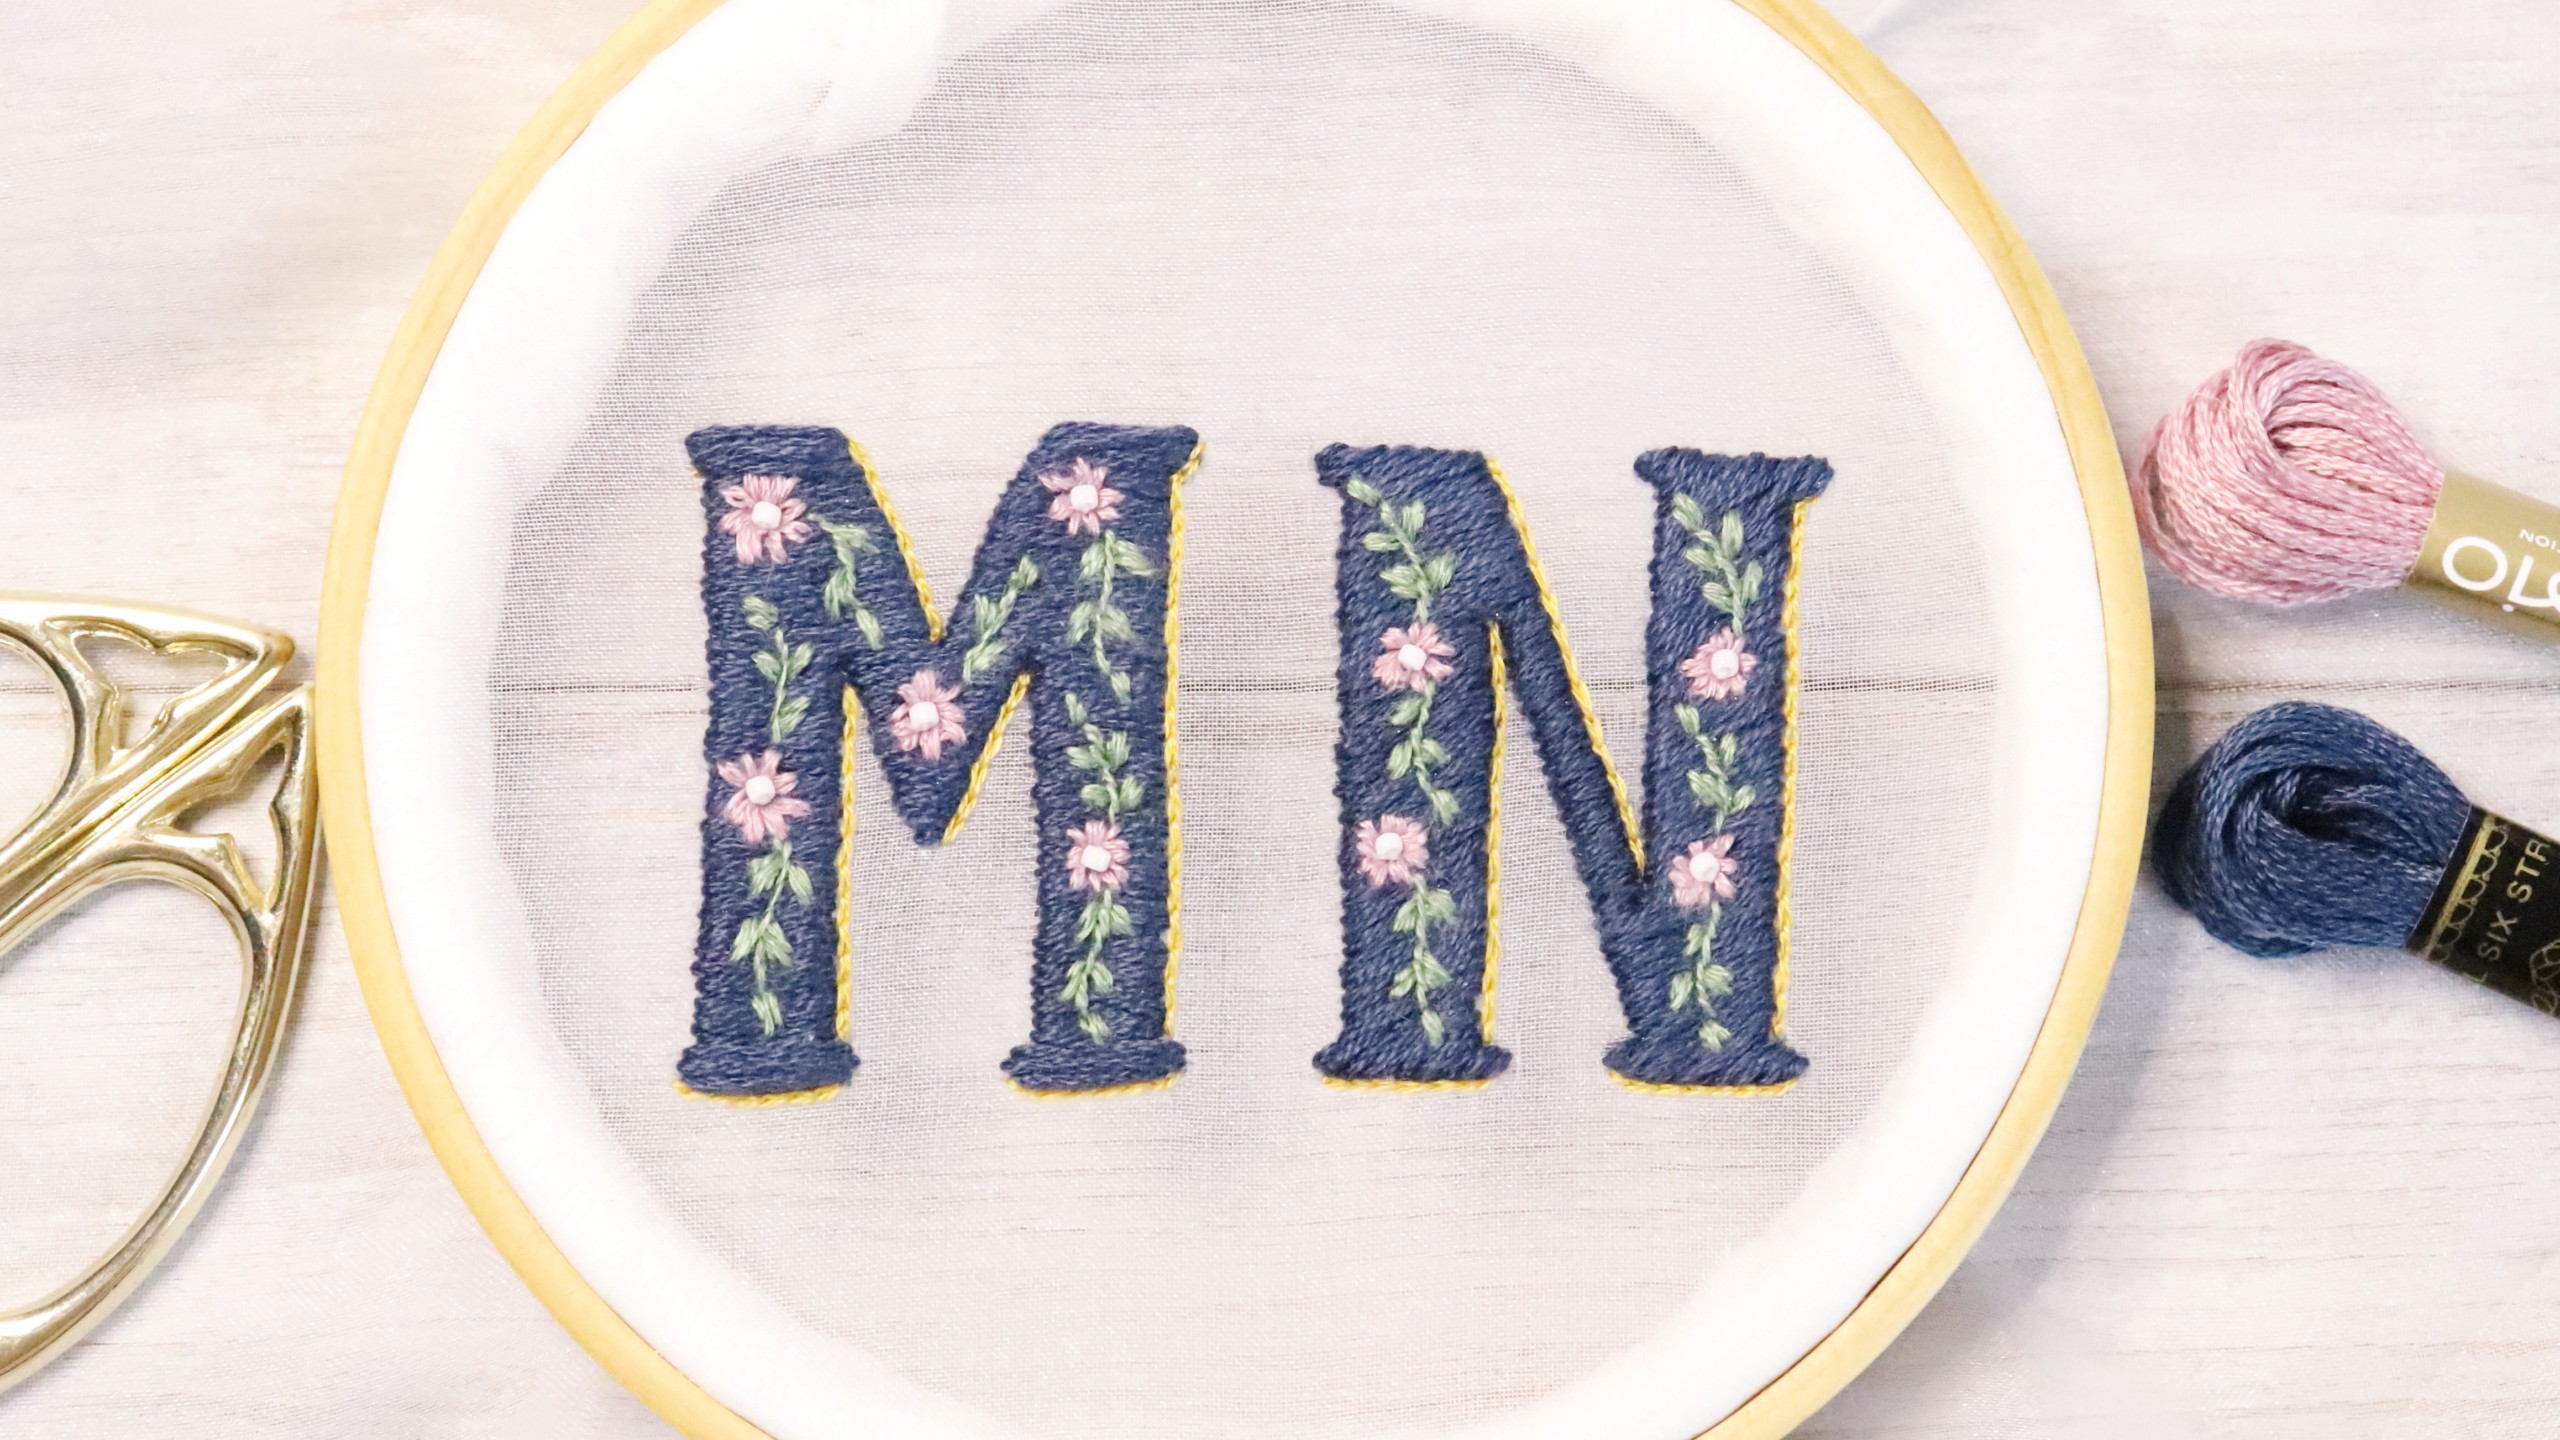
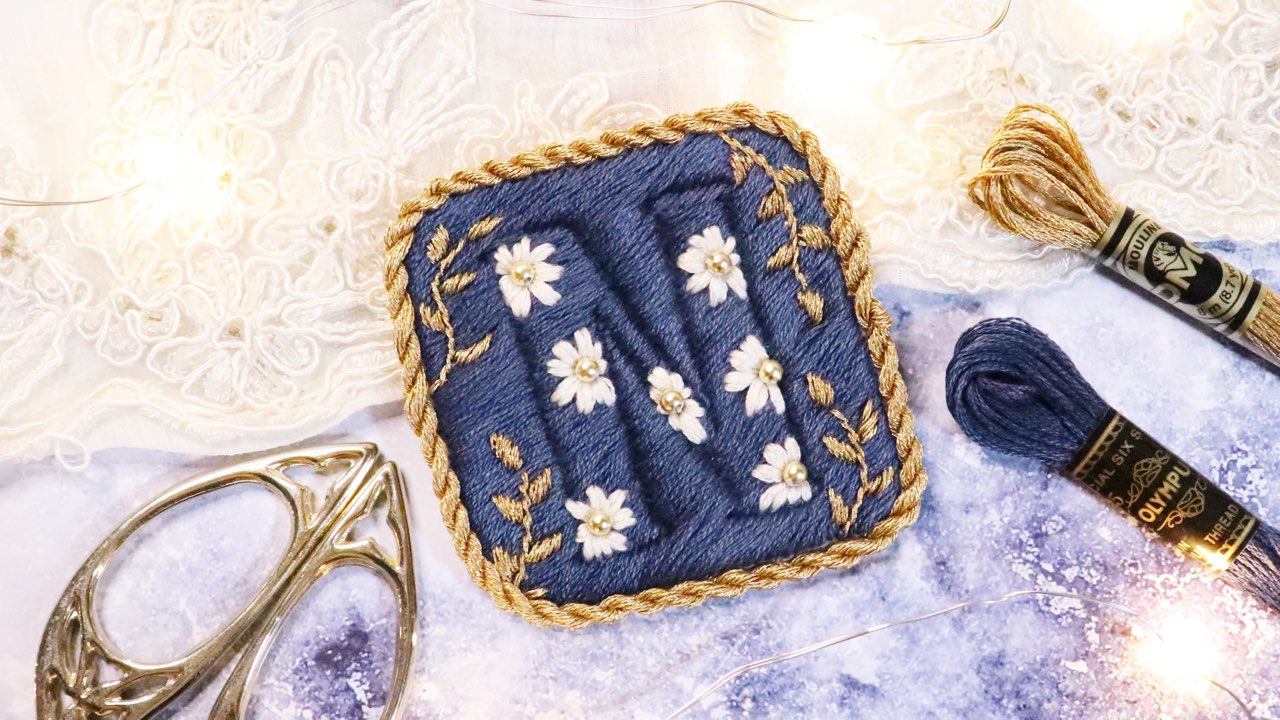
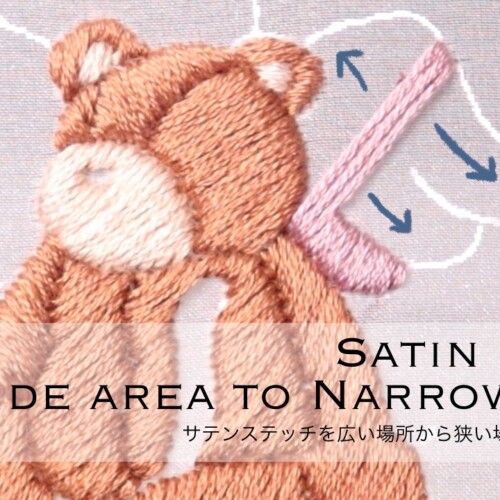
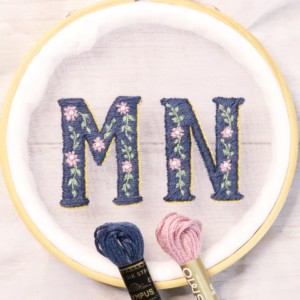
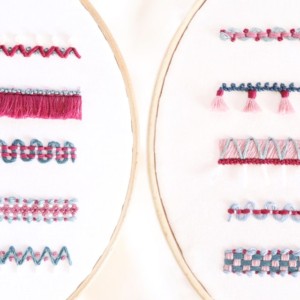
Sfil's embroidery designs often use satin stitches, so I explained that "embroidery is layered on satin stitches", but of course it can be applied to other embroidery such as long and short stitches.
Watch a video on how to overlay embroidery on satin stitch
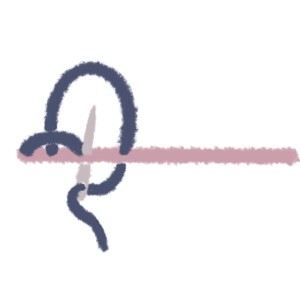
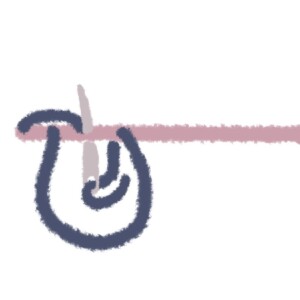
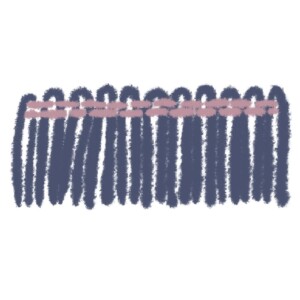
Order of overlaying embroidery on satin stitch
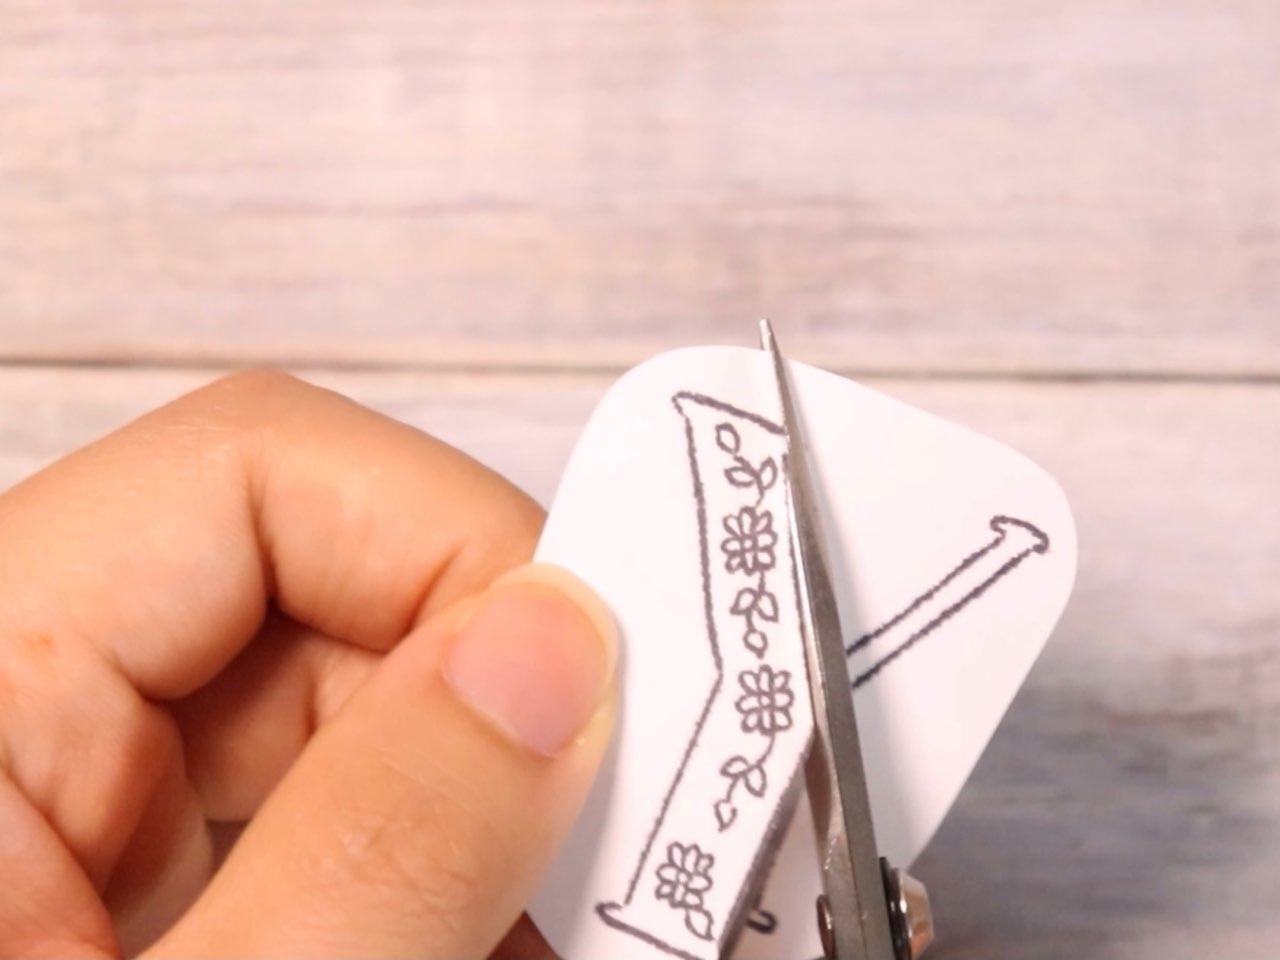
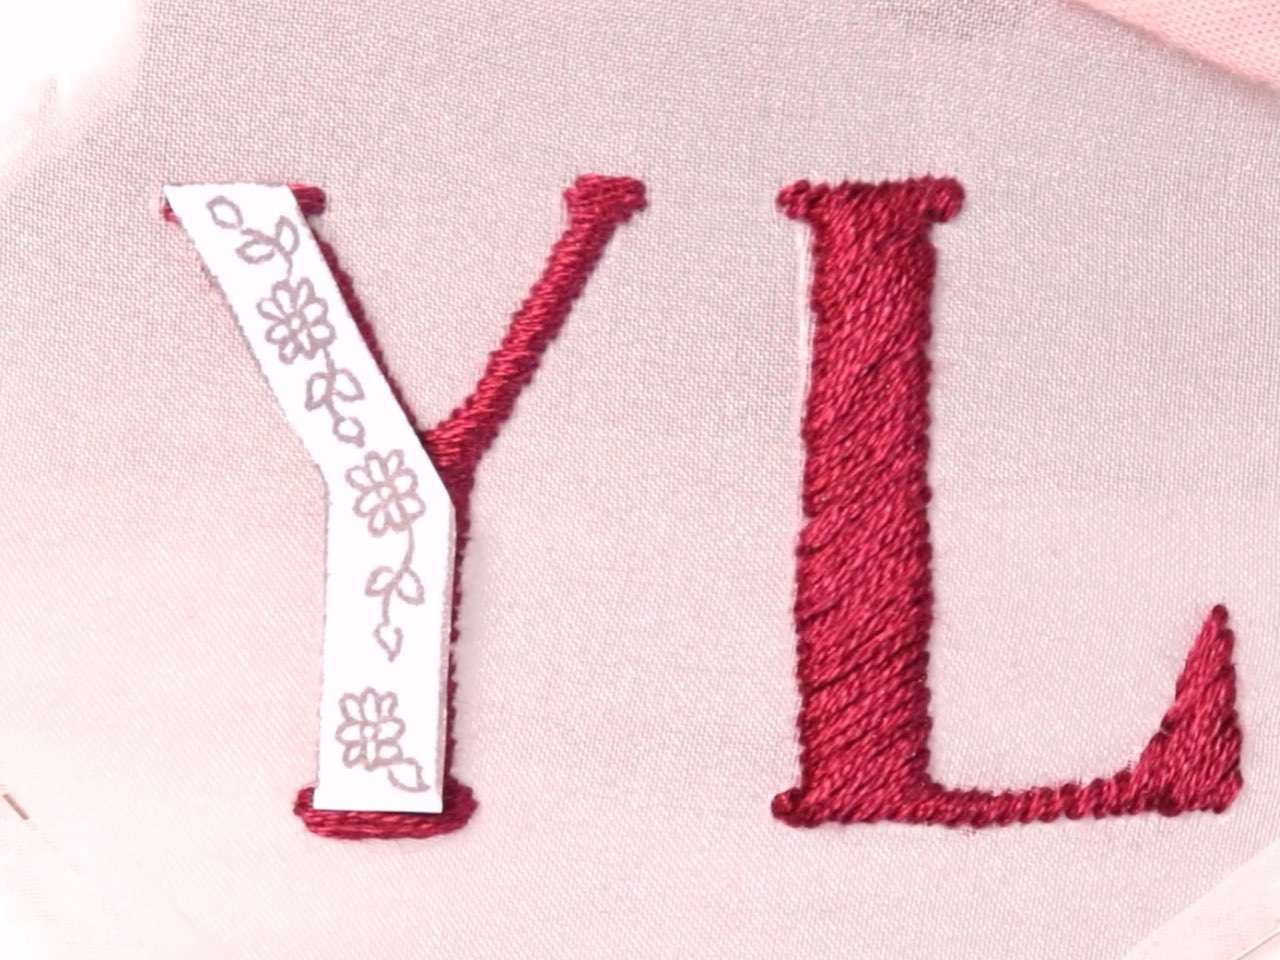

It's just right so that you can't see the black frame line of the cut design.
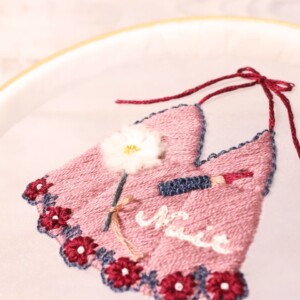
For example, in the case of the above photo, the pattern is placed using the upper side of the book and the curve of the rainbow as a mark.

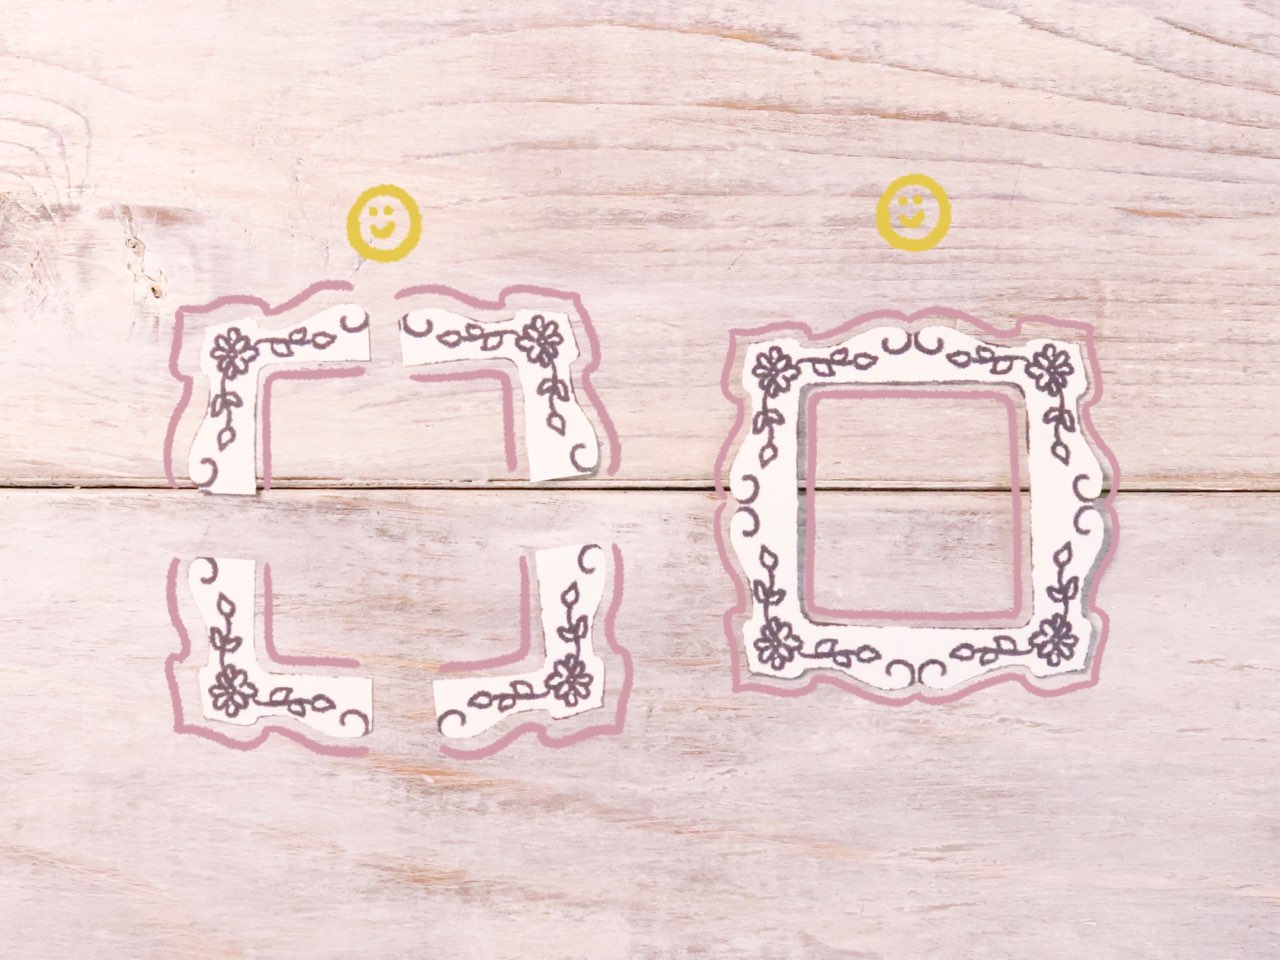
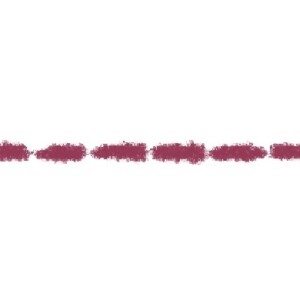
In the above photo, the pink line is used as a mark to match the satin stitch.
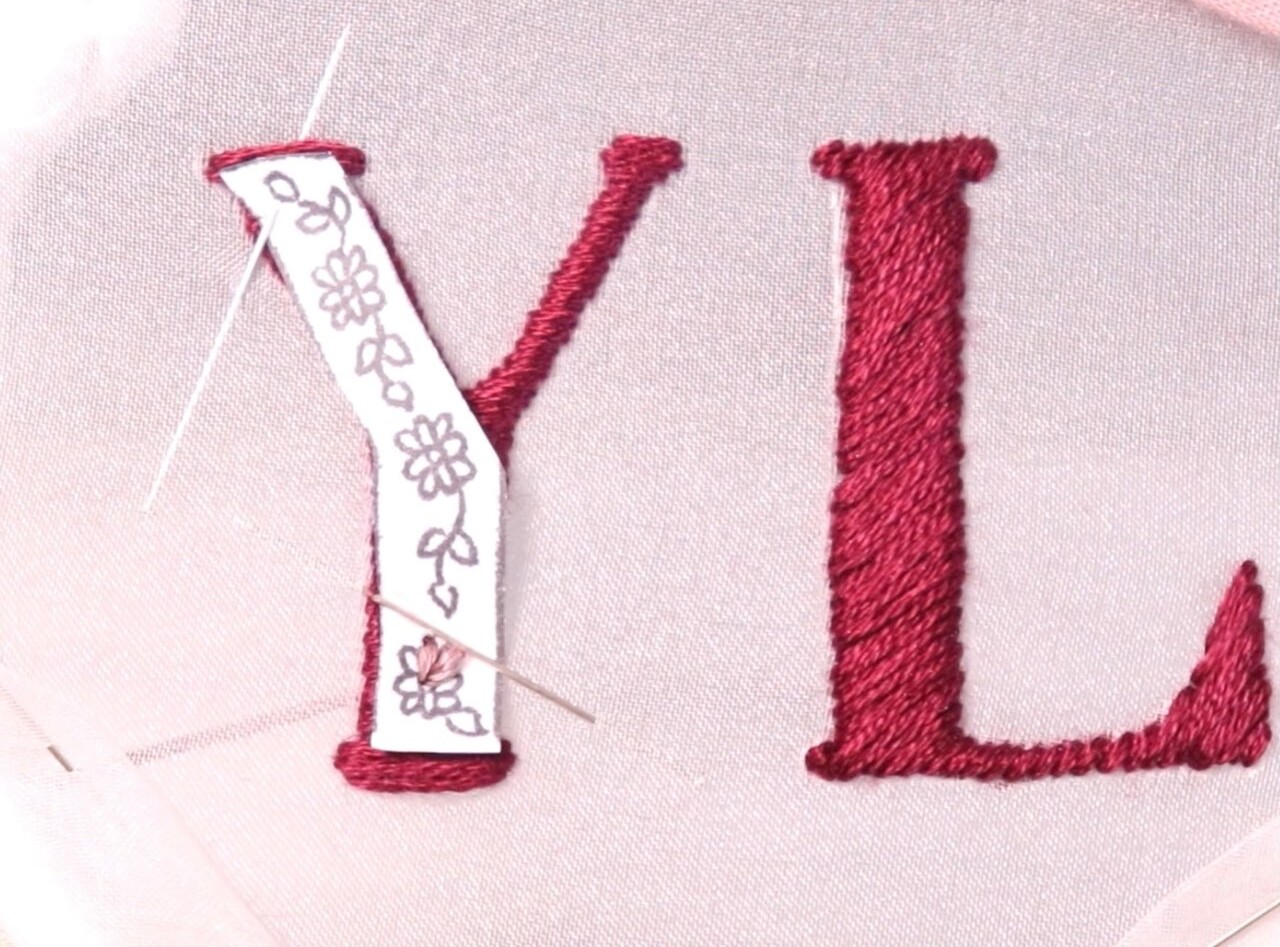

Embroidery stitches from the paper of the embroidery pattern
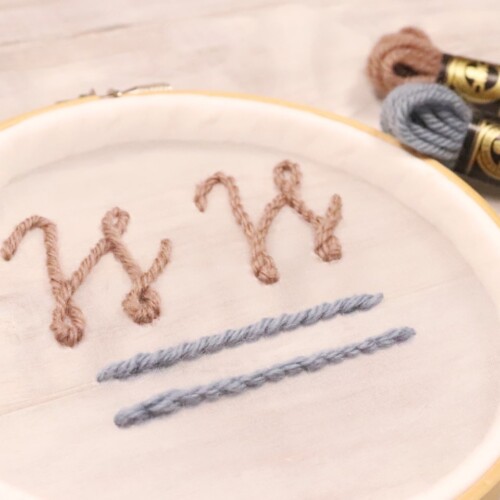
・Satin stitch
・Straight stitch
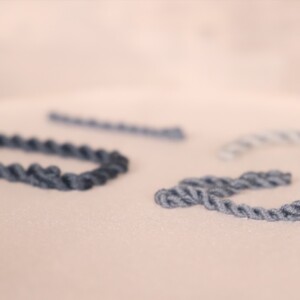
・Line embroidery
・Bead embroidery (It is OK to embroider after removing the paper.)
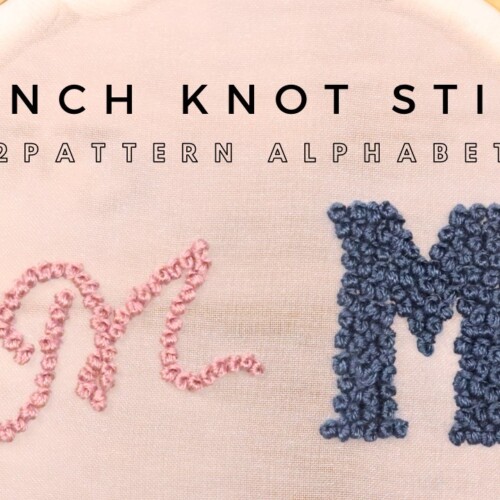
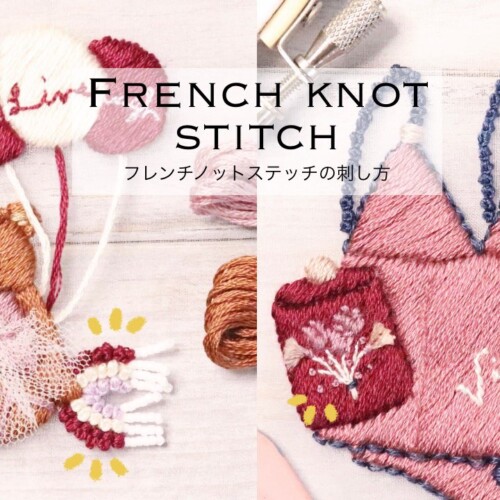
・French knot stitch (It is OK to stab after removing the paper)
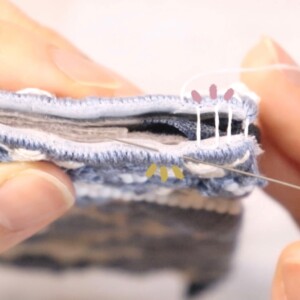
When stitching the French knot stitch over the paper, carefully remove the paper so that the French knot stitch does not lose its shape.
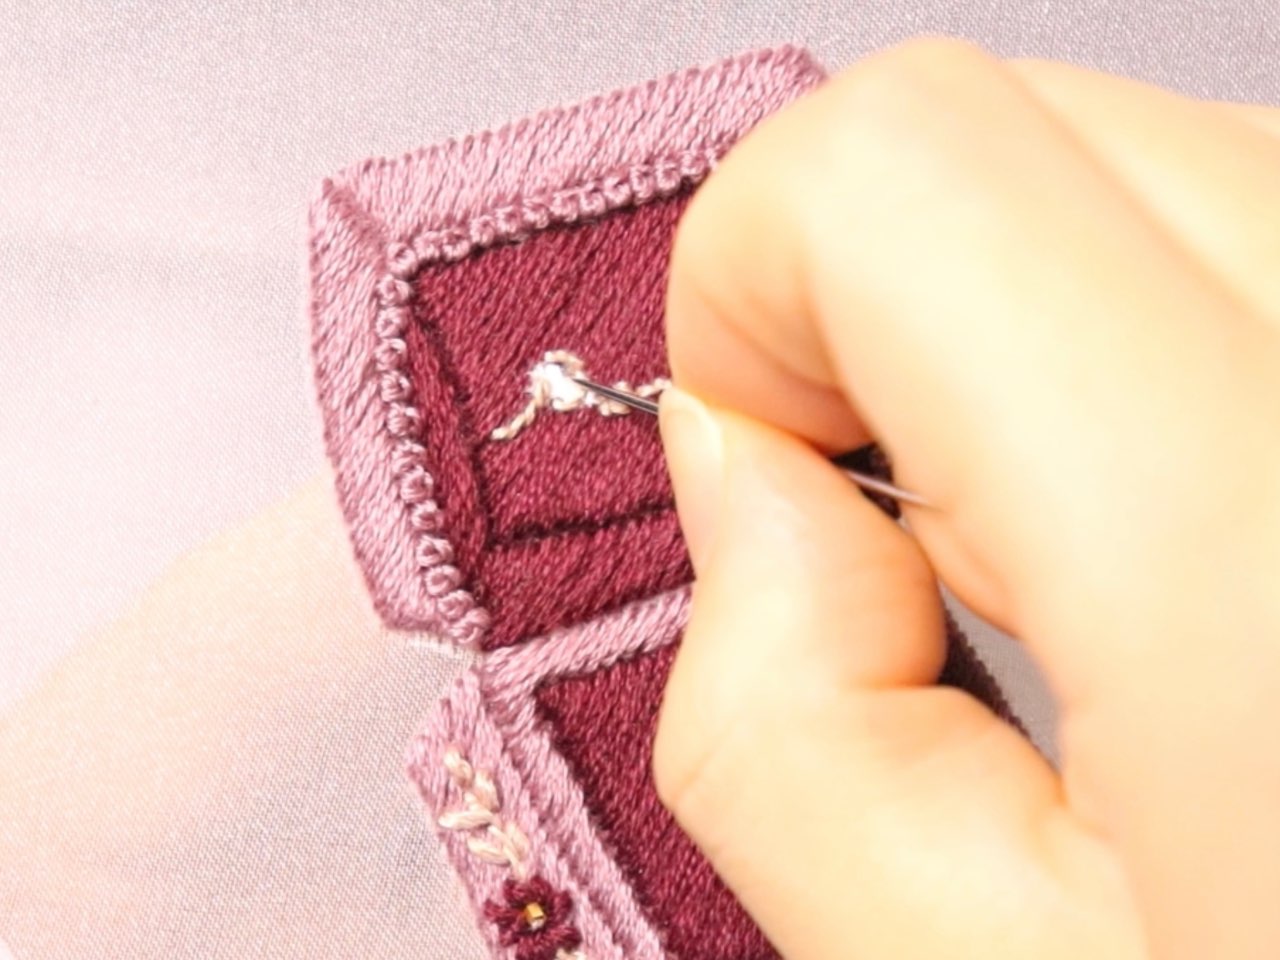
For fine details, use the tip of a needle to check for any remaining paper.
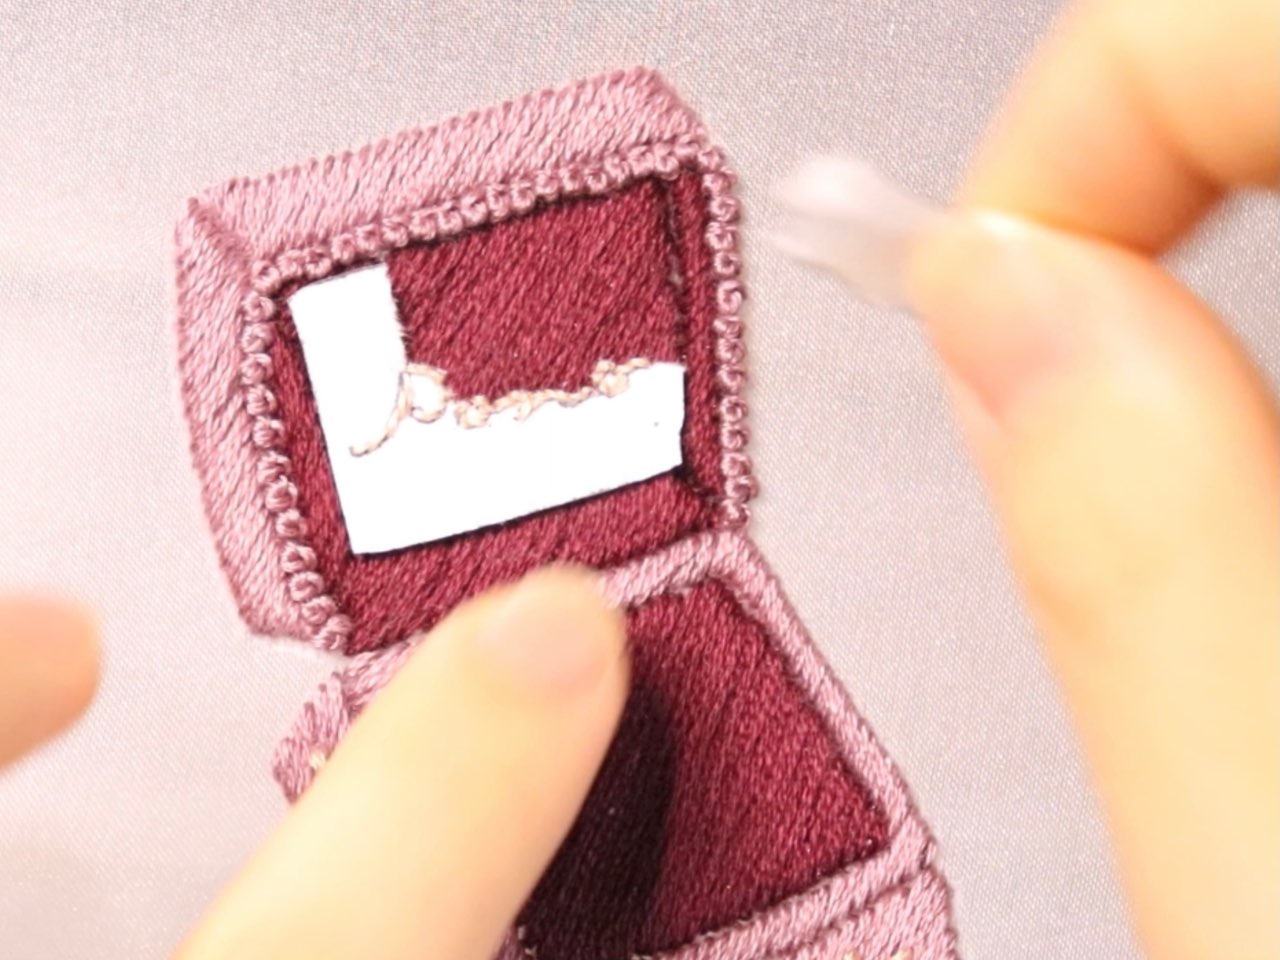
Embroidery stitches after removing the paper of the embroidery design
There is no problem in embroidering from the paper of the embroidery design, but it is easier to finish the embroidery after removing it.
・French knot stitch
・Beads embroidery