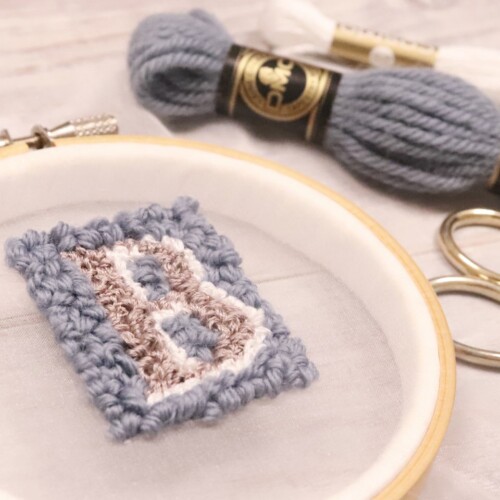


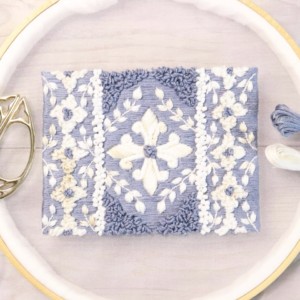

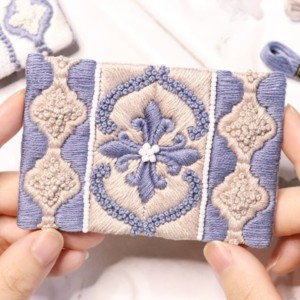


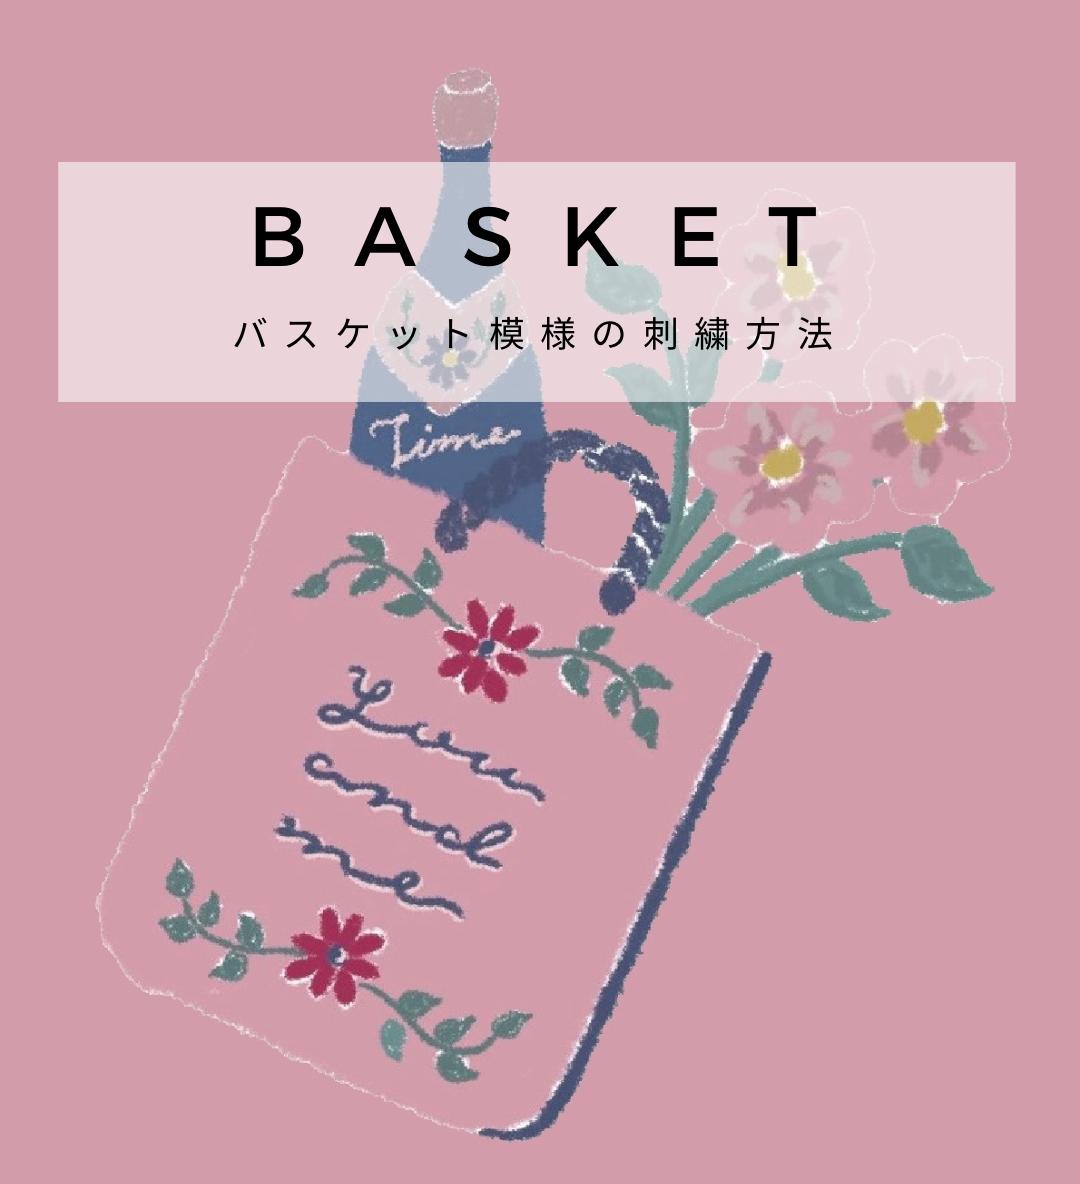
How to embroidery Basket pattern
On this page, we explain the embroidery method and points of "basket pattern" with photos and GIF videos.
The basket pattern is very easy.
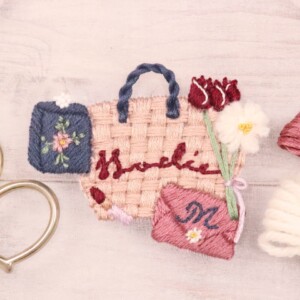
It is an embroidery expression that plays an active role in embroidering a basket bag.
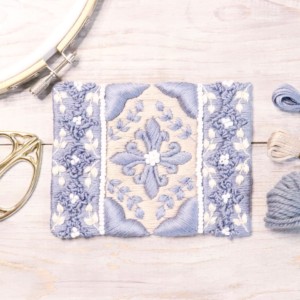
Basket pattern embroidery
Table of contents
【1】Warp Beginning stitch
【2】Warp embroidery method
【3】Warp end stitch
【4】Weft Beginning stitch
【5】Weft embroidery method
【6】Weft end stitch
【1】Warp Beginning stitch
Make Beginning stitch near the start position
Make Beginning stitch to hide the basket stitch that will be embroidered later.
The stitch at the beginning of stitching is completed by stitching two small straight stitches as shown in the video.
The point is to make the stitch at the beginning of the stitch as small as possible on the draft line.
Since the number of stitches at the beginning and end of stitching will be increased later, it will be easier to embroider by making it as small and narrow as possible.
Point
・Make it in the draft lin
・Make it near the start position
・Make it as small and narrow as possible
【2】Warp embroidery method
Embroider with the image of satin stitch with gaps
Embroider the warp threads with a little space between the threads.

The weft thread will be threaded later, so pull the warp thread with a slightly looser force.
The tension is the same throughout, so be careful not to pull too much on one part or loose it on another part.
Point
・Leave a little space between thread
・Pull the thread with a slightly looser force
・Arrange the threads so that they all have the same amount of force
【3】Warp end stitch
Make it so that it is hidden under the thread
Shift the thread with your finger to create the stitch at the end of the stitch.
Just like the stitch at the beginning of the stitch, two small straight stitches will be the stitch at the end of the stitch.
【4】Weft Beginning stitch
Make Beginning stitch under the previously embroidered warp thread.
【5】Weft embroidery method
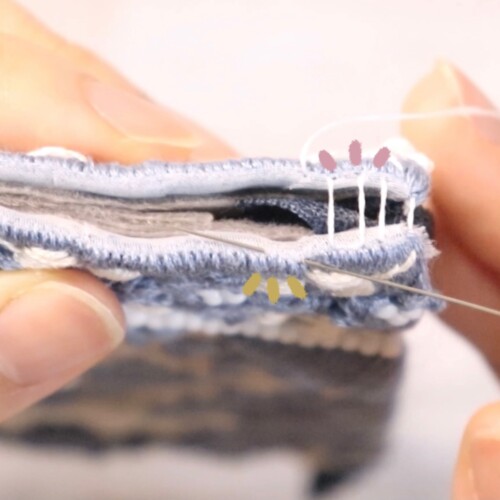
The weft threads are passed alternately on the upper and lower sides at intervals of 5 warp threads.
Don't pull the thread too hard, make sure the tension is the same throughout.
Three weft threads are passed alternately in one set.
Point
・The weft threads are alternately passed through the upper and lower sides at intervals of 5 warp threads
・One set of three weft thread
・Arrange the threads so that they all have the same amount of force
【6】Weft end stitch
The stitch at the end of the embroidery is made in the gap of the basket pattern.
Watch a video on how to embroidery
"Basket pattern embroidery method" is explained from 0 minutes 11seconds.
Subtitles are included, so please turn them on and watch.
How to embroidery Plaid