


Back stitch embroidery of shadowed alphabets (Thick thread ver.) | List of decorations for A-Z shadows
On this page, "How to Embroider Backstitch Alphabet with Thick Thread" is explained with photos and GIF videos.
Here are some tricks that are unique to embroidering on organza, and tricks for handling thick threads.
We also have tips for adding shadow decorations to the alphabet and a list of shadows from A to Z, so please refer to them.
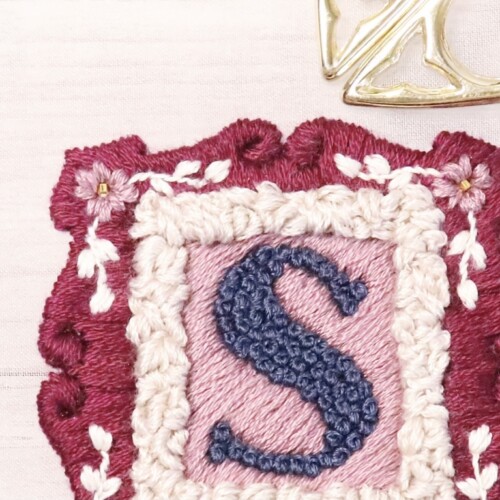
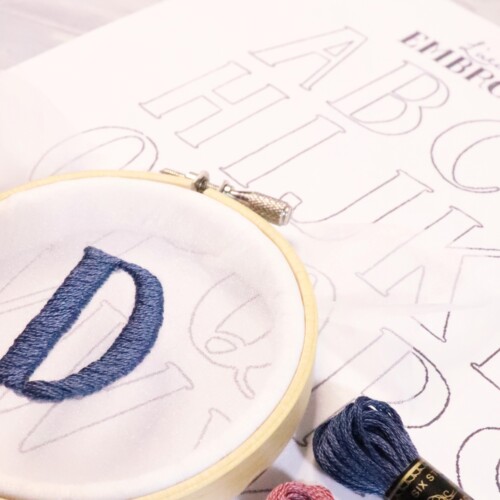
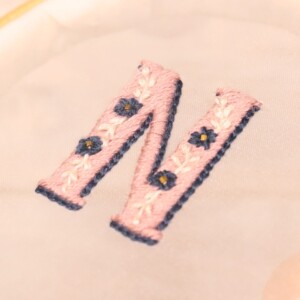
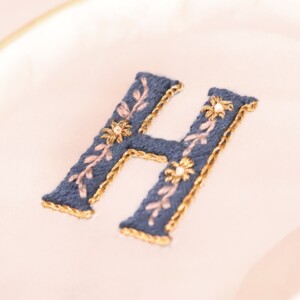
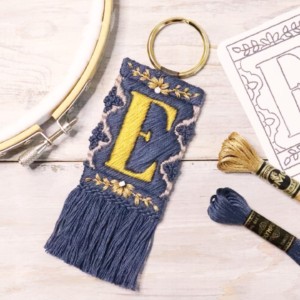
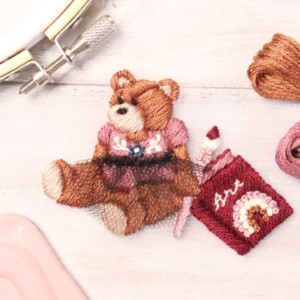
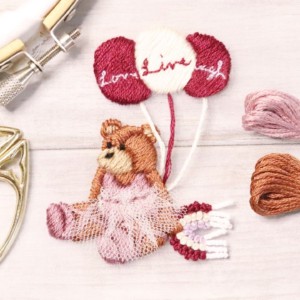
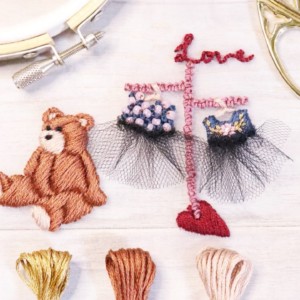
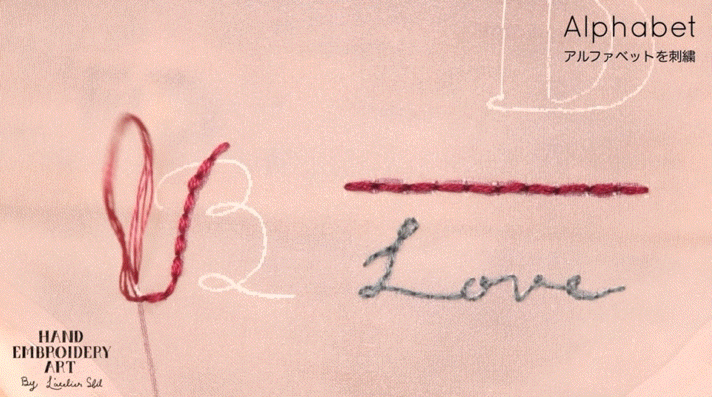
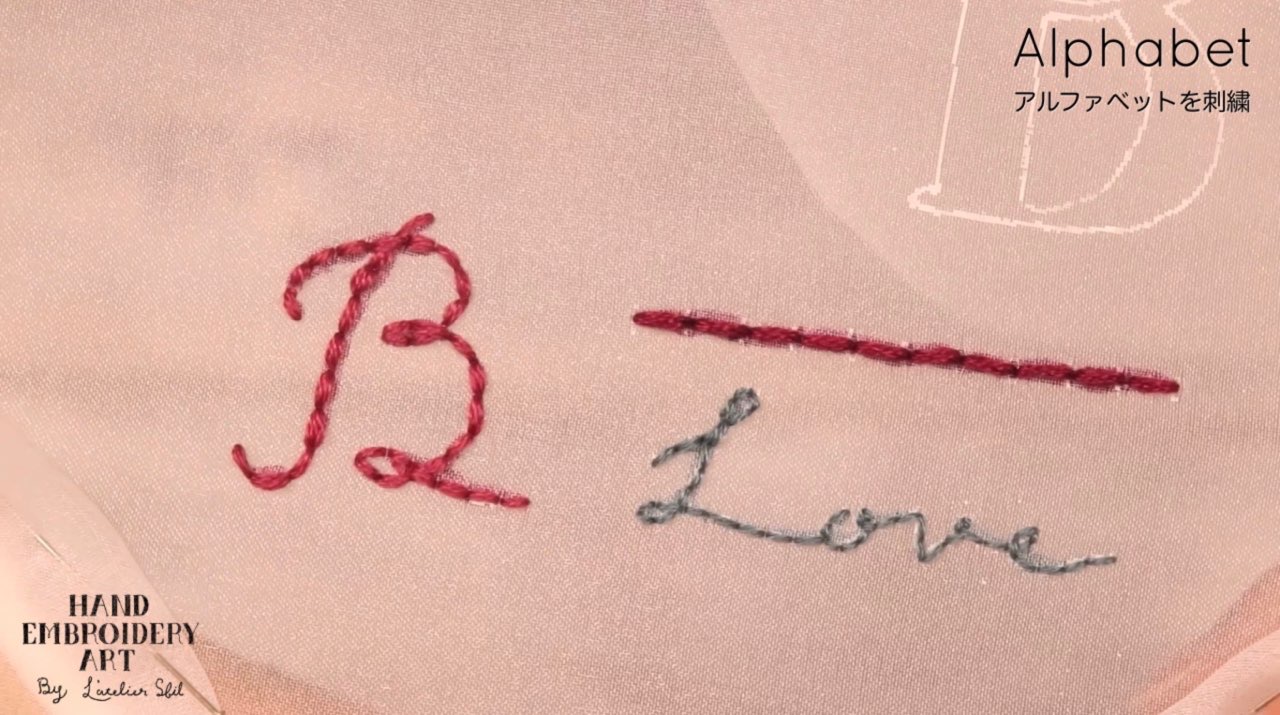
Finished embroidery
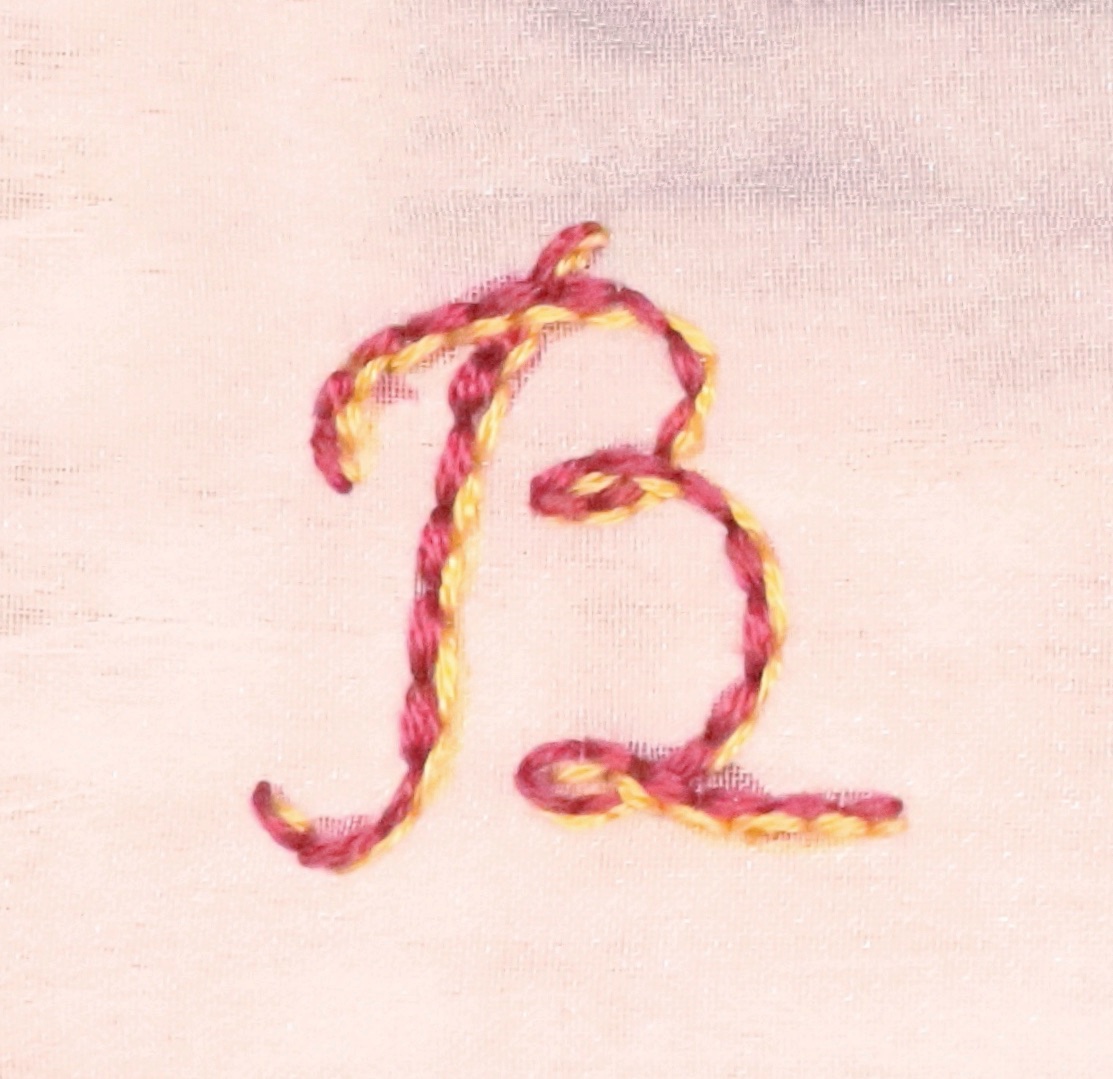
Table of contents
【1】Beginning stitch
【2】For sharp curves, change Back stitch order
【3】End stitch
【4】Add a shadow decoration to the alphabet (Alphabet shadow decoration table)
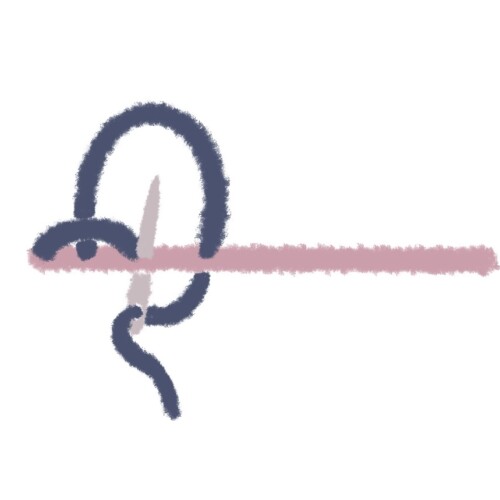
【1】Beginning stitch
Make Beginning stitch near the start position
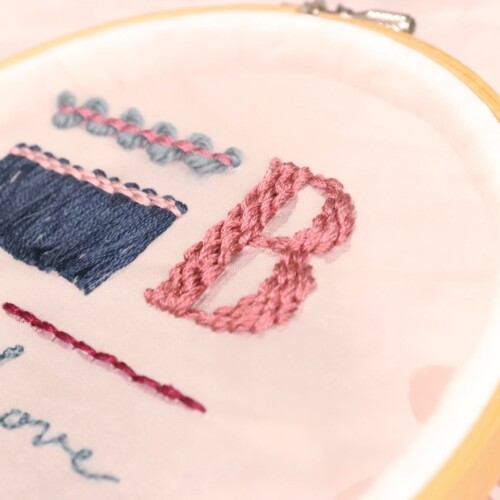
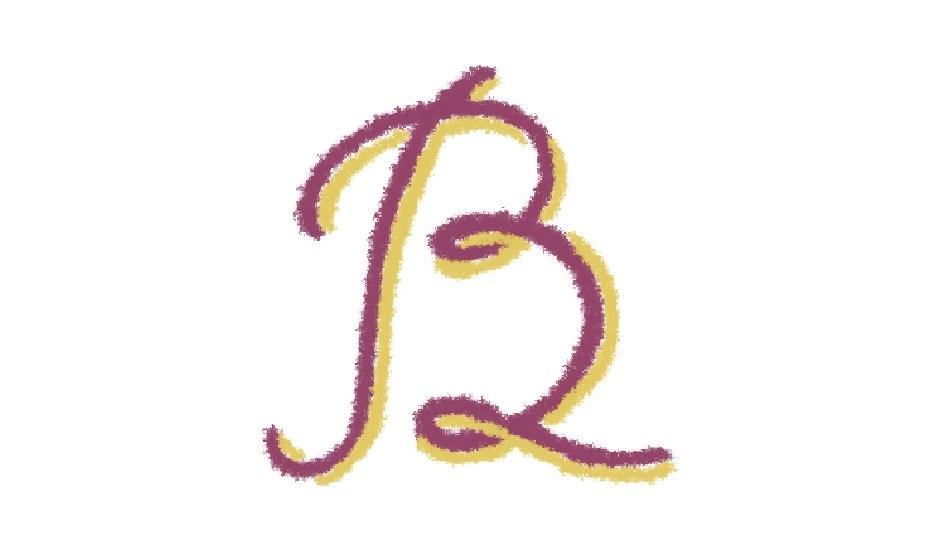
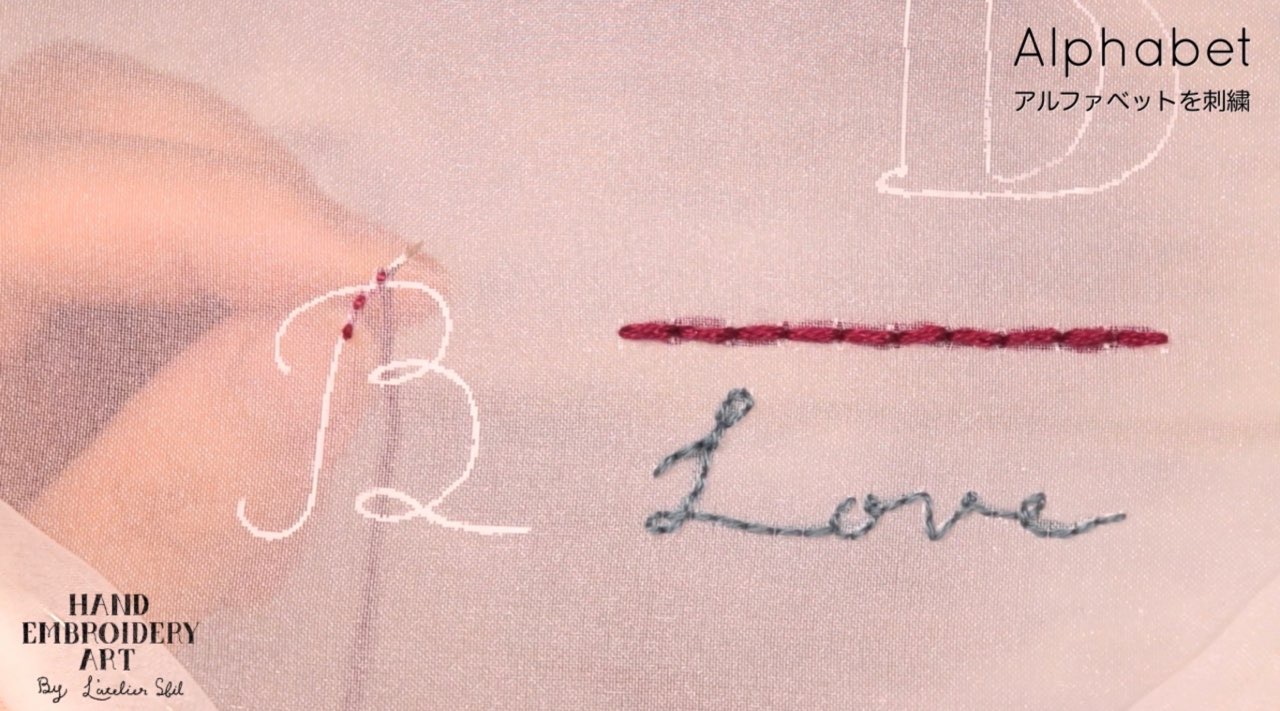
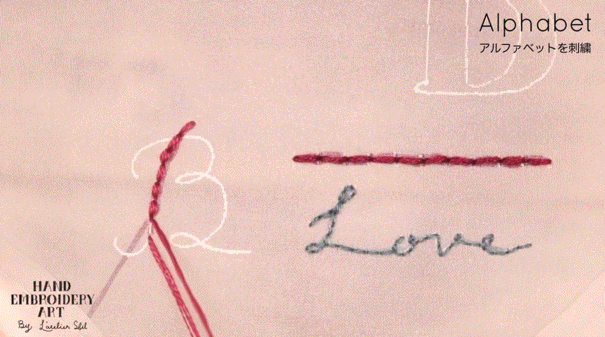
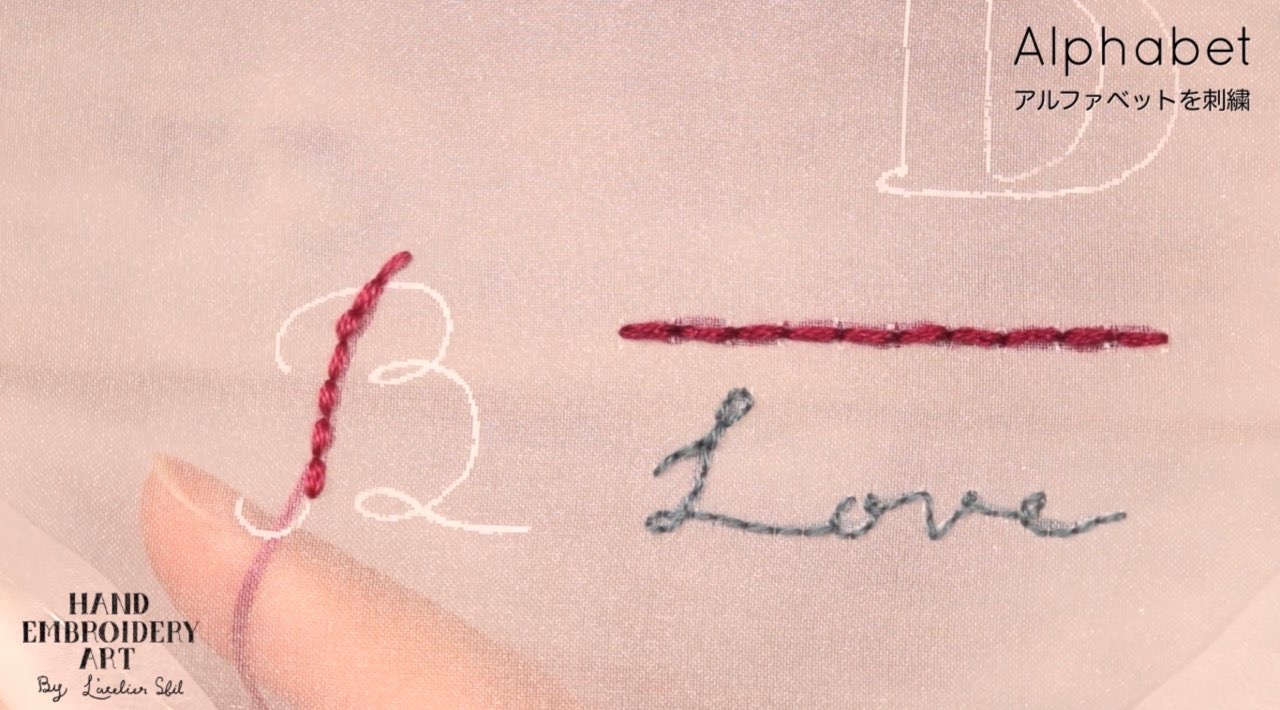
When embroidering letters, embroidery in the stroke order. This time, create Beginning stitch near the top edge of the first stroke of the letter B.

Make Beginning stitch so that it is hidden by Back stitch that will be embroidered later.
The stitch at the beginning of stitching is completed by stitching two small straight stitches as shown in the video above.
The point is to make the stitch at the beginning of the stitch as small as possible on the draft line.
That way you can completely hide it with Back stitch.
Point
・Create above the construction line
・Avoid the place where the needle passes through in the Back stitch.
・Make it as small as possible
【2】For sharp curves, change Back stitch order
When embroidering on organza, it is necessary to devise a method because if the thread on the back side protrudes from the line of the letter, it will be visible from the front side.
As you can see in the video below, if you change the order of backstitching, you can embroider along the lines of the letters.
If the line is thick like the letter B this time, it will stand out if the length of one backstitch is changed, so proceed with the embroidery without changing the length of one stitch.
If the thread is thick, it is recommended to shorten the length of one backstitch from the beginning so that sharp curves and loops can be embroidered smoothly.
Try pulling the thread to the next place as shown in the photo below and decide if you want to change the stitching order.
Point
・Try pulling the thread to the next place as shown in the photo below and decide if you want to change the stitching order
・It is recommended that the greater the number of threads (the thicker the thread), the shorter the length of one backstitch.
・Look at the embroidery pattern, look at the number of curves and the presence or absence of loops, and consider the length of one Back stitch
【3】End stitch
Make it hidden under the Back stitch
Make the End stitch so that it is hidden under the two Back stitches.
Just like the stitch at the beginning of the stitch, two small straight stitches will be the stitch at the end of the stitch.
Since the End stitch will be embroidered just below the Back stitch, shift the thread with your finger and embroider.
Point
・Embroider under the Back stitch
・When cutting the thread at the end, pull it out from the immediate vicinity of the previous stitch and cut it
・Make it as small as possible
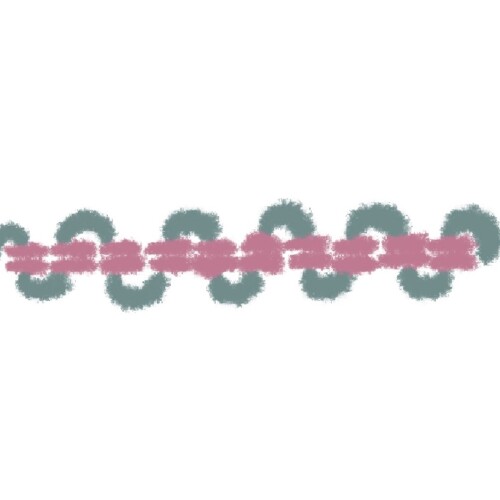
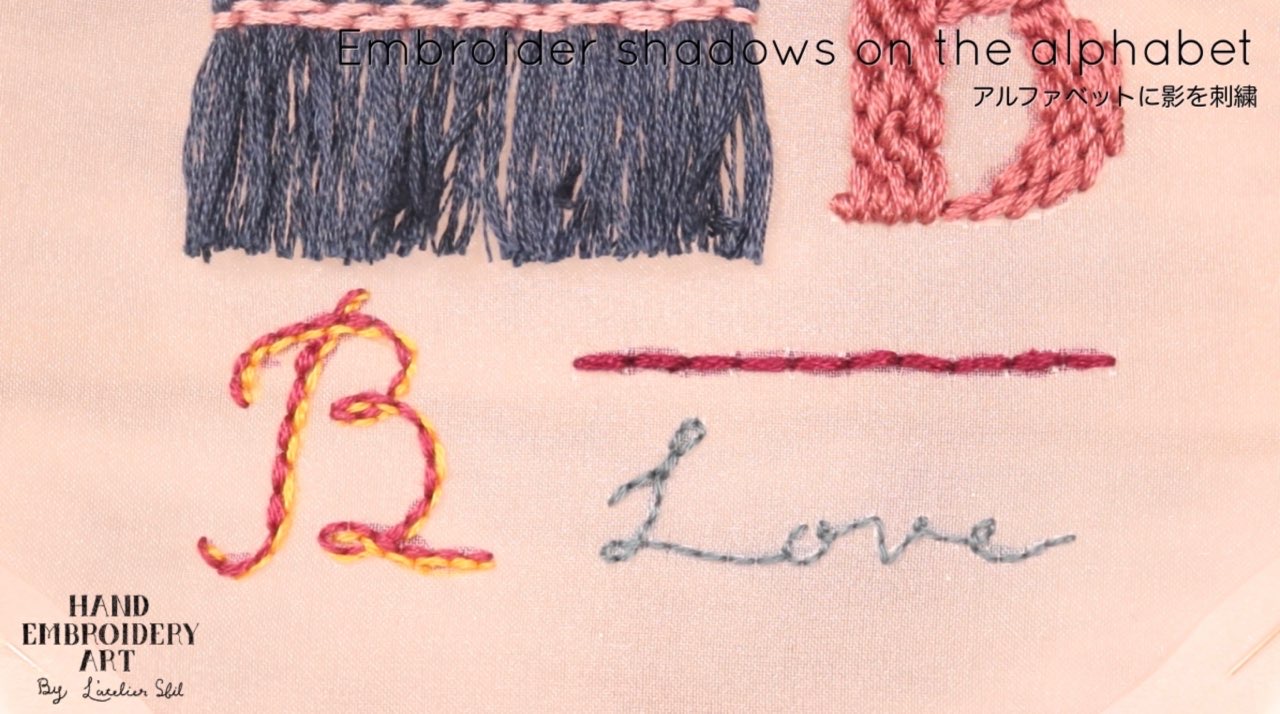
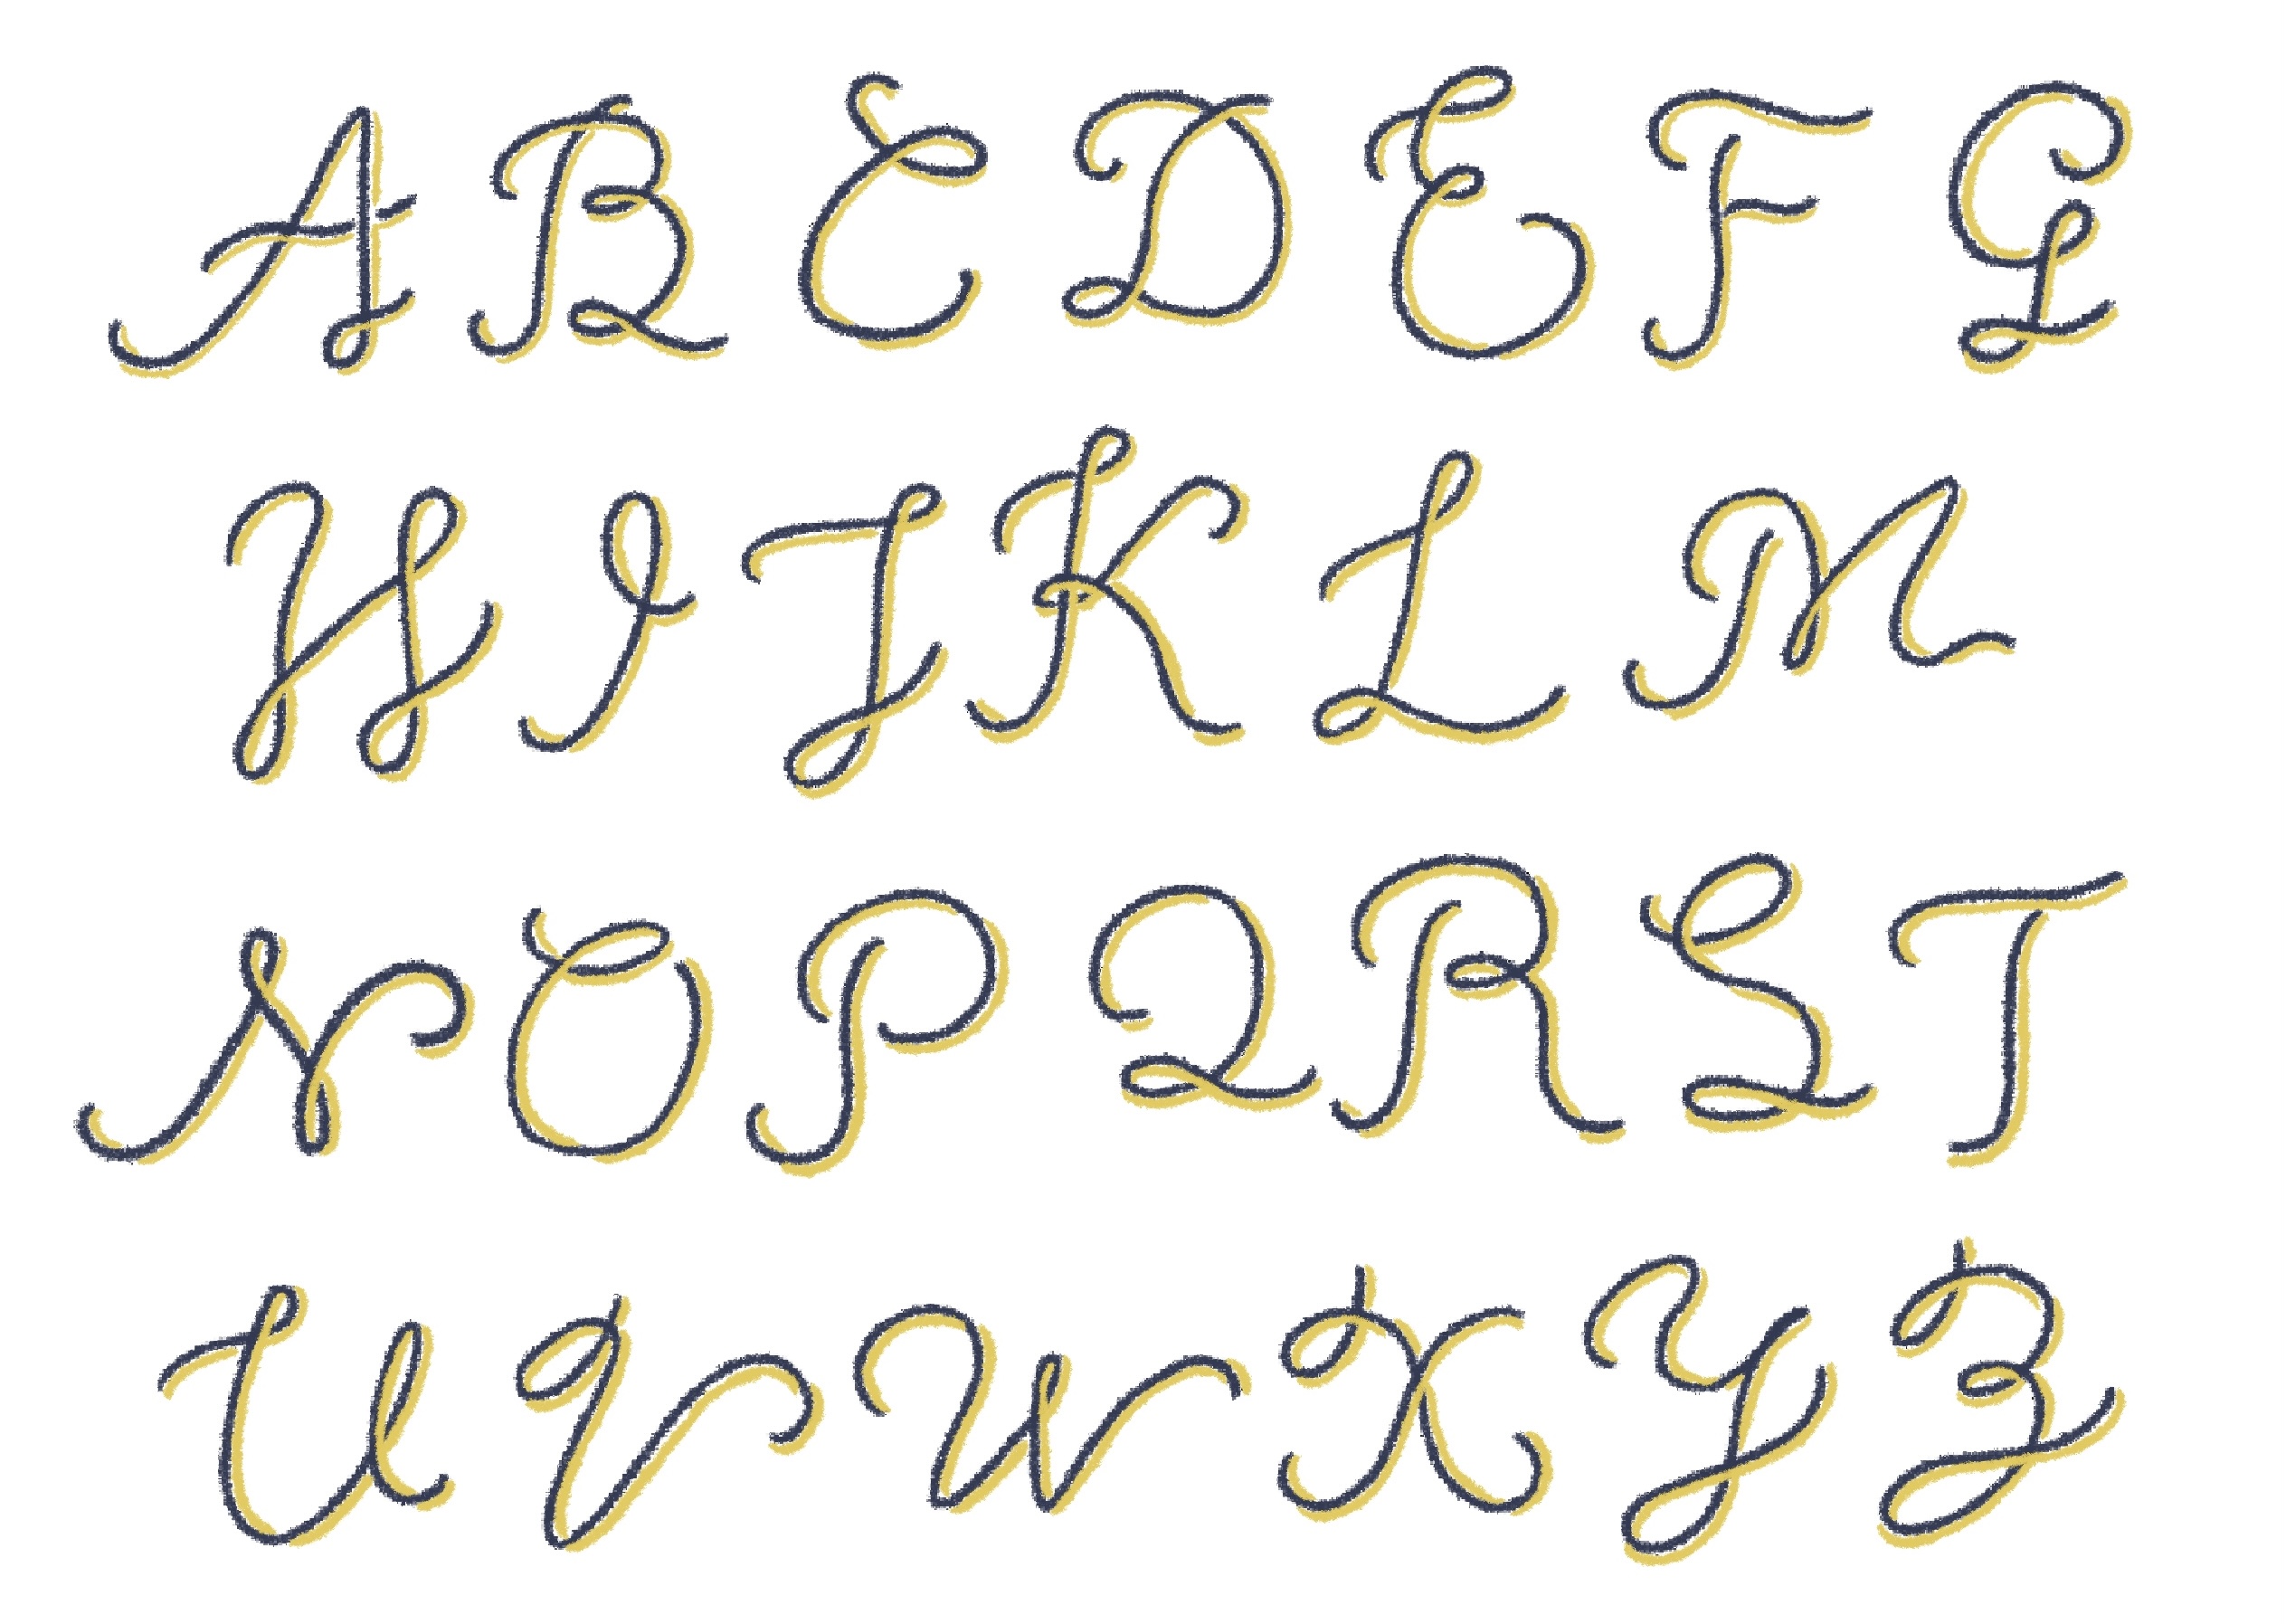
【4】Add a shadow decoration to the alphabet
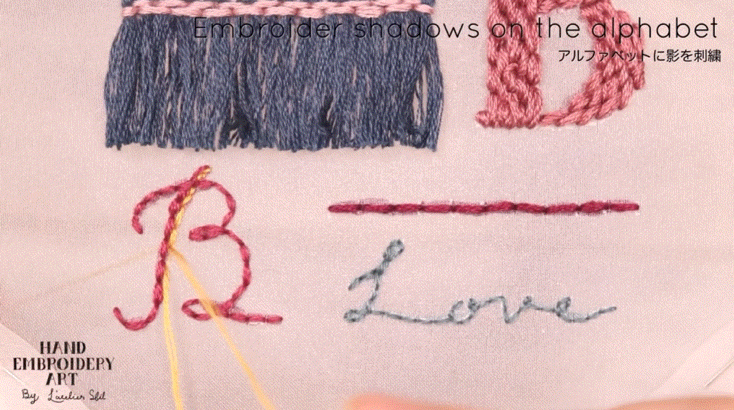
This time, the embroidery part of the shadow is embroidered so that it alternates with Back stitch of the alphabet body.
Even if it is aligned with the back stitch of the main body ◎
Alphabet Shadow Decoration List
If you copy the shadow decoration onto the fabric as an embroidery pattern, it will overlap with the lines of the alphabet body and become thick and difficult to understand. It is recommended to embroider while looking at the list without a draft.
The decorative part of the shadow is also embroidered in the same stroke order as the alphabet itself.
Watch a video on how to embroidery
"How to Embroider Alphabet with Back stitch" is explained from 4:58.
"Shadow decoration" is explained from 19 minutes 33 seconds.
The subtitles are included, so please turn them on and watch.
6 Patterns Back stitch | How to Embroider Alphabets, Letters and Decorative Arrangements
↑The embroidery PDF pattern can be downloaded from this page.
6 patterns Back stitch
How to Back stitch