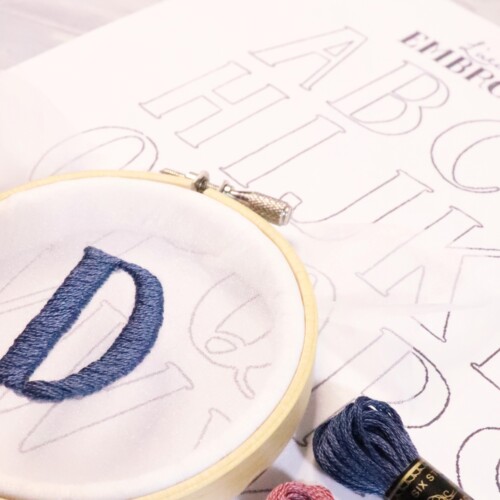


How to embroider a French knot stitch that is beautiful on the front and back
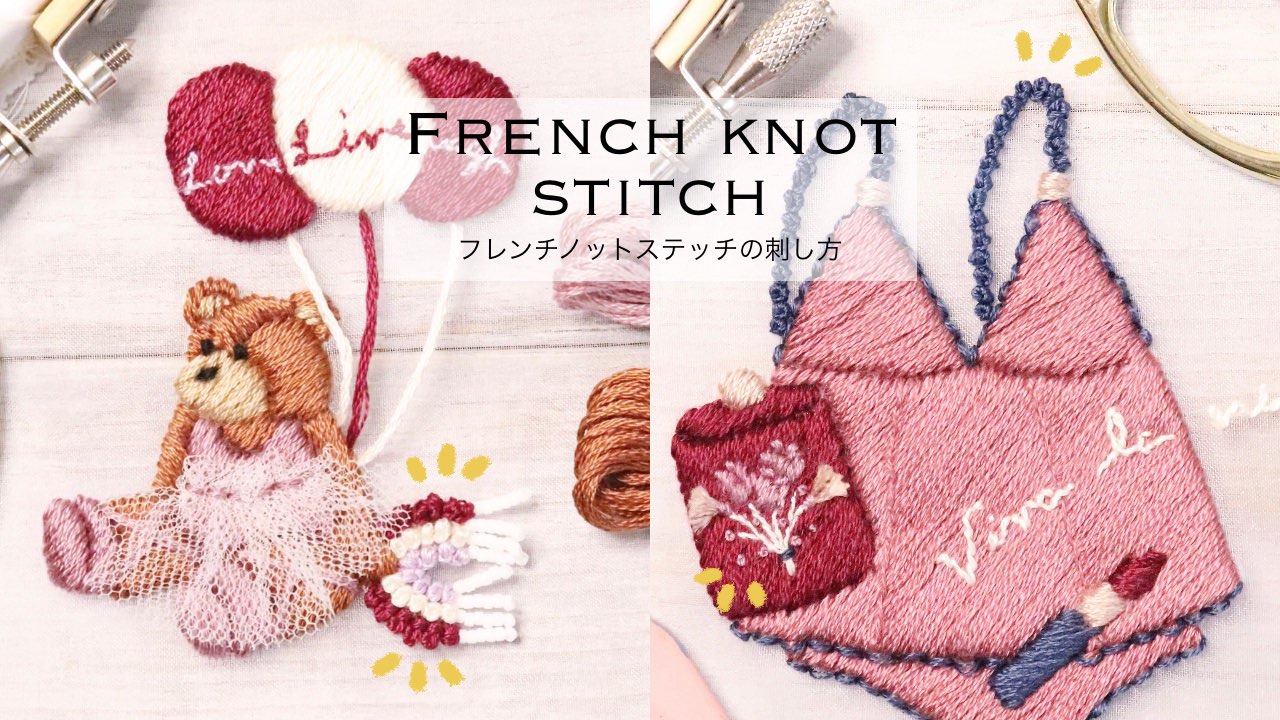
This time, the video explains how to embroider French knot stitches that are beautiful on the front and back.
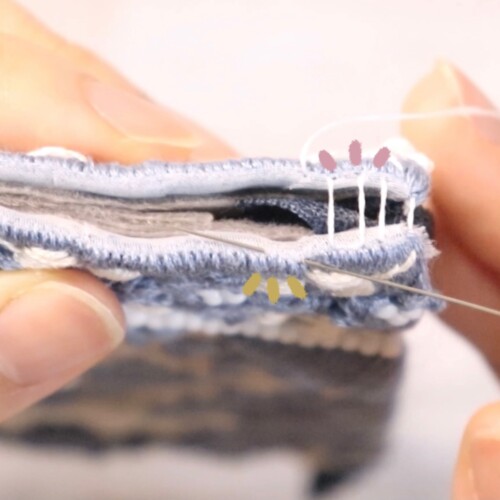
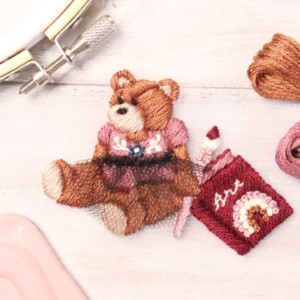
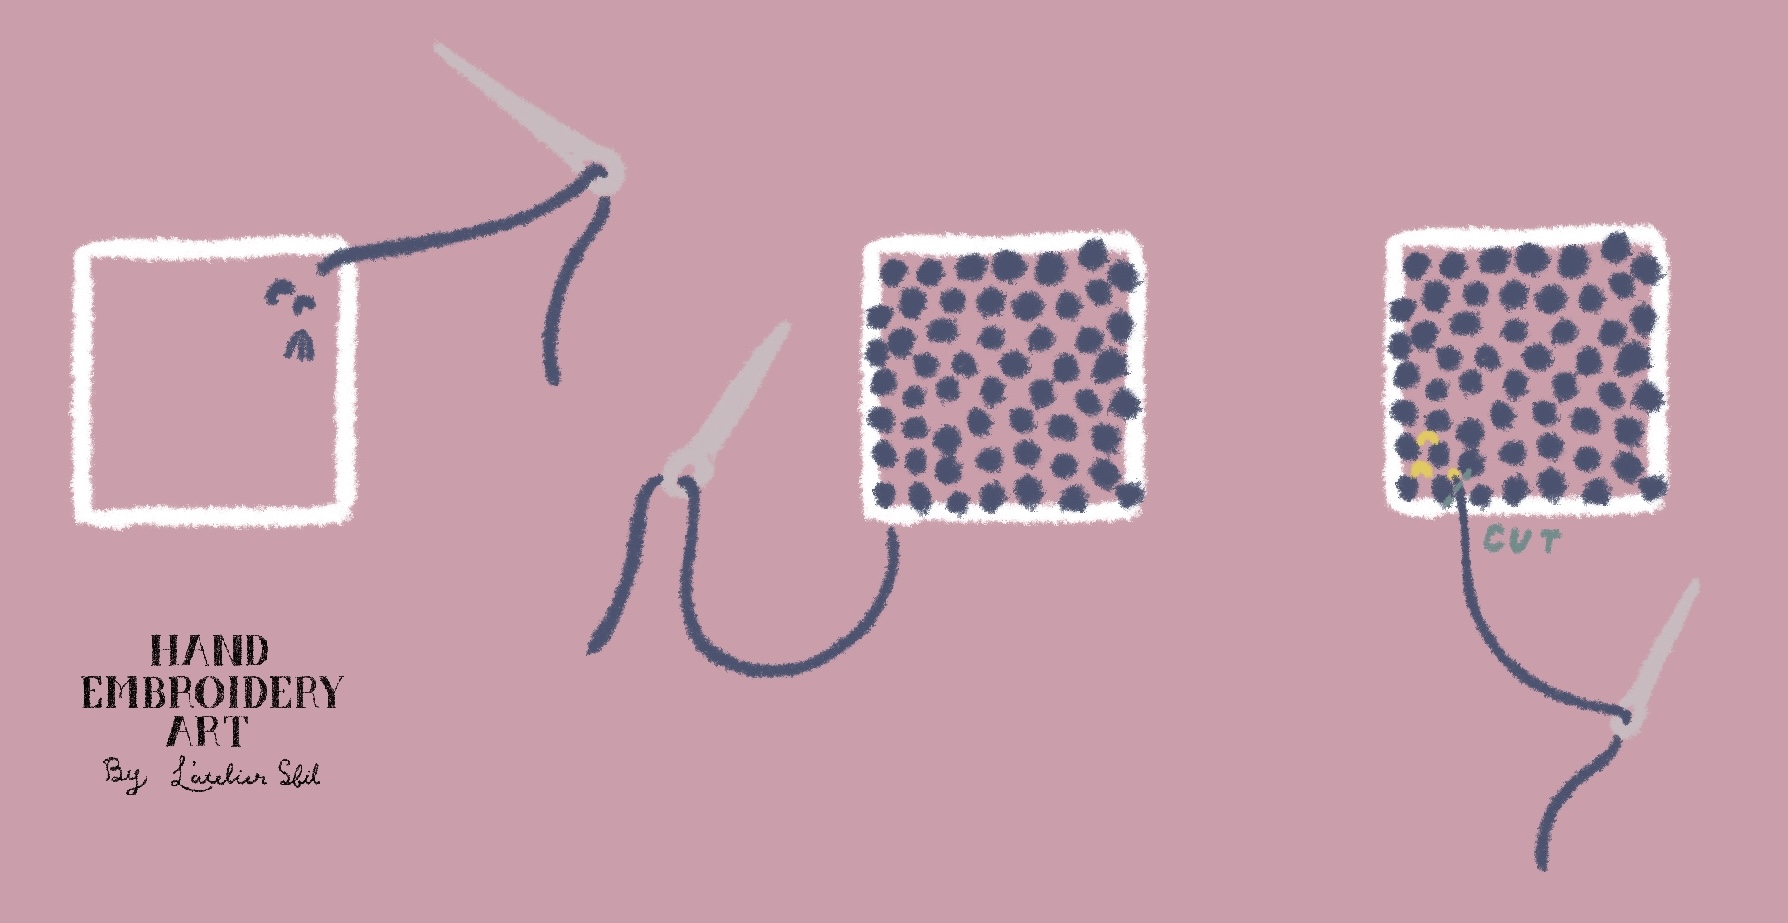
When embroidering on a transparent fabric such as organdy, it is necessary to finish not only the embroidered front side but also the back side.
・When embroidery French knot stitch in a line
・When embroidering to fill the French knot stitch
I have summarized a few points for each, so please refer to them.
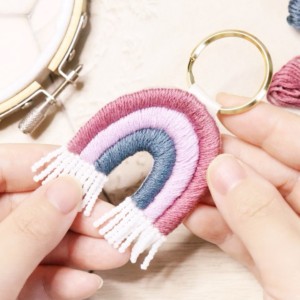
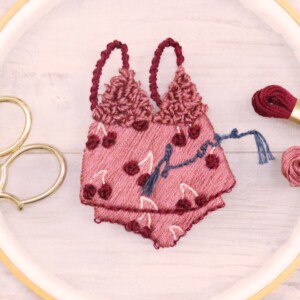
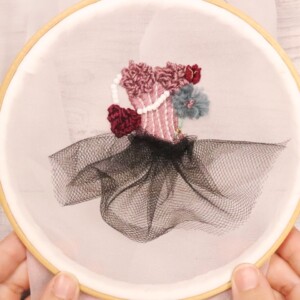
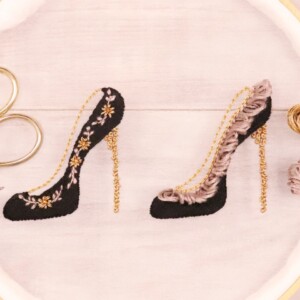
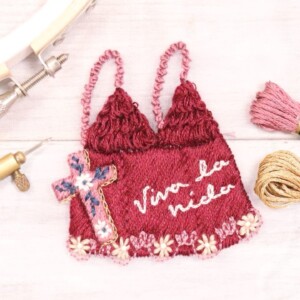
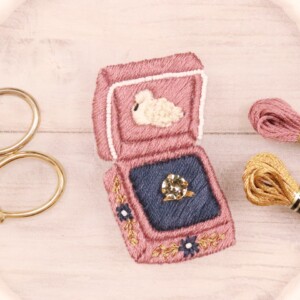
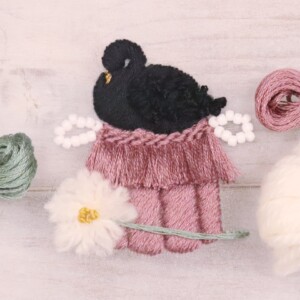
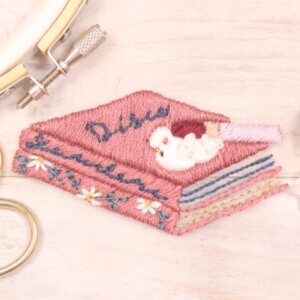
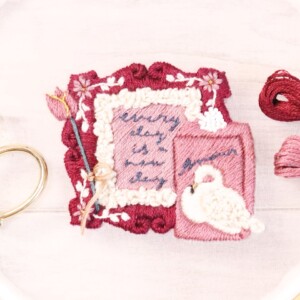
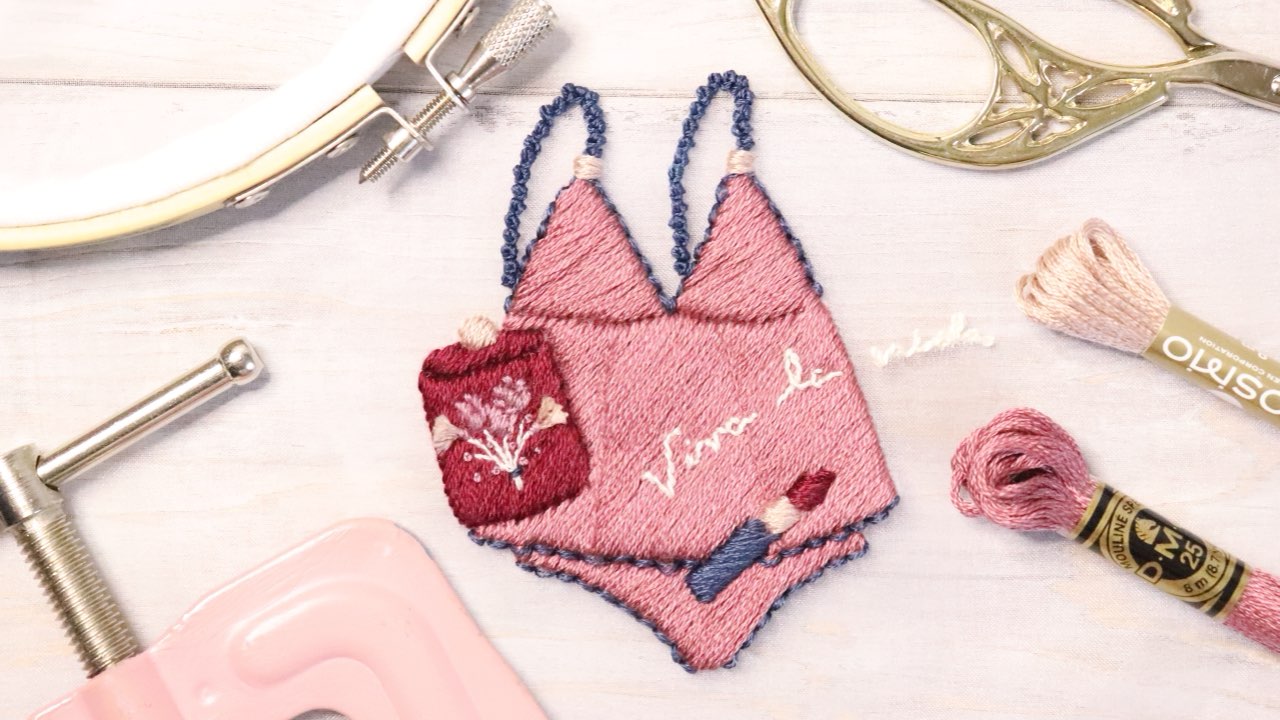
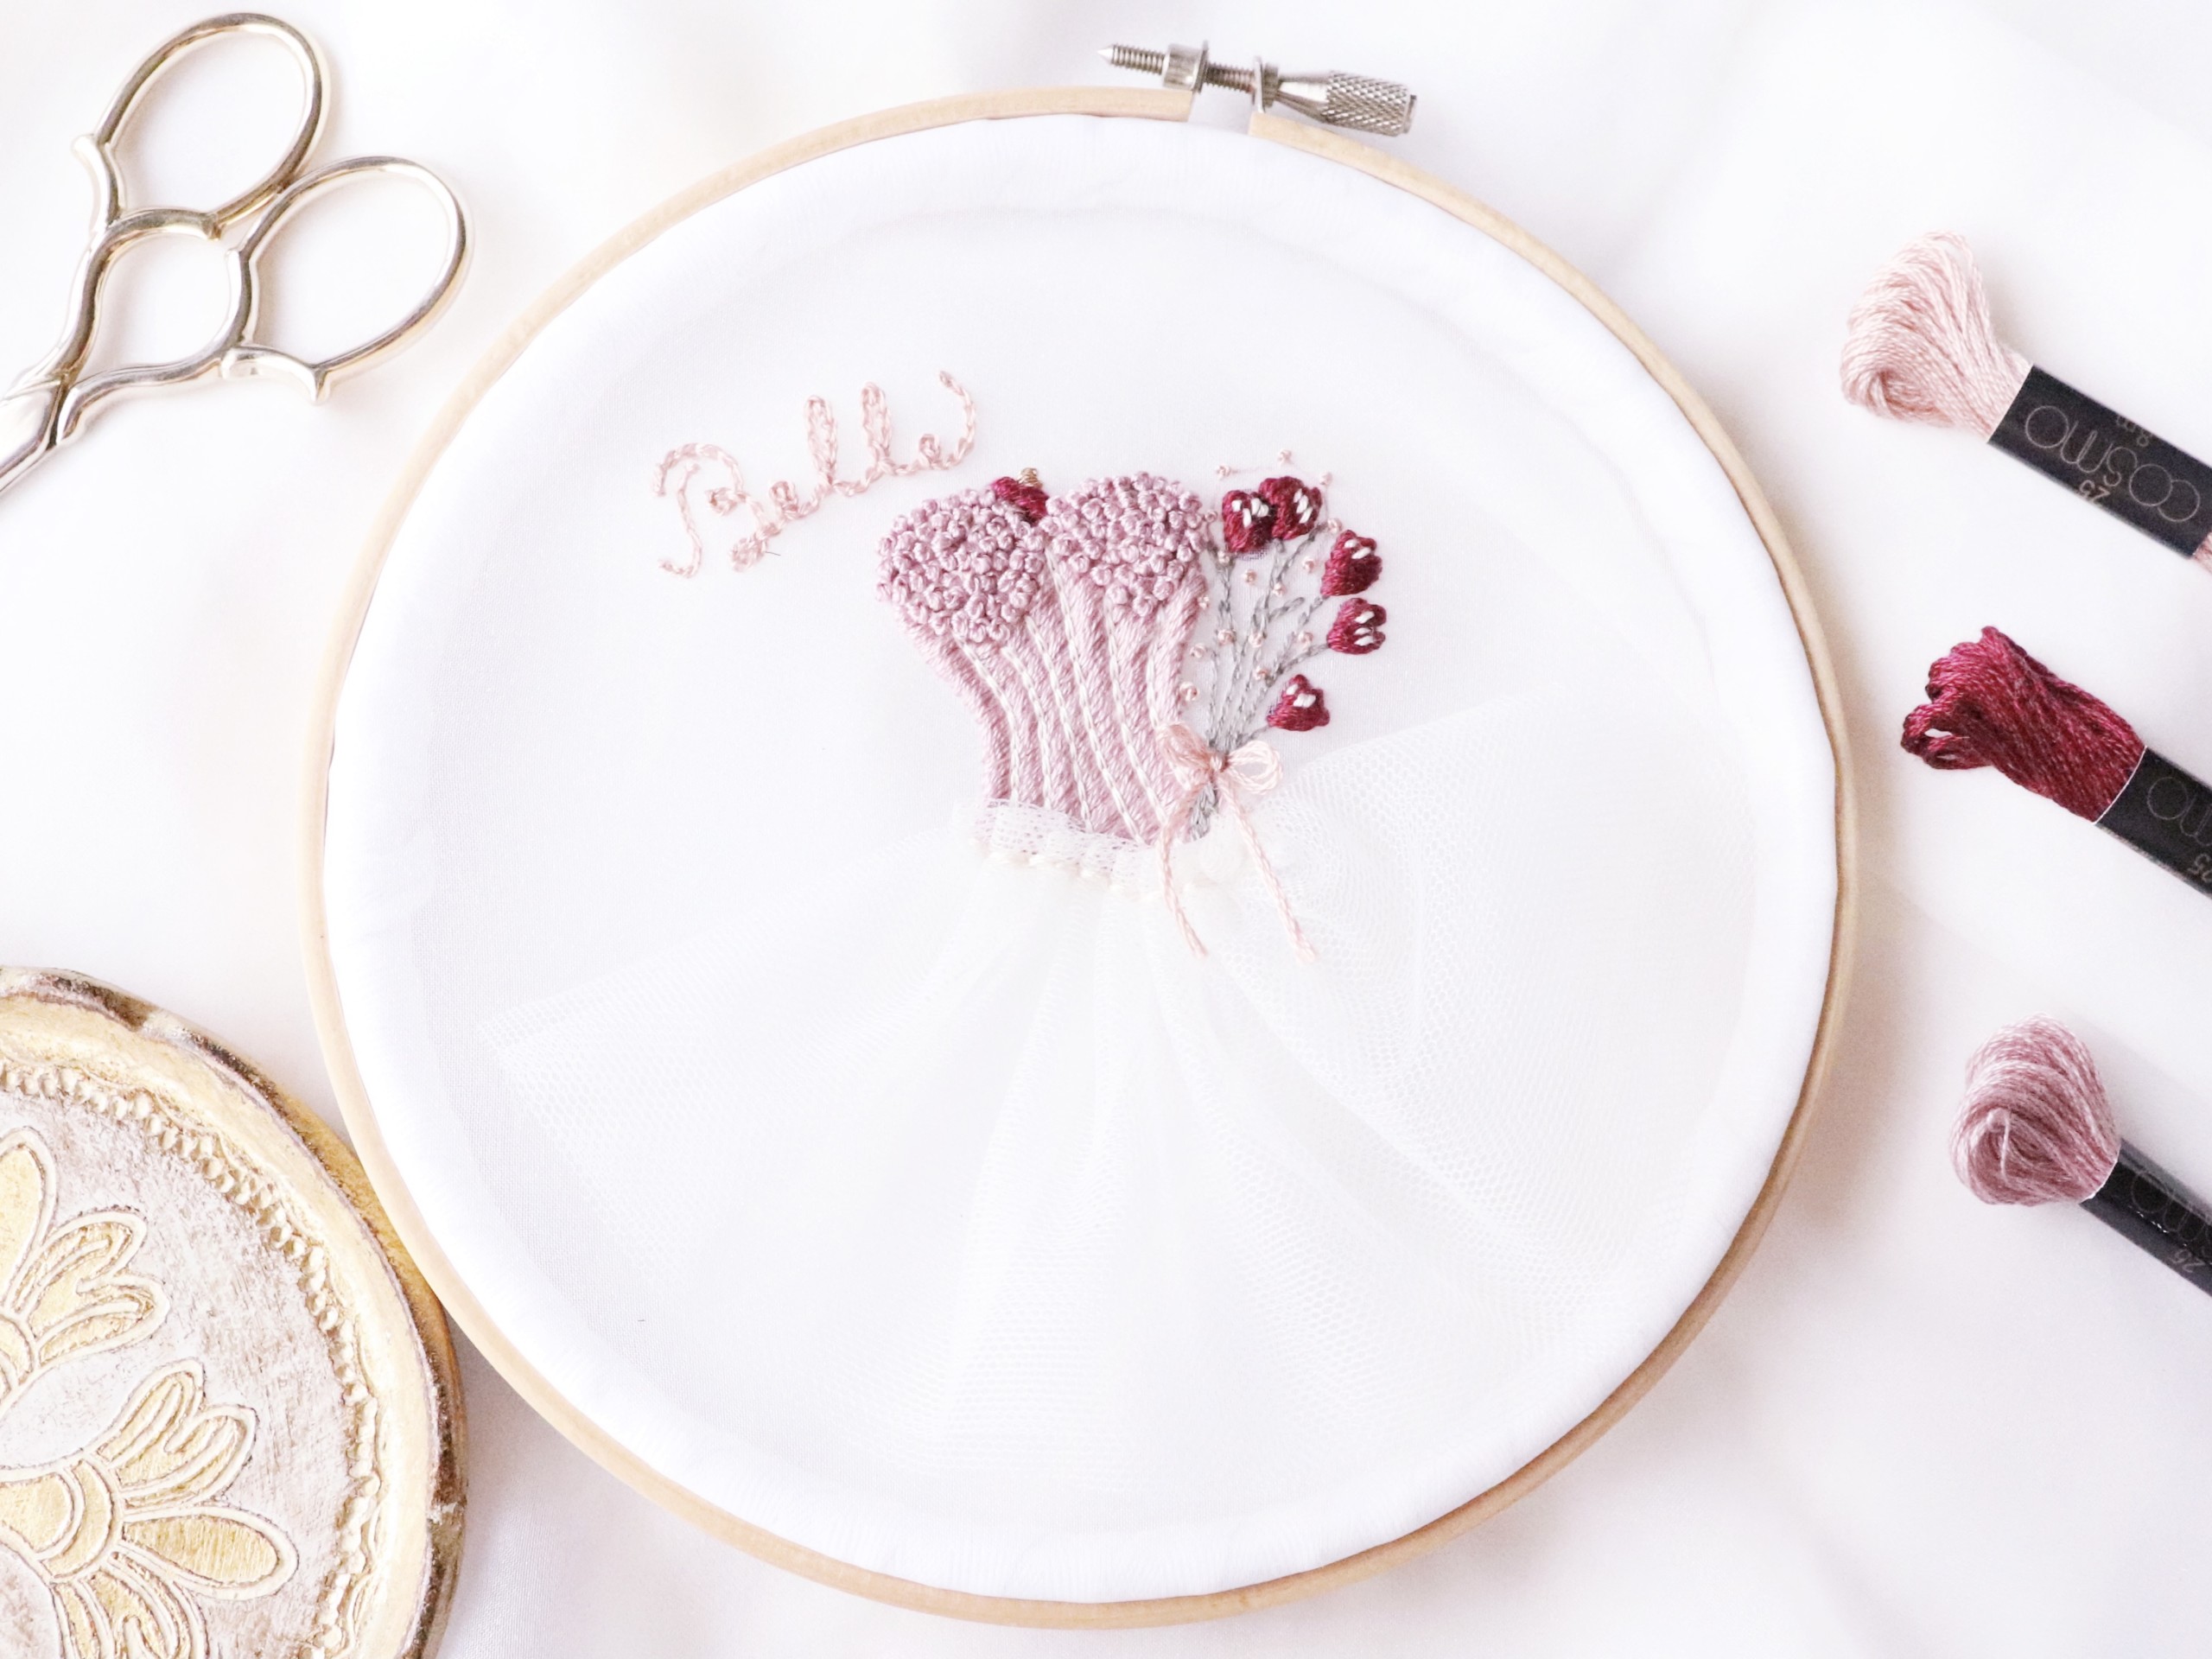
embroidery example
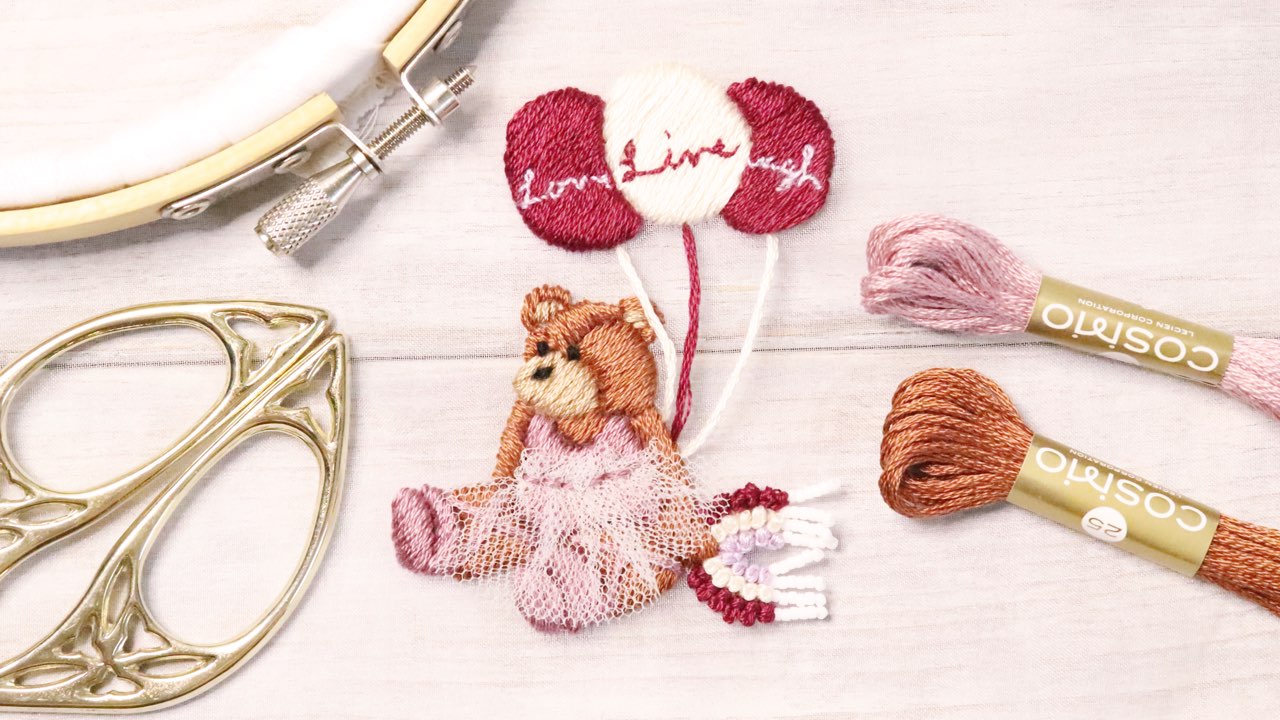
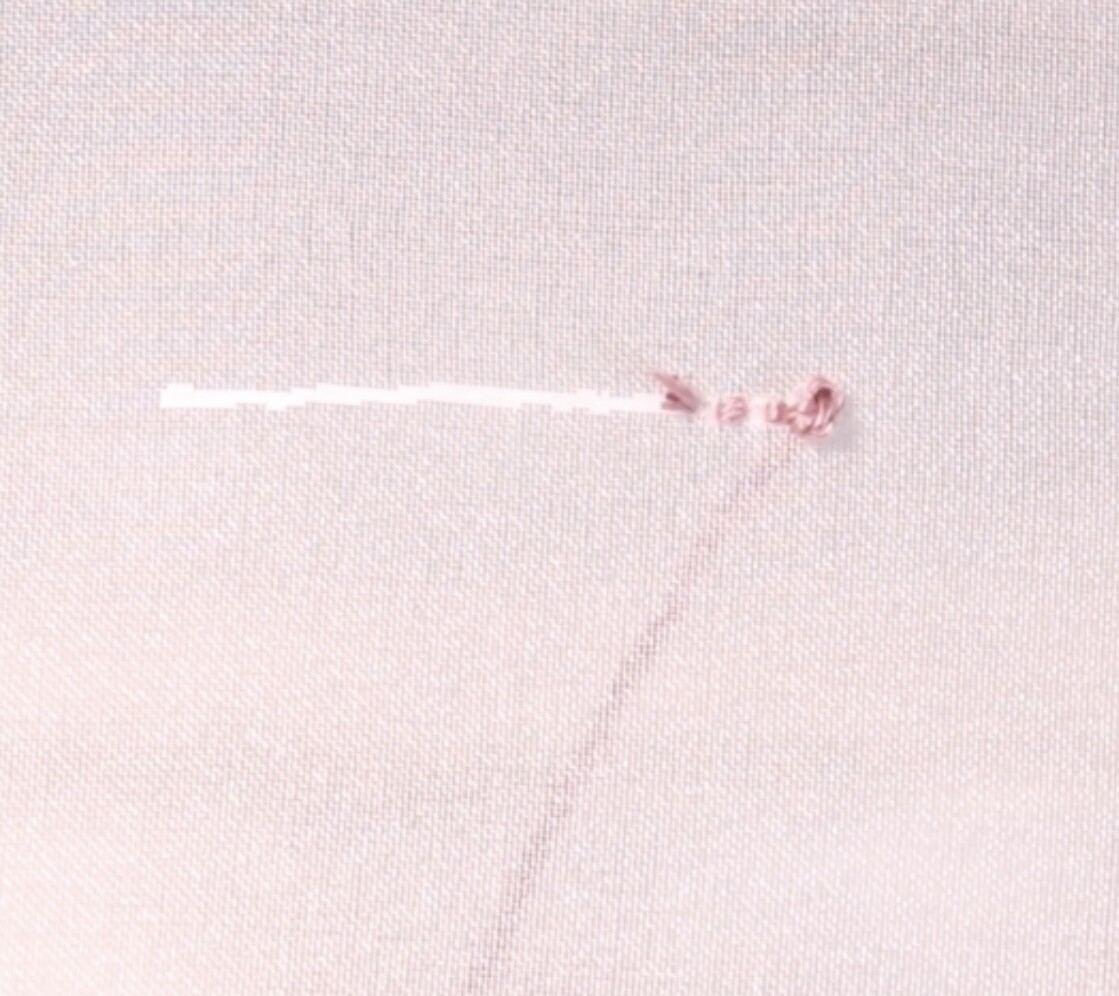
French knot stitch: rainbow part (linear embroidery)

Watch a video on how to French knot
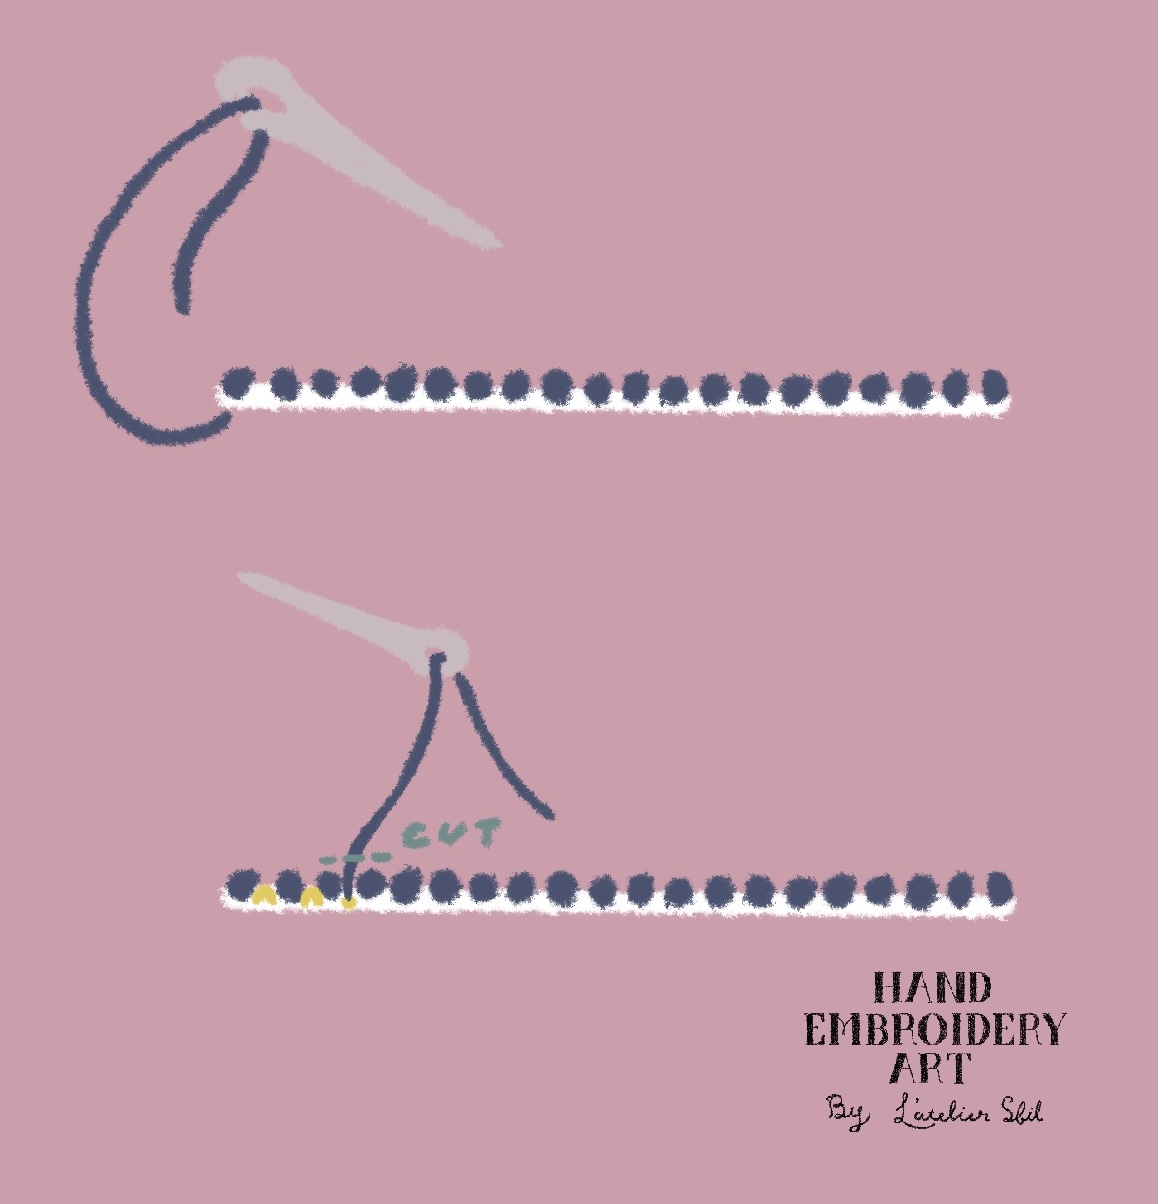
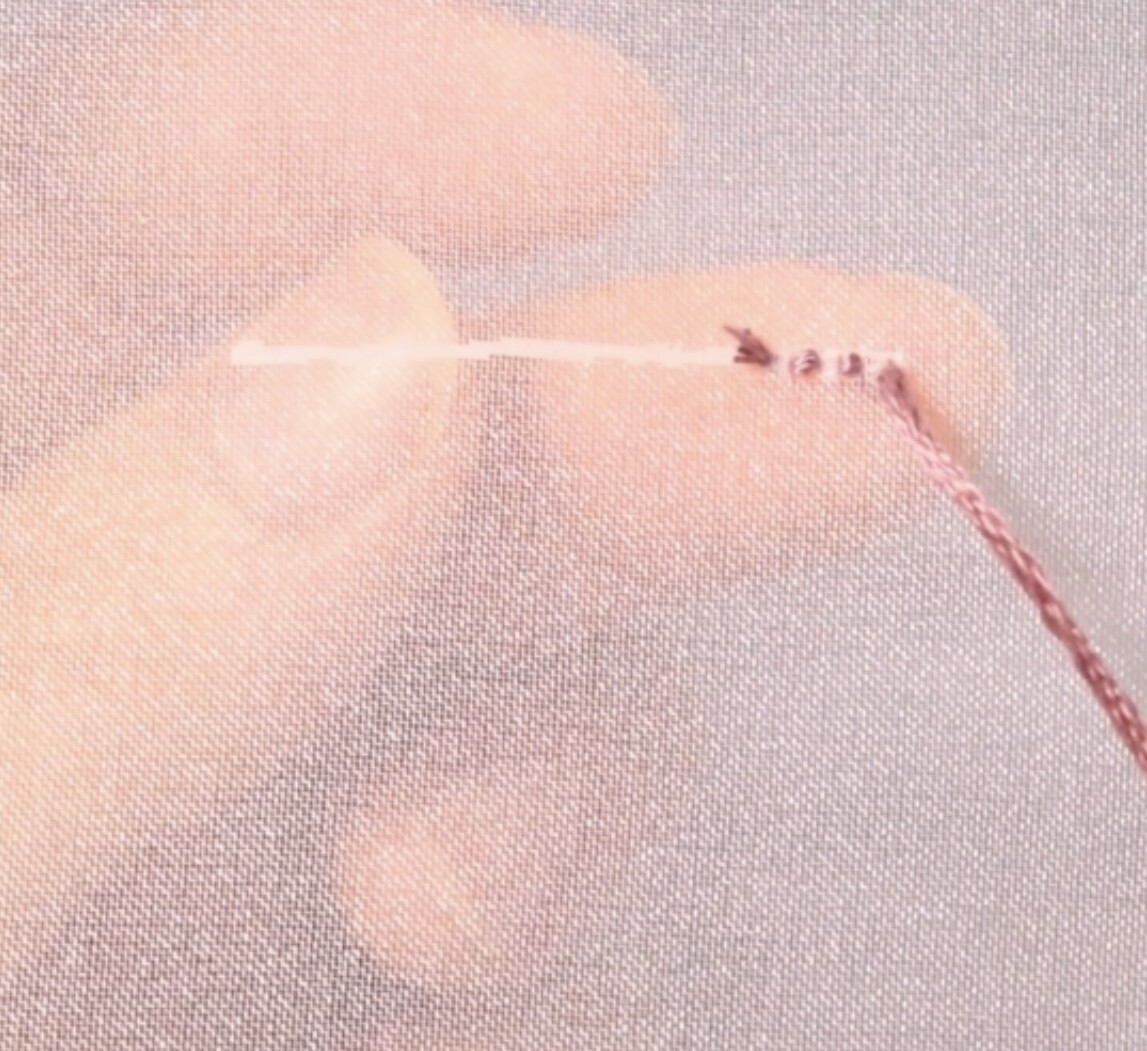
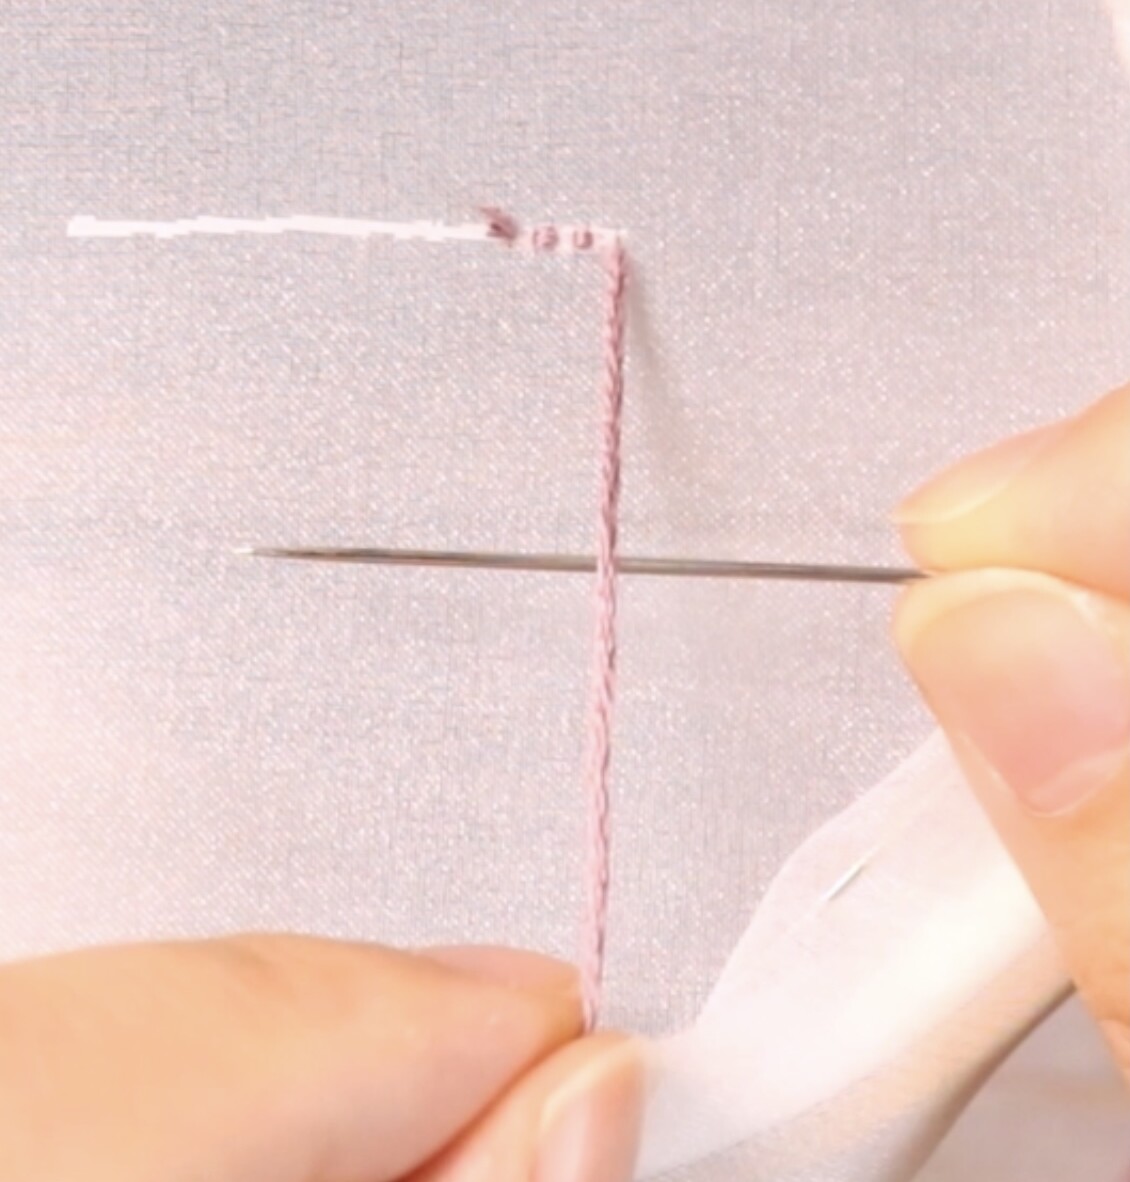
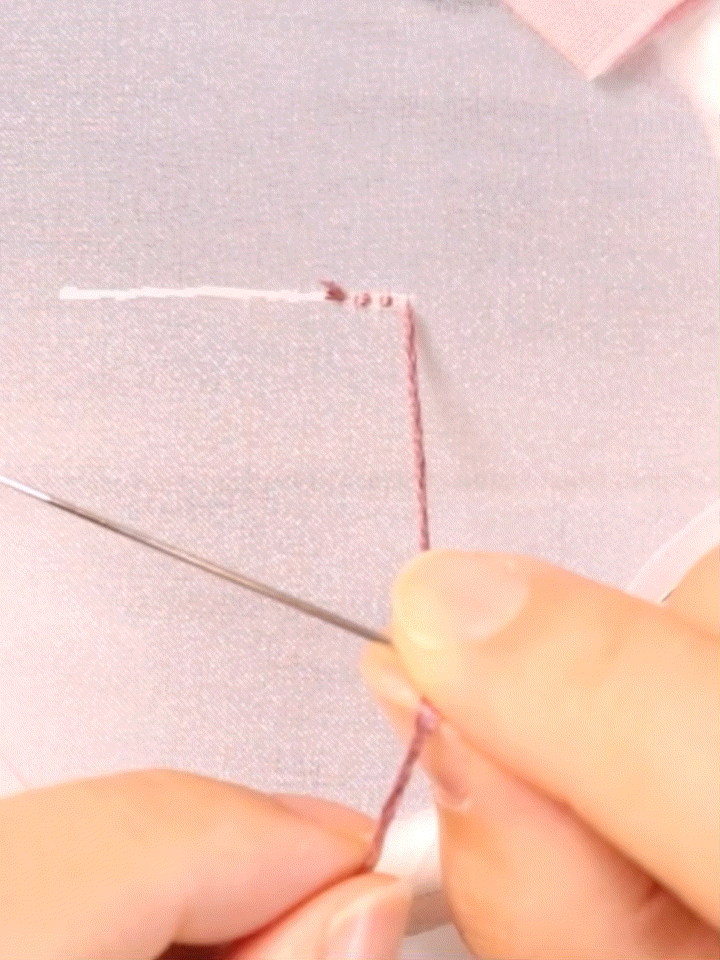
French knot stitch beginning and end positions
When embroidering in a line

In the photo above, the French knot stitch is stitch from right to left, so the stitch at the beginning of the stitch should be slightly inside from the right edge.
I want to hide the stitch at the beginning of the stitch under the French knot stitch, so make it as small as possible on the draft line.
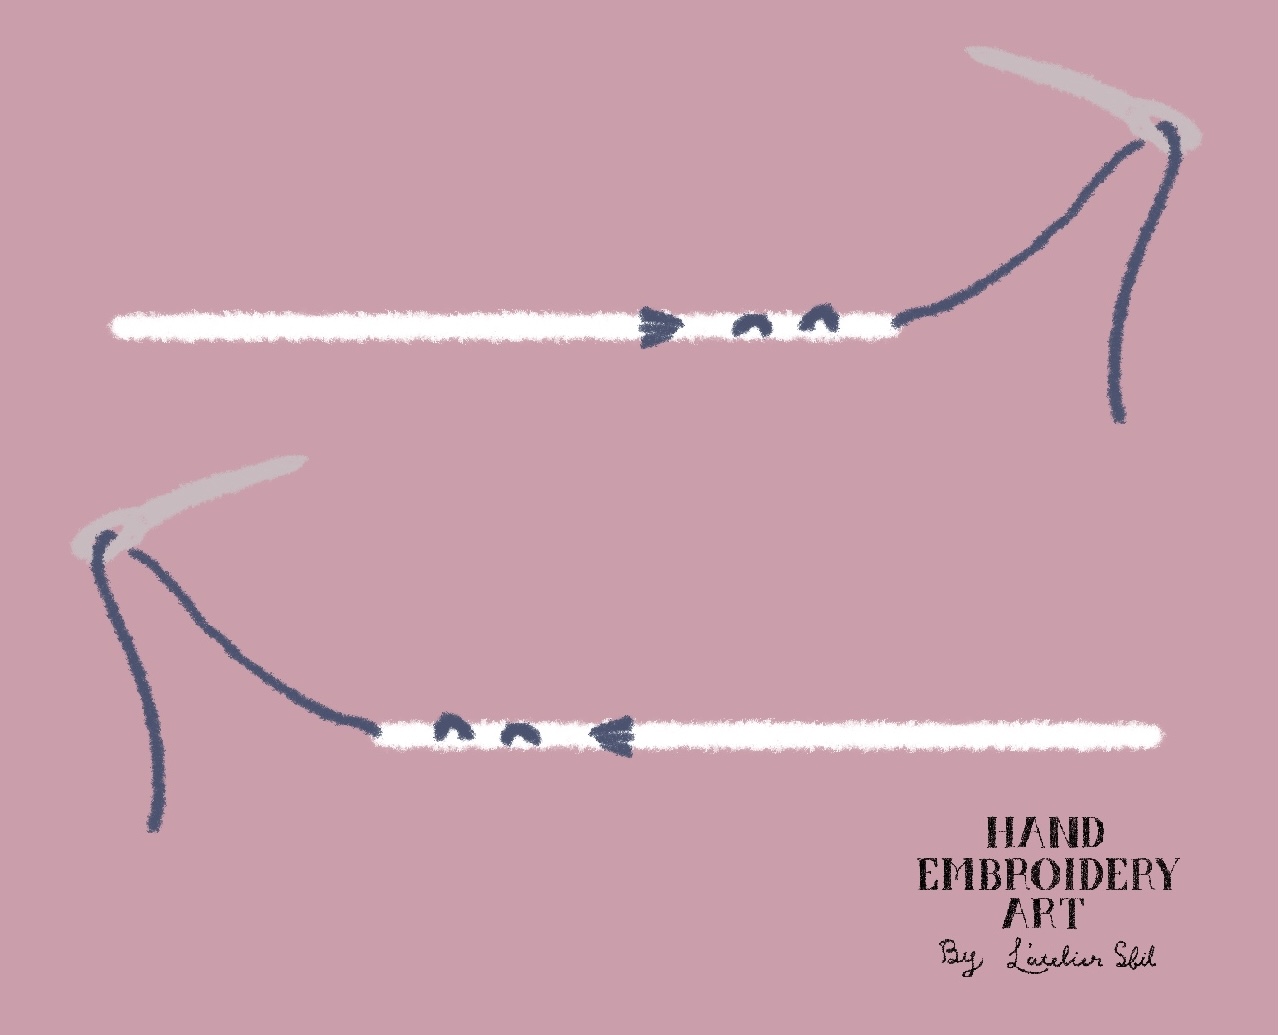
The end stitch is made between the French knot stitches.
Embroider one straight stitch per spot between French knot stitches.
Just like the stitch at the beginning of the stitch, two small straight stitches will be the stitch at the end of the stitch.
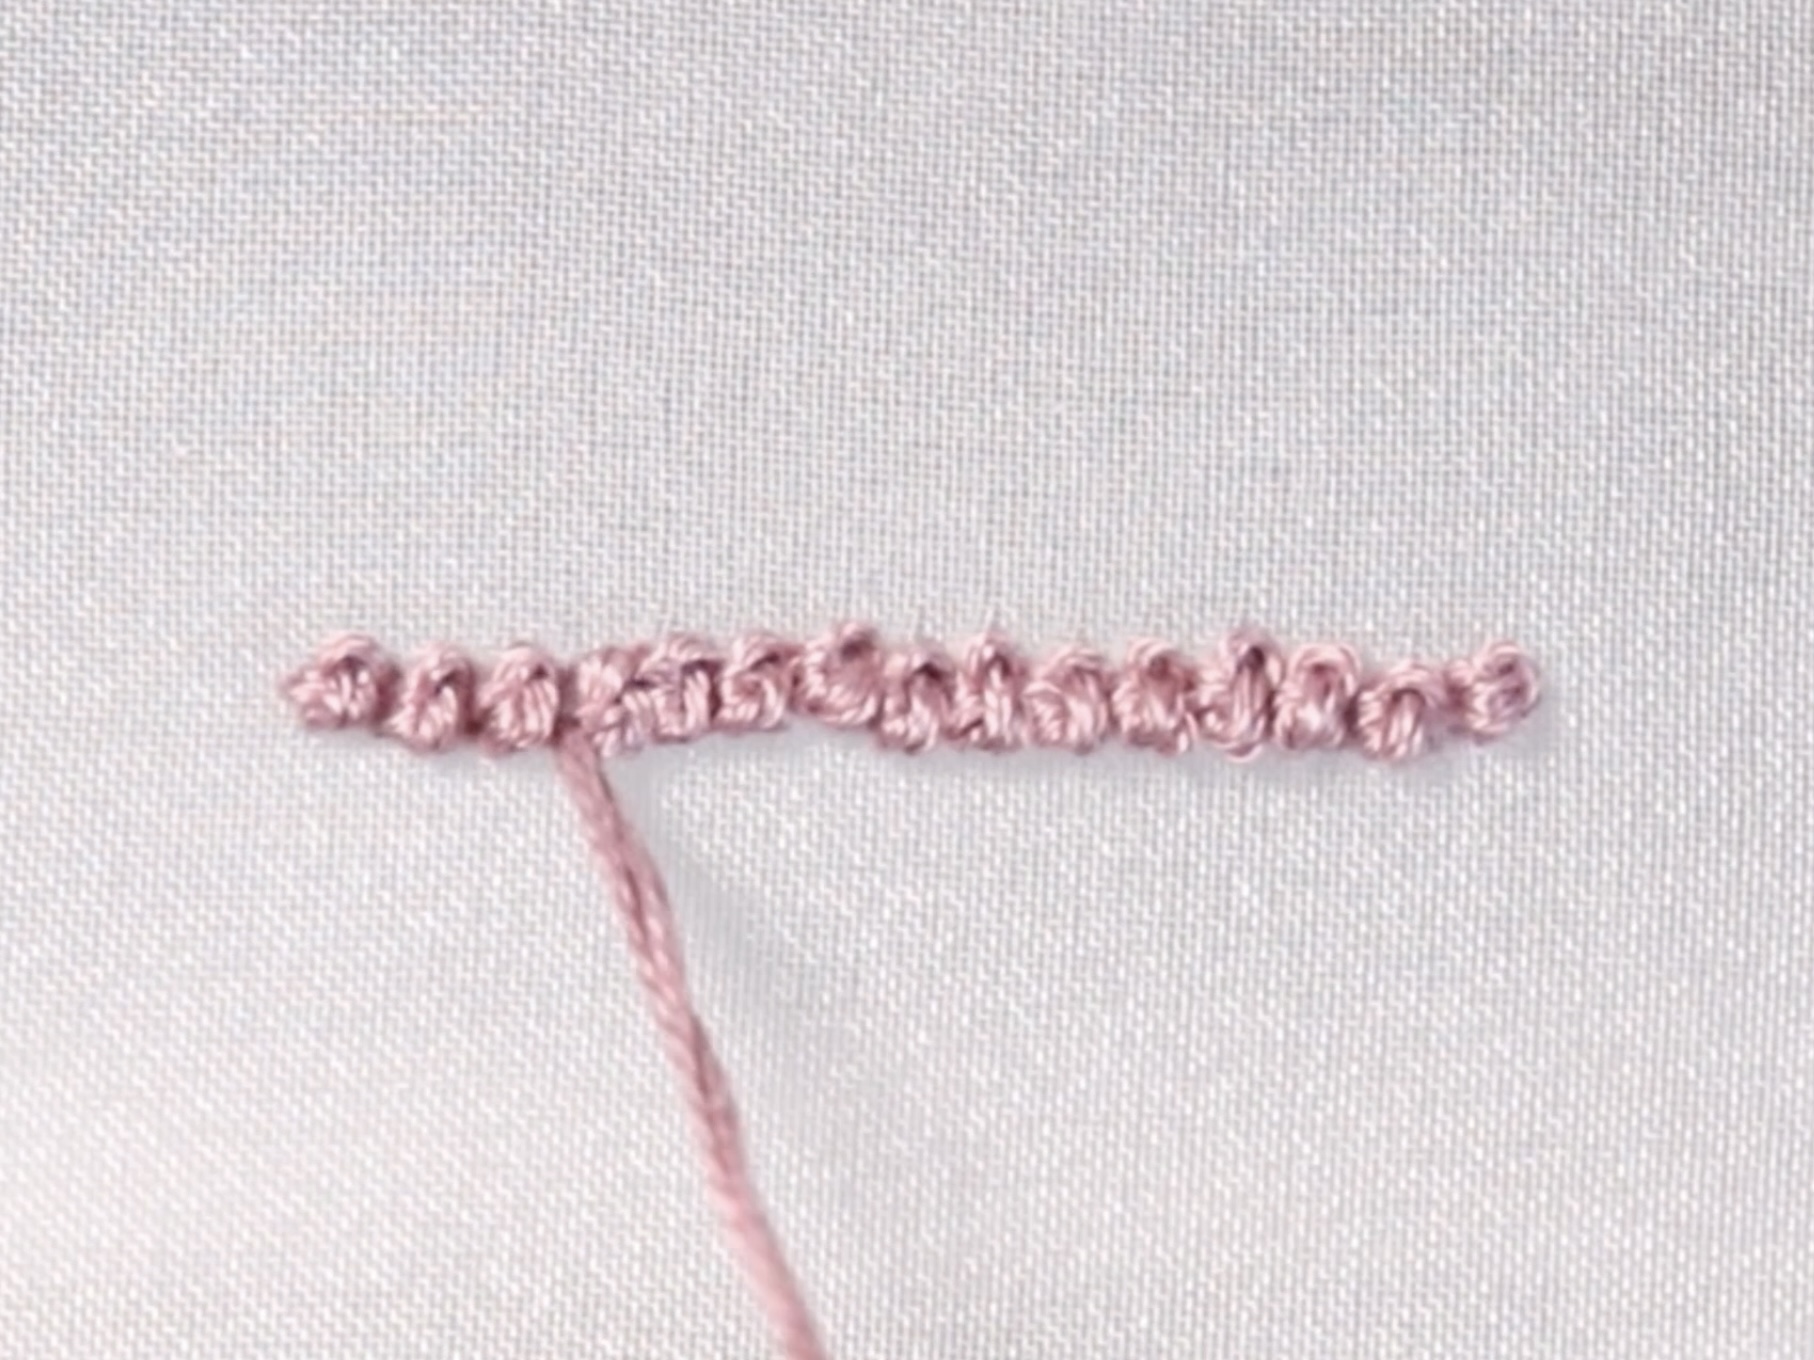
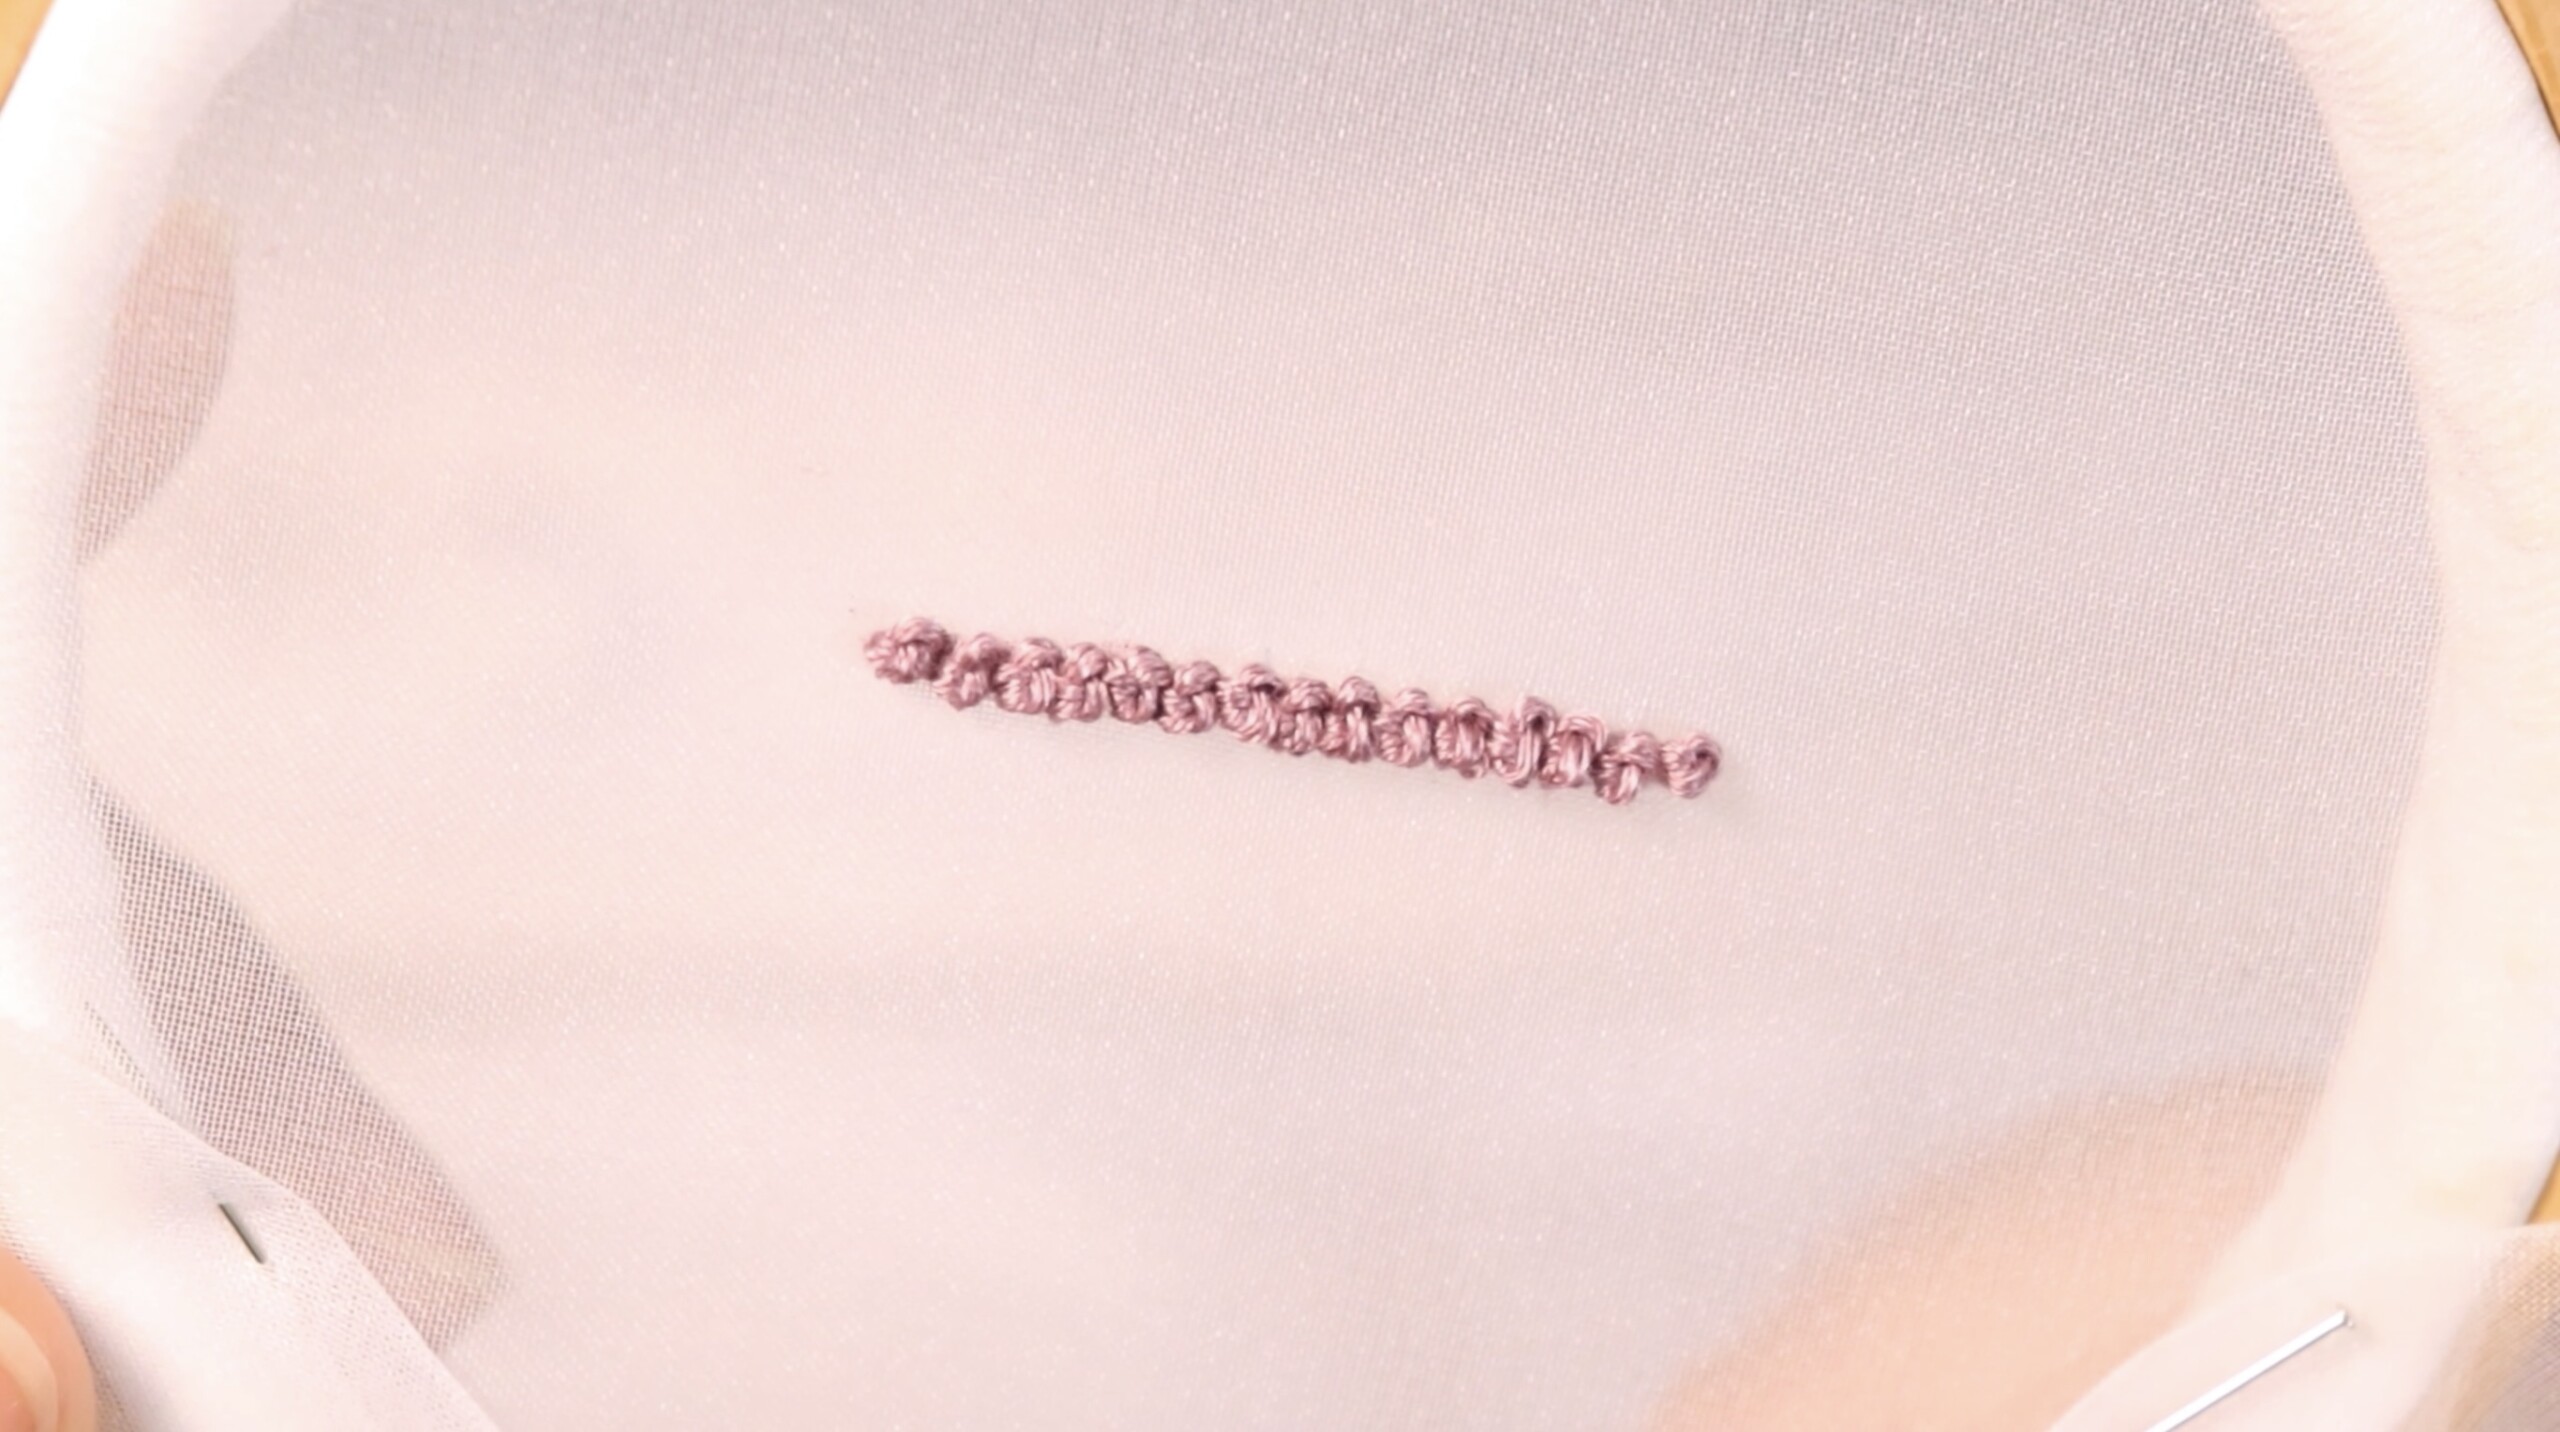
【Front side of French knot stitch】
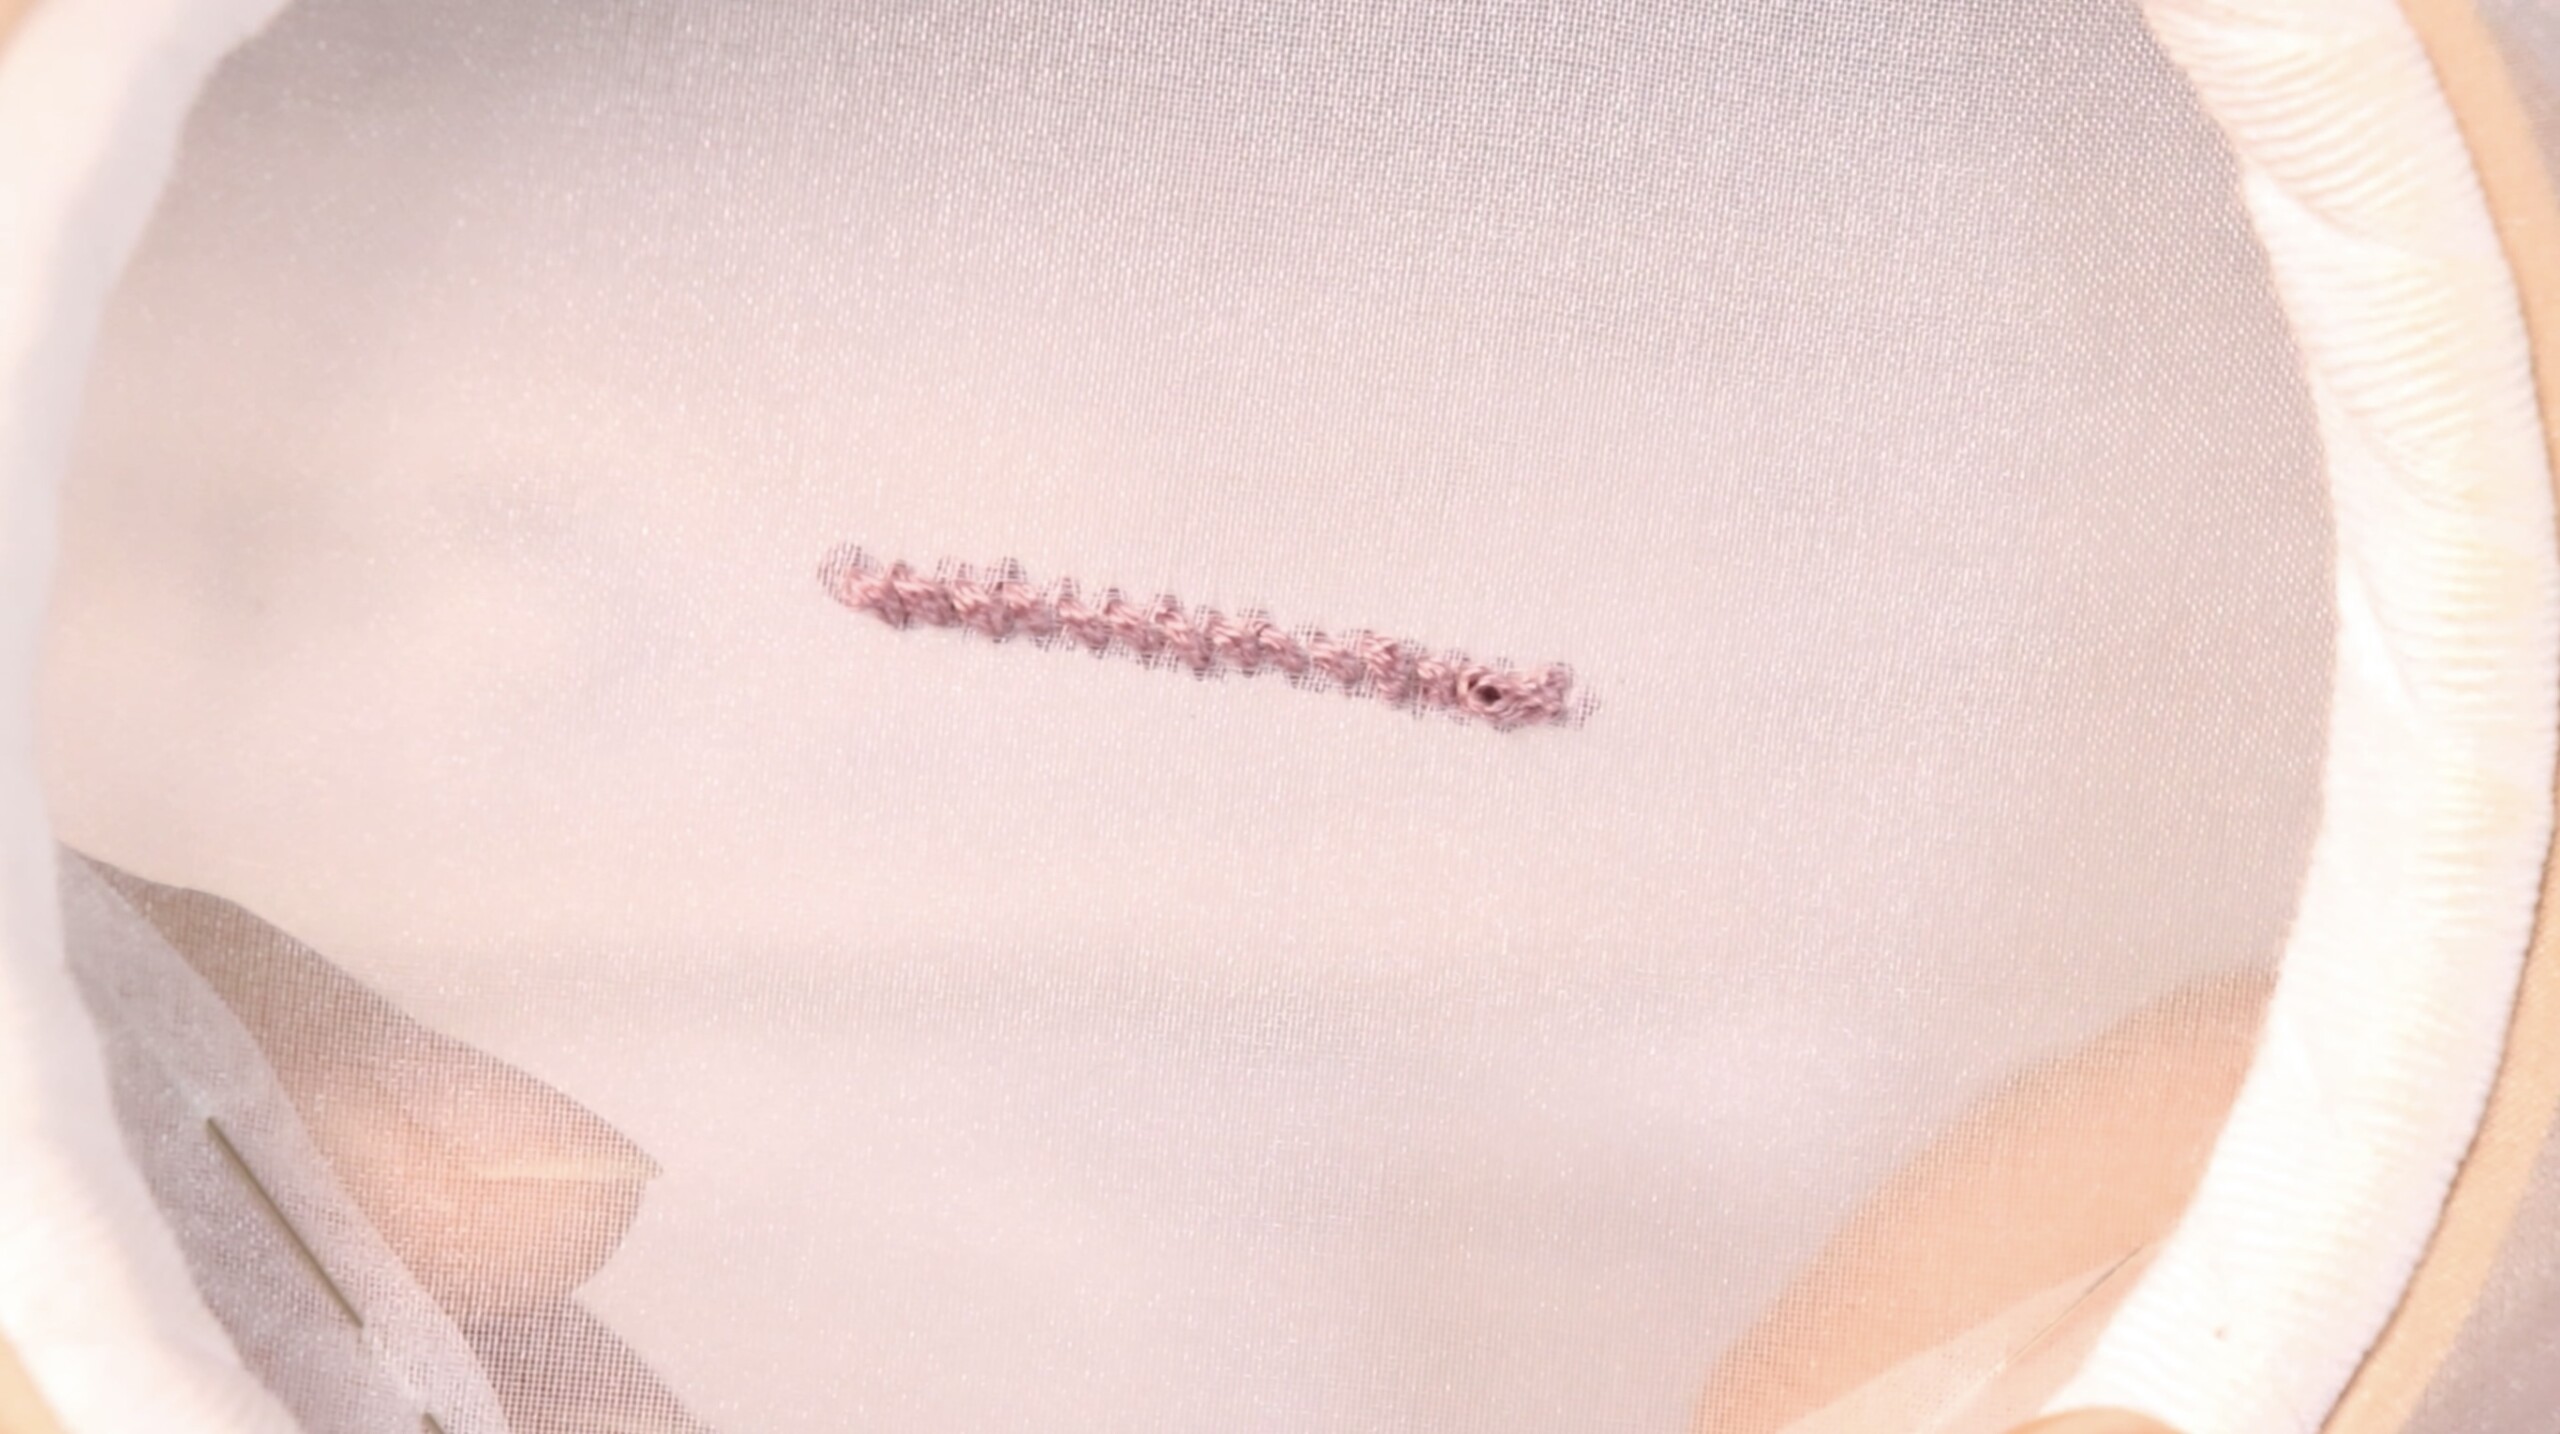
【Back side of French knot stitch】
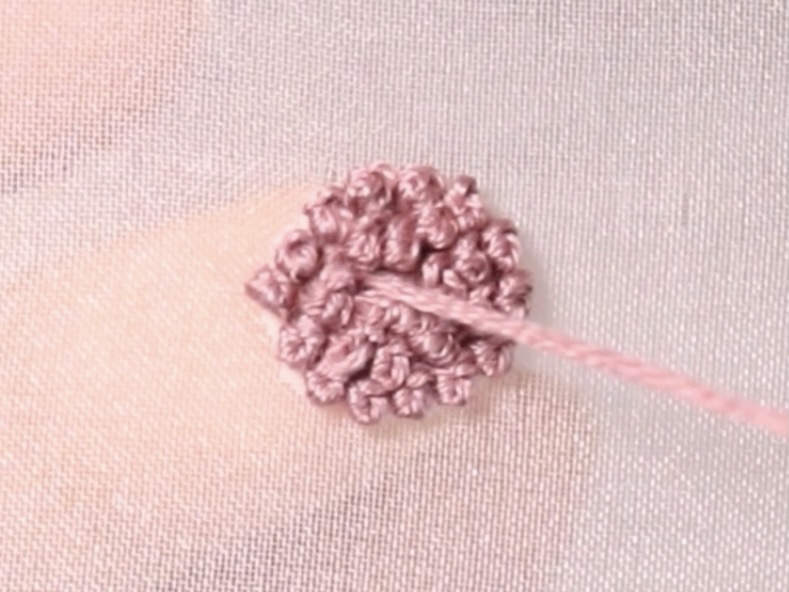
When embroidering by laying it so that it fills the surface
When embroidering with the French knot stitch to fill the area, create the first stitch so that it is hidden by the stitches that will be embroidered later.
Shift the thread with your finger to create the stitch at the end of the stitch.
Just like the stitch at the beginning of the stitch, two small straight stitches will be the stitch at the end of the stitch.
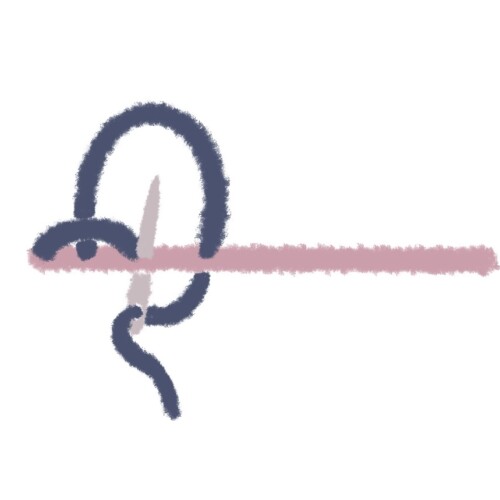
How to French knot stitch
【1】Put out the needle slightly below where you want to make the French knot stitch
【2】Cross the needle under the thread ⇒ Hold the thread with the finger holding the needle
【3】Make a knot of French knot stitch
【4】Insert the needle slightly above the first needle hole
【5】Pass the needle through the back of the fabric
【1】Put out the needle slightly below where you want to make the French knot stitch
First, bring the needle out slightly below where you want to make the French knot stitch.
If you pull the needle out from the center point where you want to make the French knot stitch when you first pull out the needle, the actual French knot stitch will be slightly above the desired location.
So the needle comes out slightly below where you want to make the French knot stitch.
【2】Cross the needle under the thread ⇒ Hold the thread with the finger holding the needle
Bring the thread protruding from the fabric to the front and cross the embroidery needle under the thread.

Bring the fingers holding the needle close to the thread and hold them together.
【3】Make a knot of French knot stitch
Move the needle tip clockwise with respect to the thread above your finger.
Then move the nearby threads farther away.
【4】Insert the needle slightly above the first needle hole
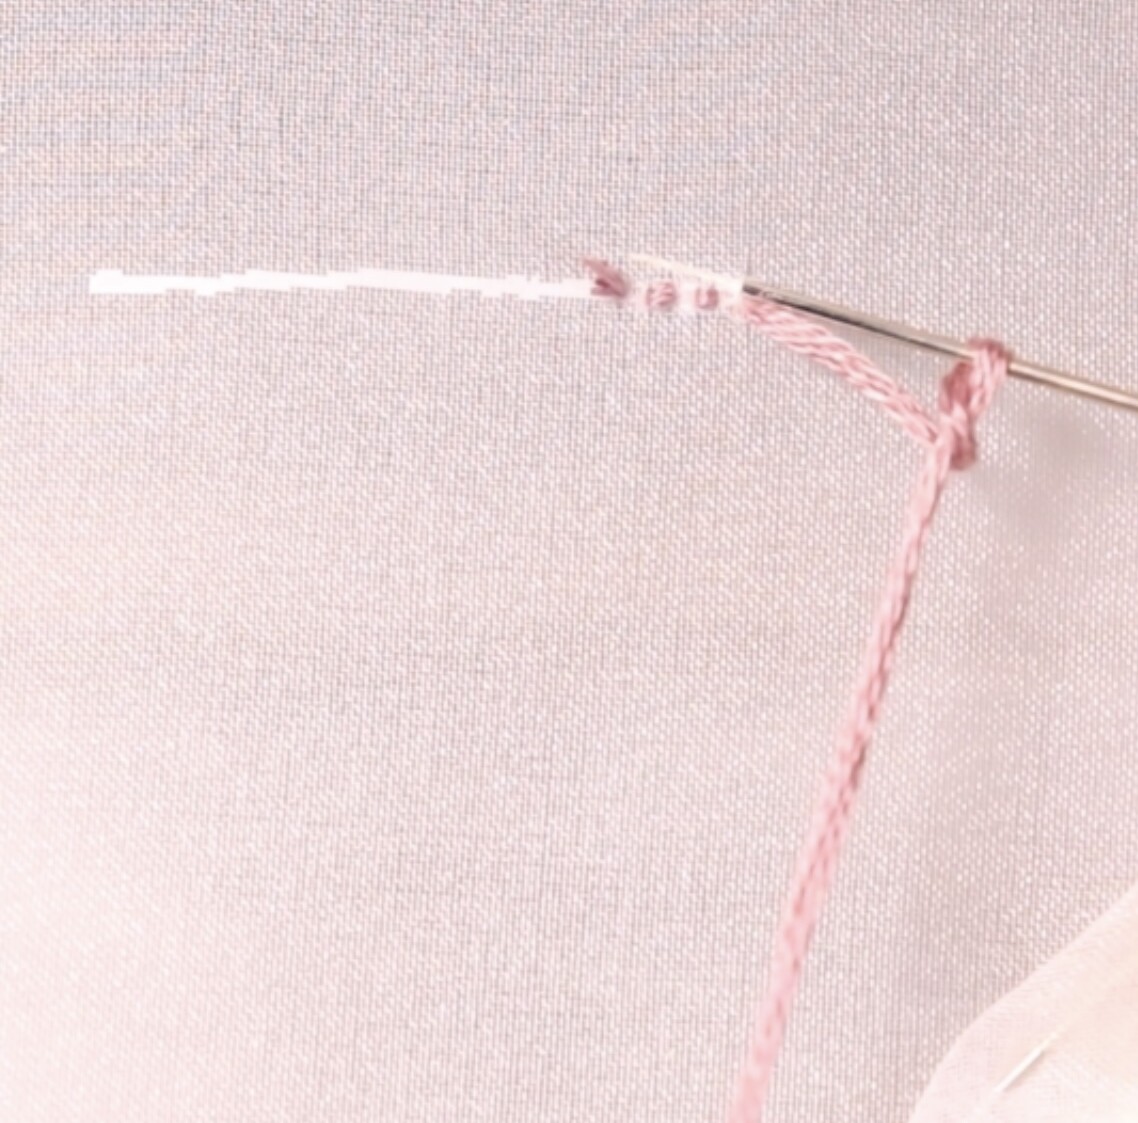
Insert the needle slightly above where the thread is coming out.
Be careful not to put the needle in the same hole.
The position where the needle first comes out is below the construction line
The last position to insert the needle is above the construction line
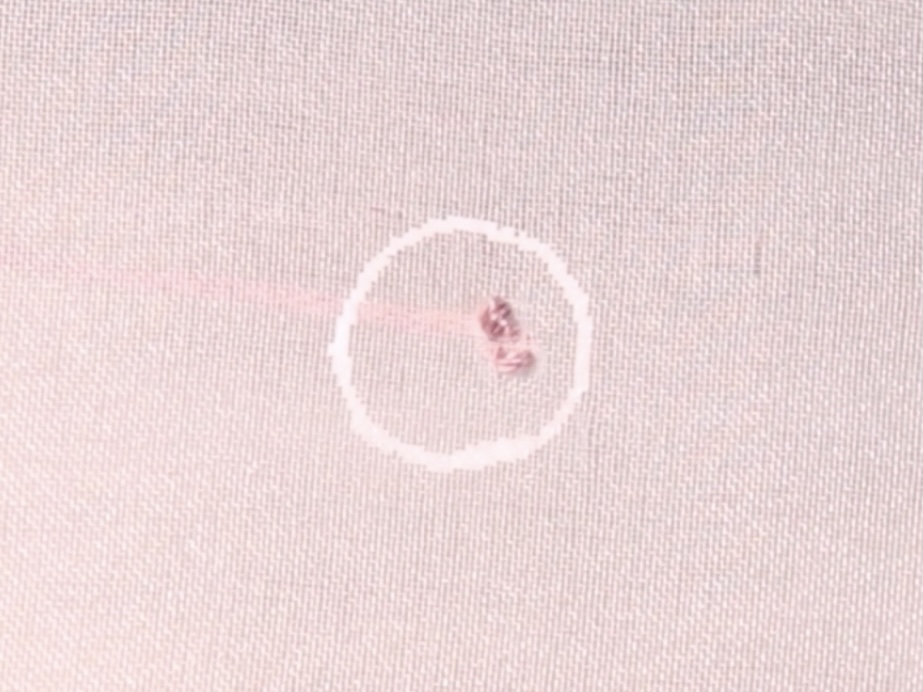
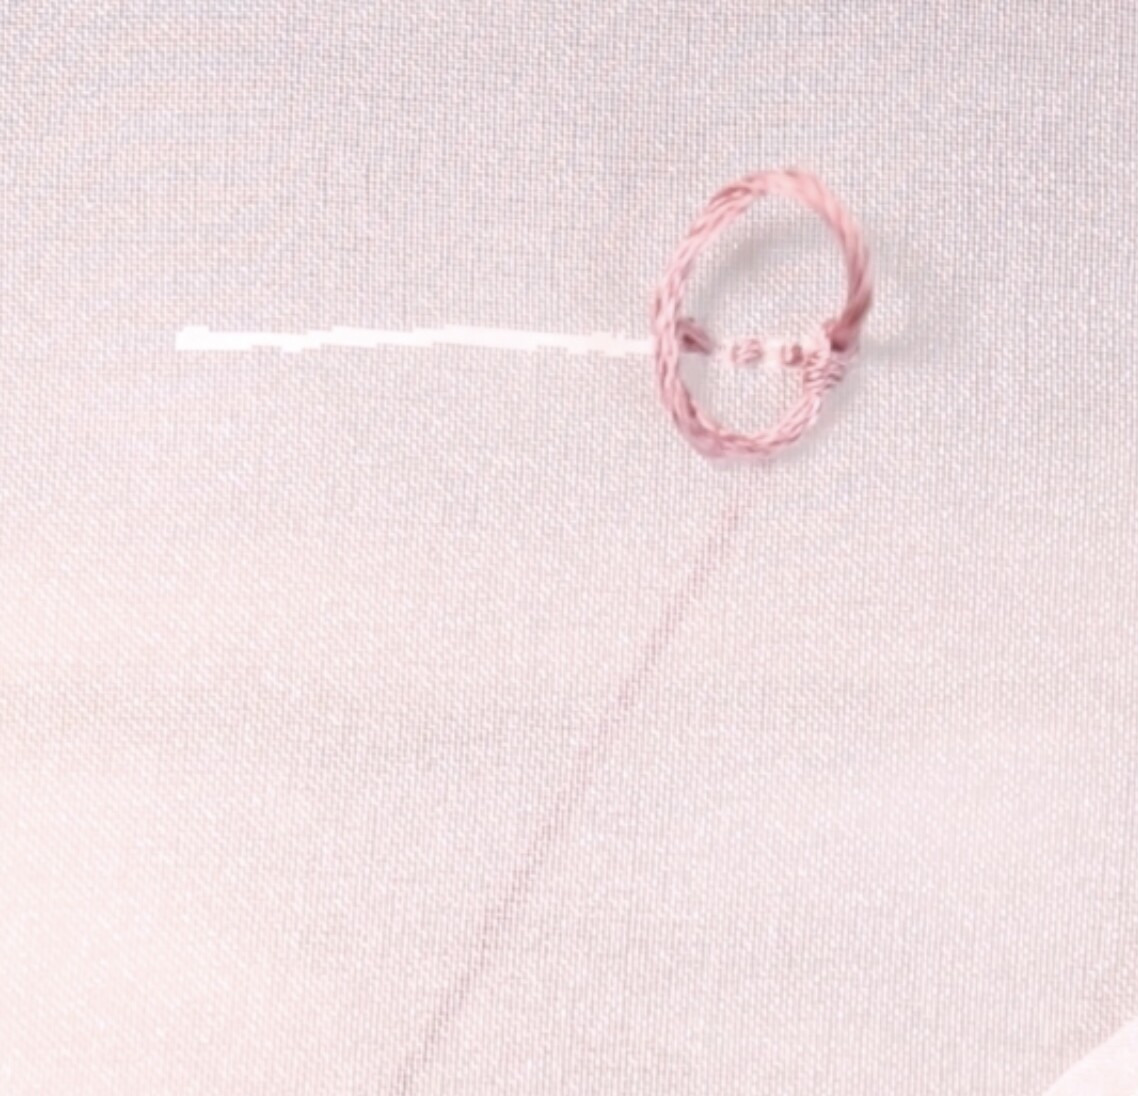
This will create a French knot stitch knot in the center of the white line.
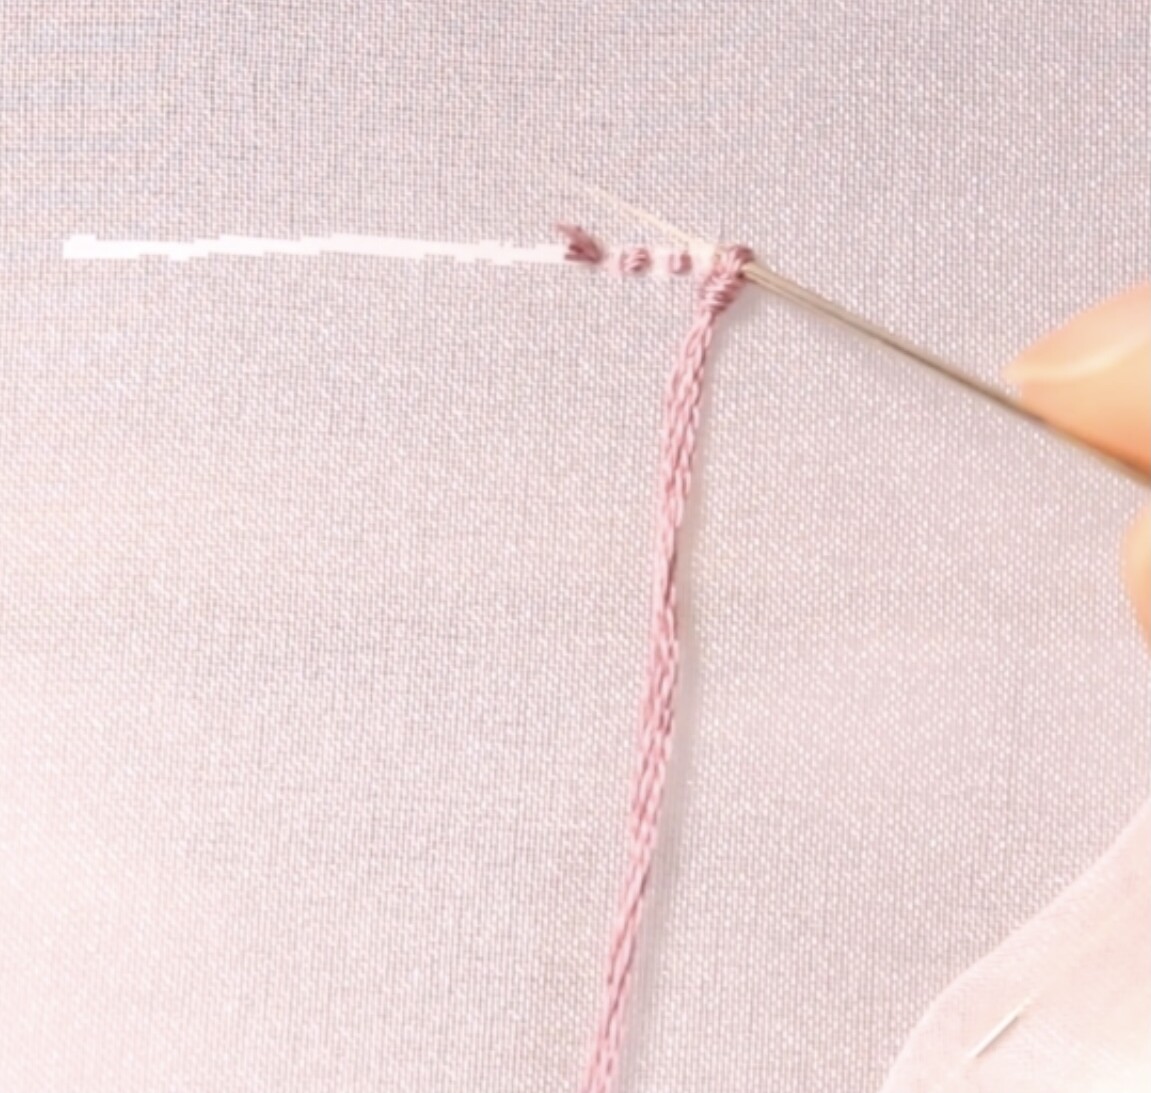
After inserting the needle, pulling the thread will move the knot onto the fabric.
【5】Pass the needle through the back of the fabric
As you pass the needle through the back of the fabric, pull the thread carefully so it doesn't get tangled.
Finished embroidery