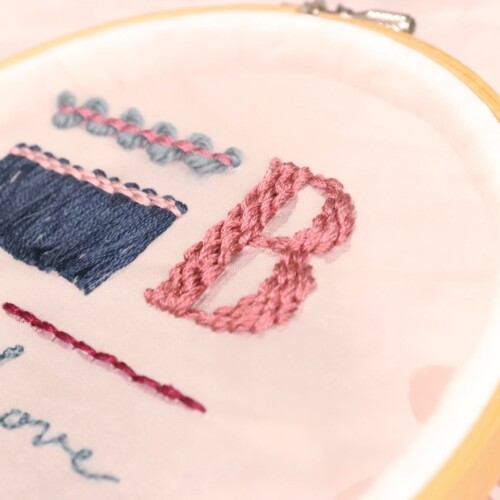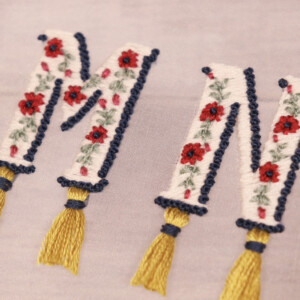
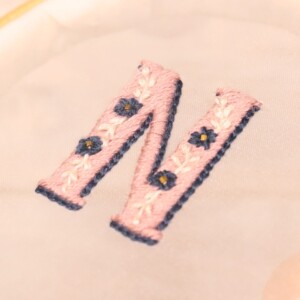
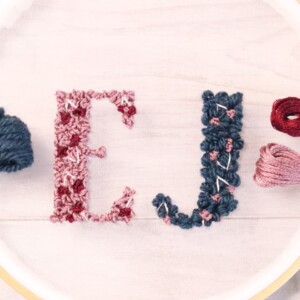

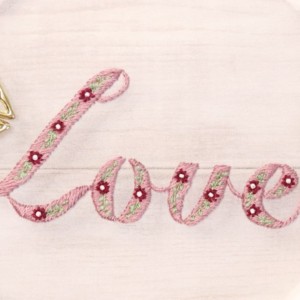


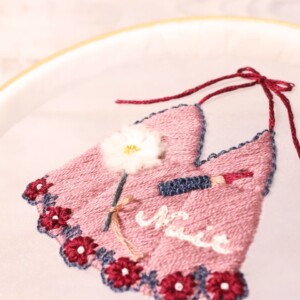


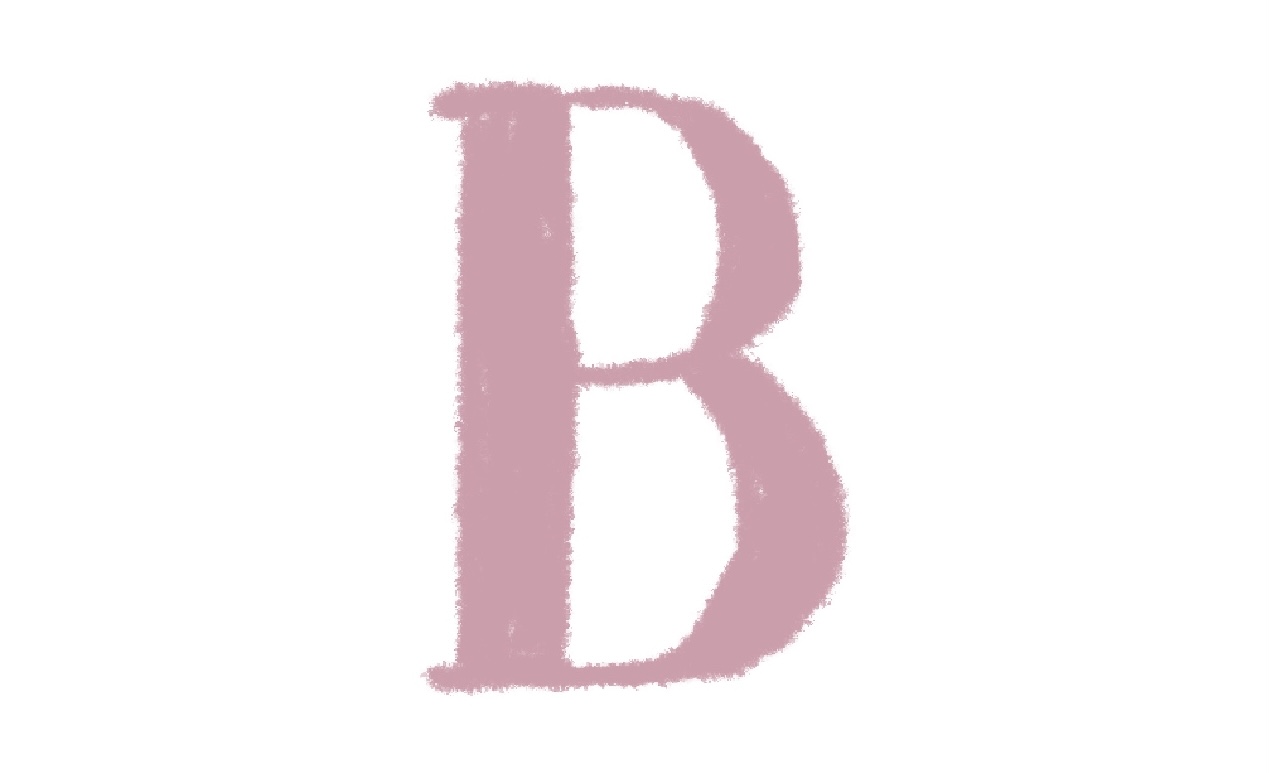
Alphabet like a knit pattern is embroidered by arranging Back stitch alternately
On this page, backstitch "How to embroider a knitted alphabet" is explained with photos and GIF videos.
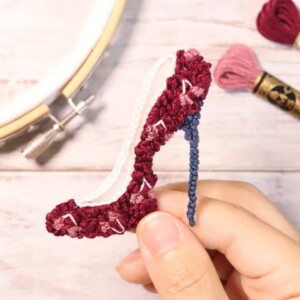
Back stitches, which are often used as line embroidery stitches, can also be expressed as embroidery that fills the surface just by arranging them.
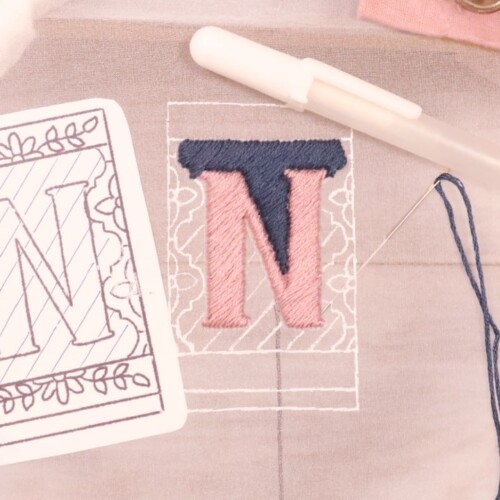
This time, I embroidered with plenty of volume with 12 threads of No. 25 embroidery. It is cute even if it is embroidered with tapestry wool thread.
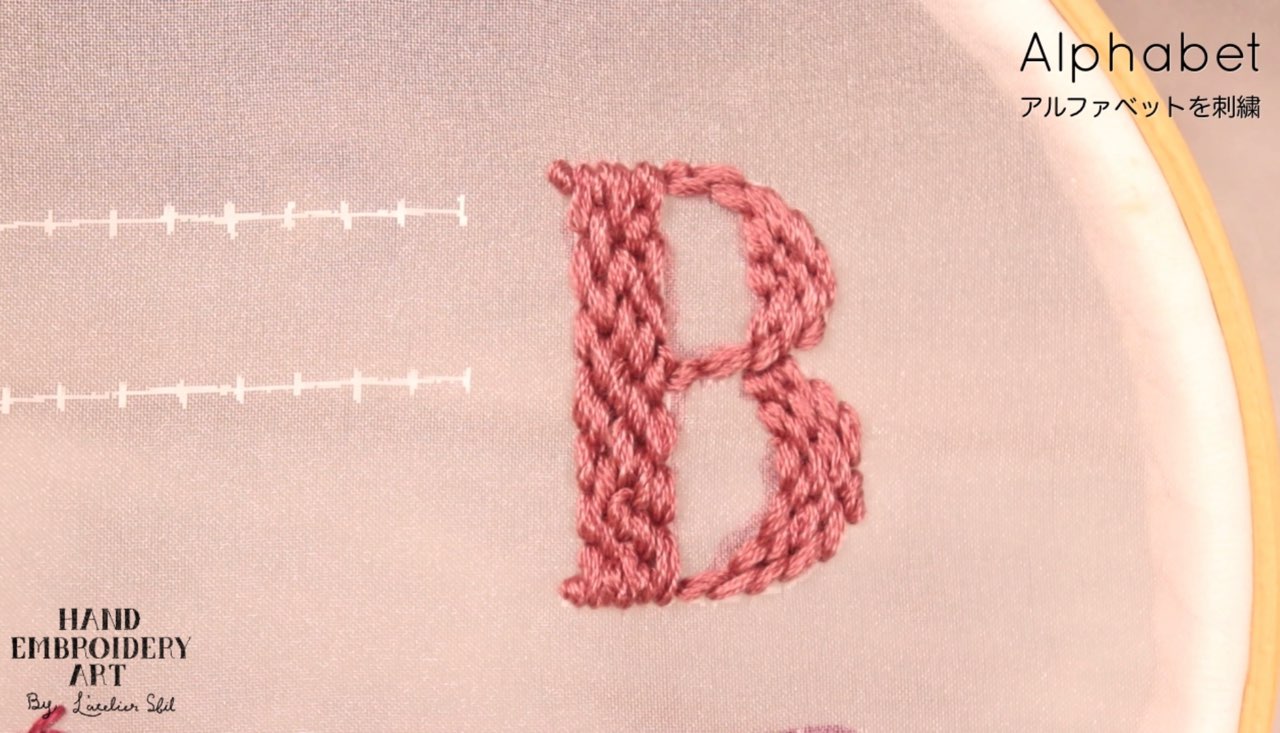
Finished embroidery
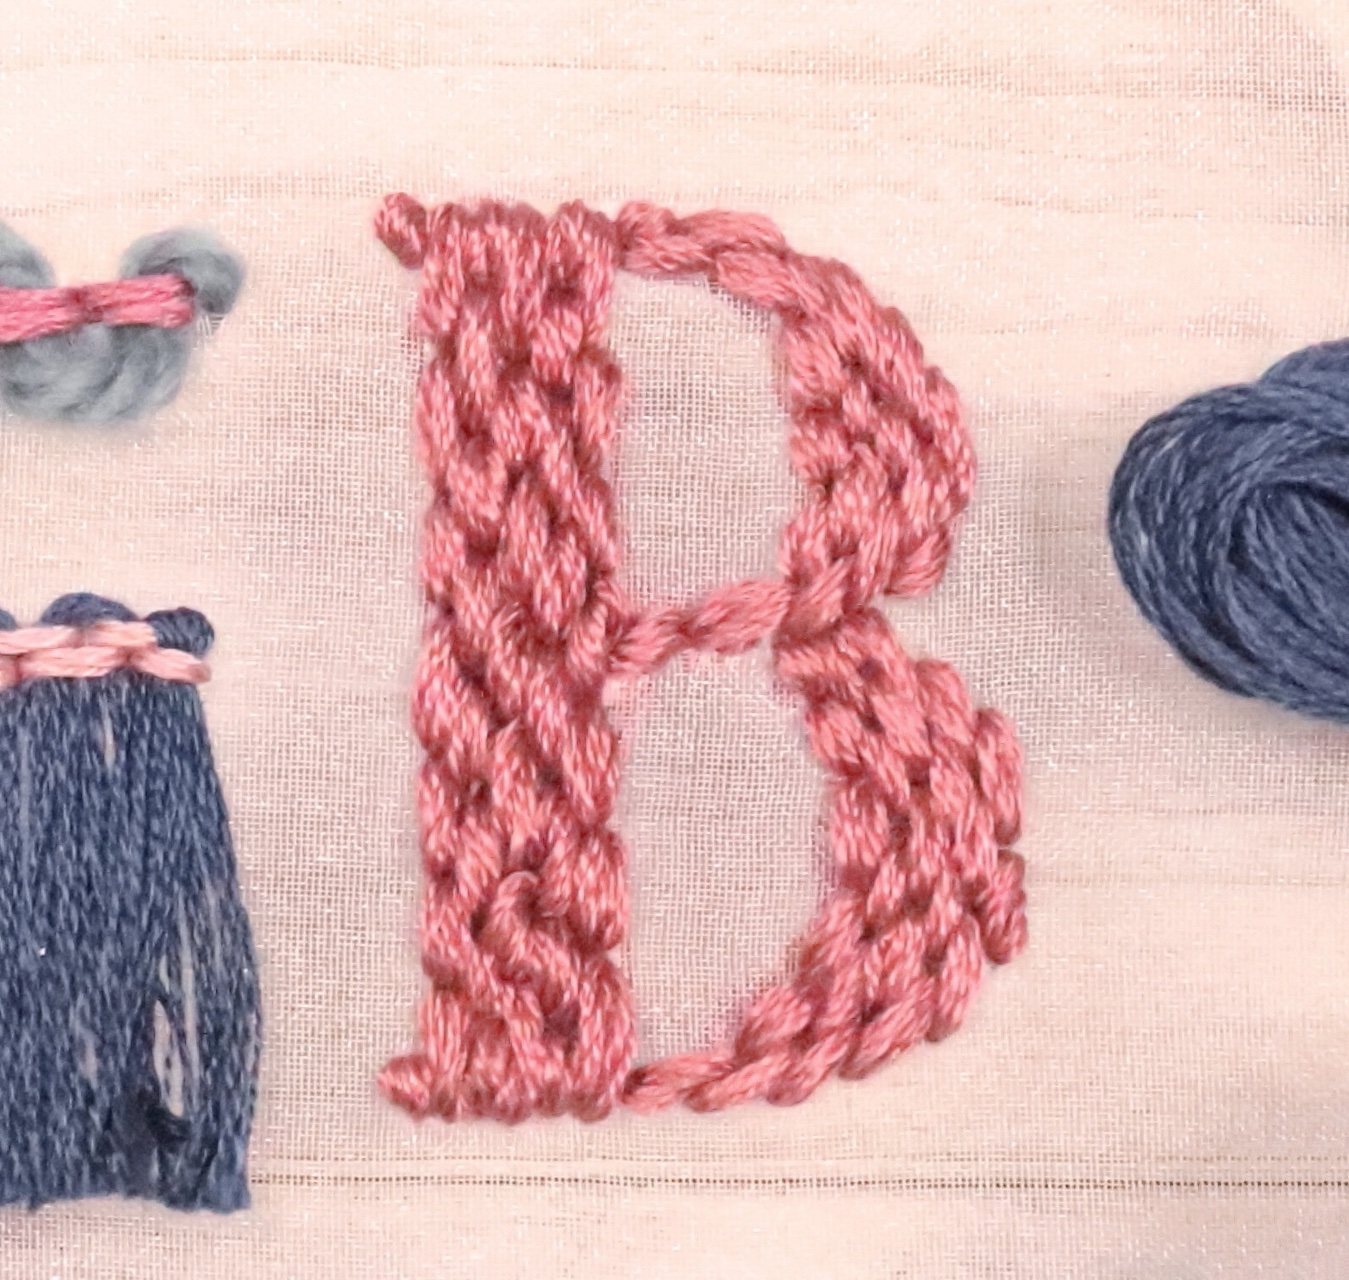
Table of contents
【1】Beginning stitch
【2】Embroider small parts after embroidering the surrounding parts
【3】Embroidered Back stitch alternately to create a knit look
【4】How to add threads while embroidering
【1】Beginning stitch
Make Beginning stitch near the start position
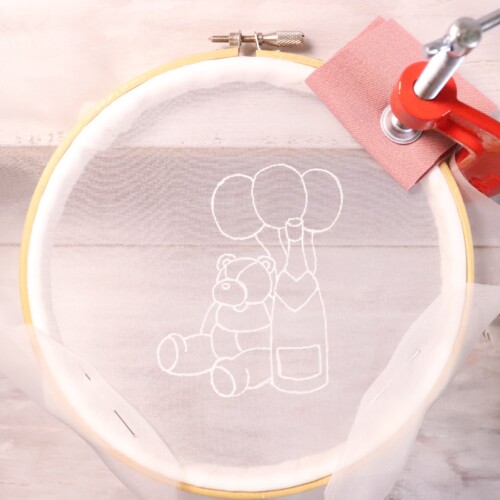
This time, we will start embroidering from the upper left corner of the letter B, so we will create the first stitch near it.
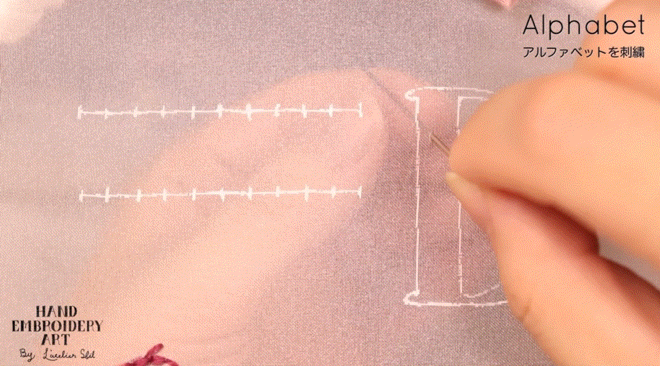
Make Beginning stitch so that it is hidden by Back stitch that will be embroidered later.
The stitch at the beginning of stitching is completed by stitching two small straight stitches.
Point
・Avoid the place where the needle passes through in the Back stitch.
・Make it as small as possible
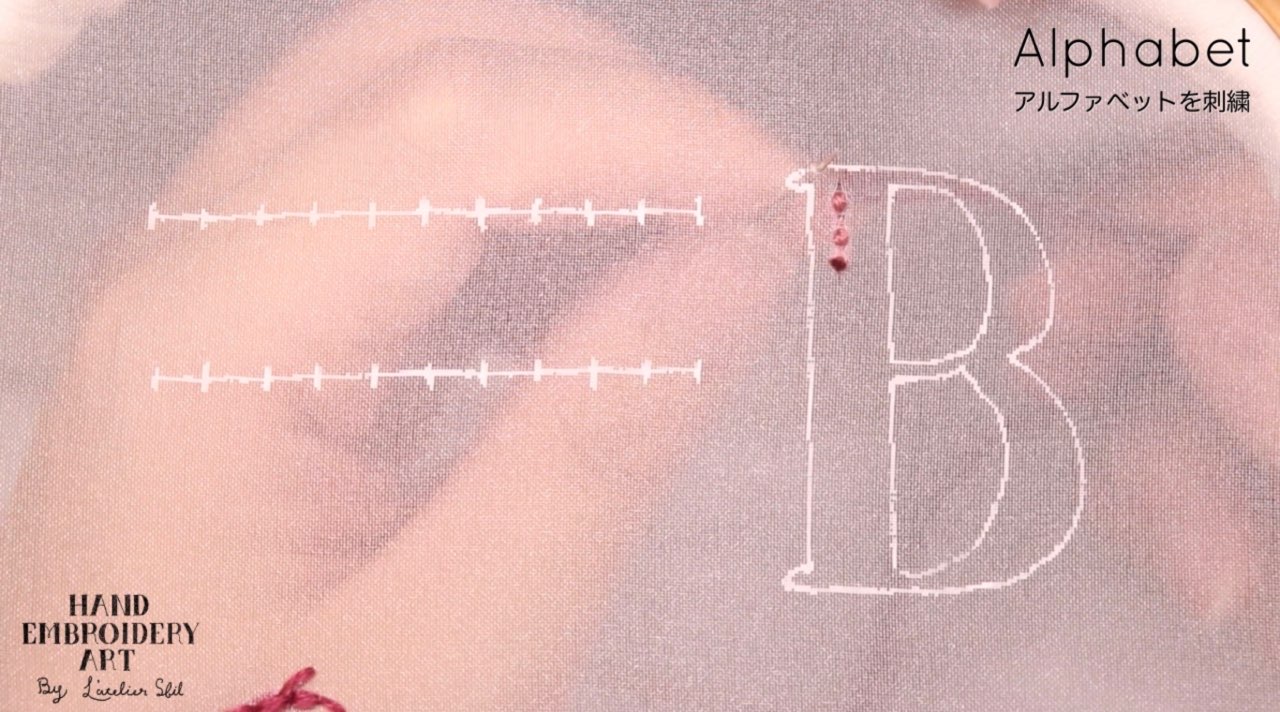
【2】Embroider small parts after embroidering the surrounding parts
For the small embroidery part on the left side of B in the video below, which is more detailed than the surrounding parts, embroider the surrounding parts first and then embroider.
By embroidering the finer details later, it will be easier to balance the overall design and make it easier to embroider.
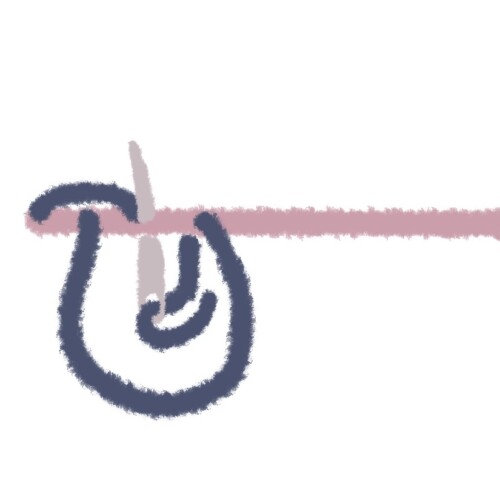
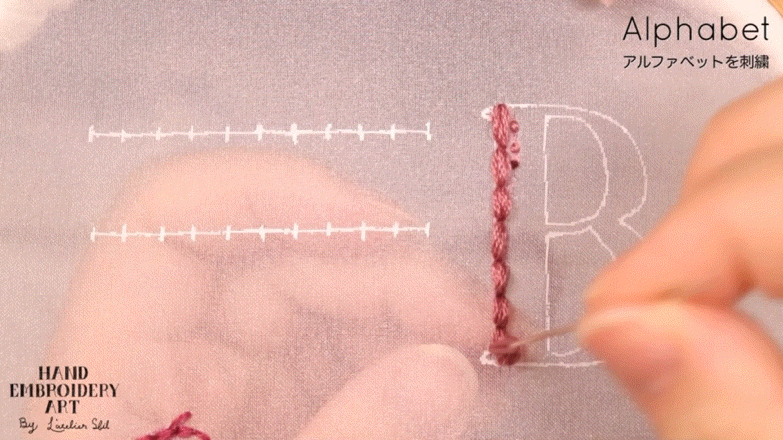
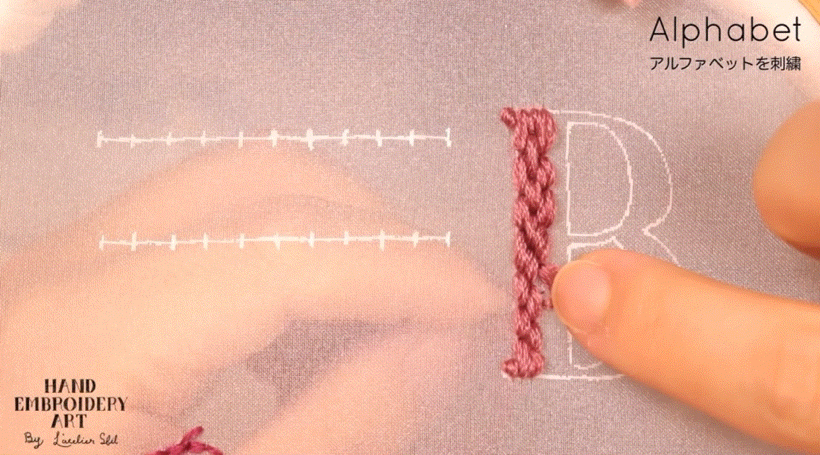
【3】Embroidered Back stitch alternately to create a knit look
Knit-like embroidery can be achieved simply by embroidering backstitches alternately with thick thread.
If you embroider while keeping in mind that the thread should not be pulled too much, it will have a knit-like texture.
Back stitch direction is the same as when writing the alphabet.
Point
・Back stitch direction is the same as when writing the alphabet
・Do not pull the thread too much, just make it a little fluffy
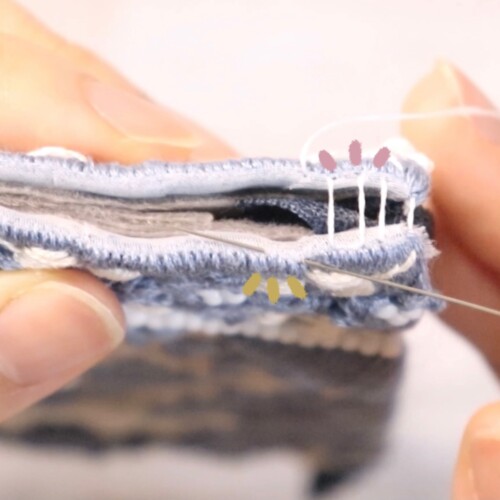
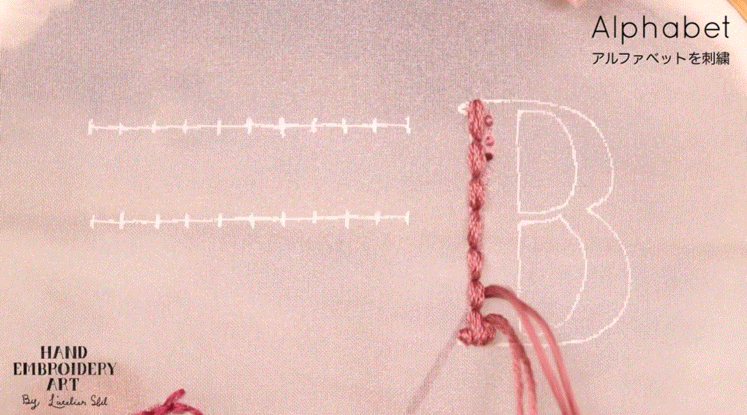
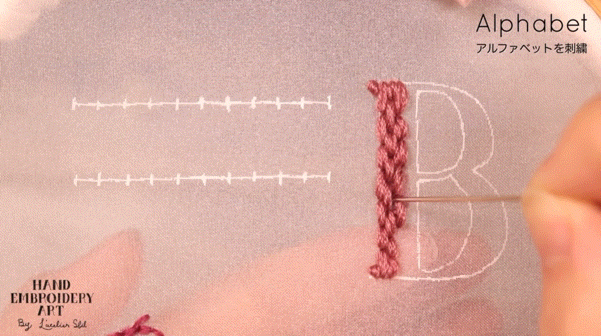
【4】How to add threads while embroidering
If the thread becomes short during embroidery, do End stitch.
At that time, it is recommended to stitch the end of the embroidery between the already embroidery Back stitch.
Rather than creating the beginning and ending stitches in a blank area, creating them in the already embroidered backstitch makes it look neater and easier to continue embroidering.
Of course it is OK even if I stab it in the blank part when there is little space.
When cutting the end of the thread as shown in the video above, be careful not to cut the surrounding Back stitch.
The ease of use of thread trimming scissors is also important for this kind of detailed work.
Finish by lining up the Back stitches in the same direction as when writing the alphabet!
Watch a video on how to embroidery
"How to embroider alphabet like a knit pattern by arranging Back stitches alternately" explains from 7 minutes 40 seconds.
The subtitles are included, so please turn them on and watch.
6 Patterns Back stitch | How to Embroider Alphabets, Letters and Decorative Arrangements
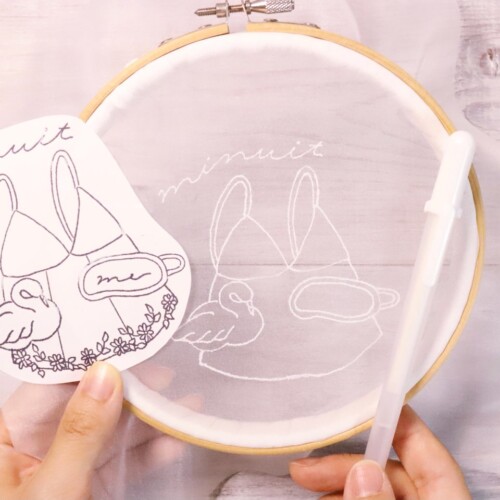
↑The embroidery PDF pattern can be downloaded from this page.
6 patterns Back stitch
How to Back stitch