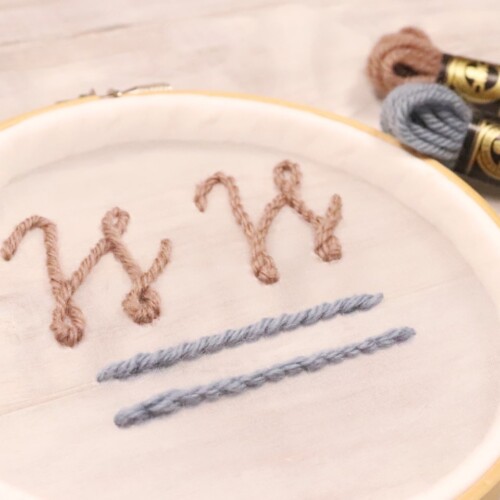


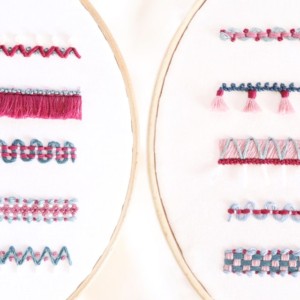


Decorative embroidery with Back stitch and wool thread | Threaded Backstitch
This page explains "Decorative embroidery with Back stitch and wool thread" with photos and GIF animation.
It's a very easy decorative embroidery, so it's also recommended for embroidery beginners.
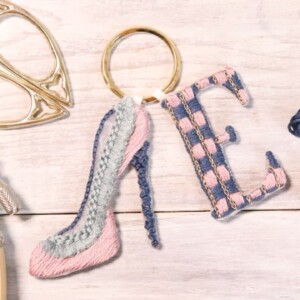
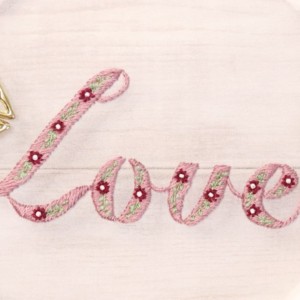
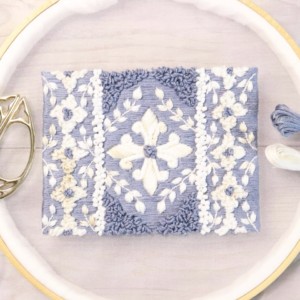
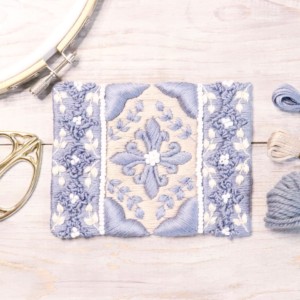
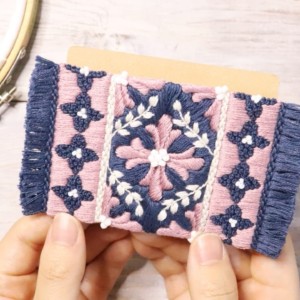
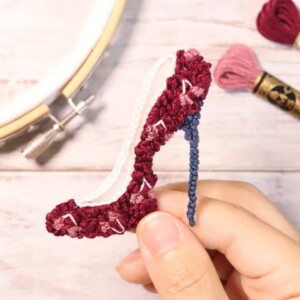
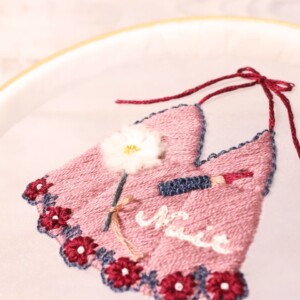
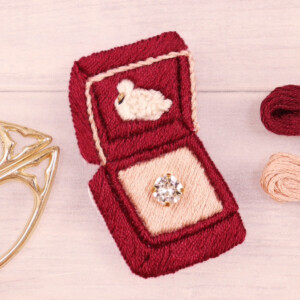
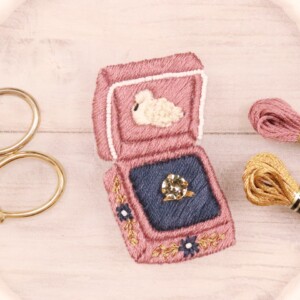
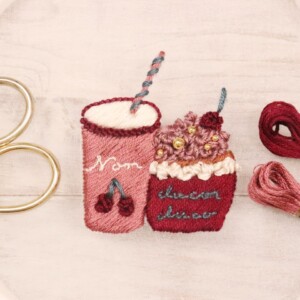
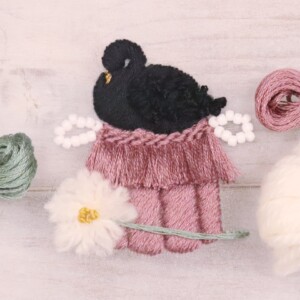
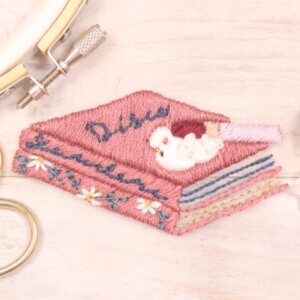
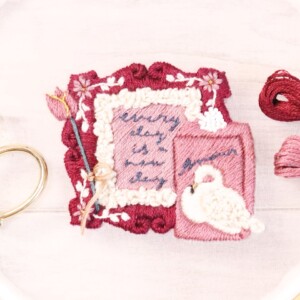
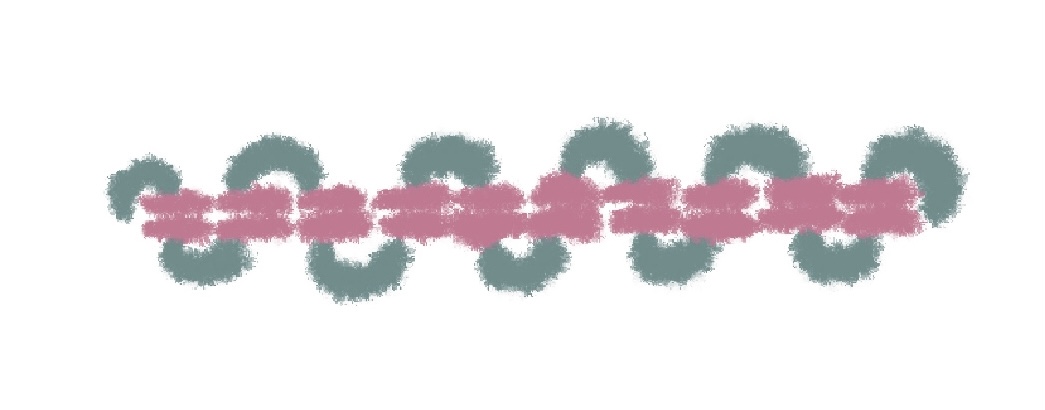
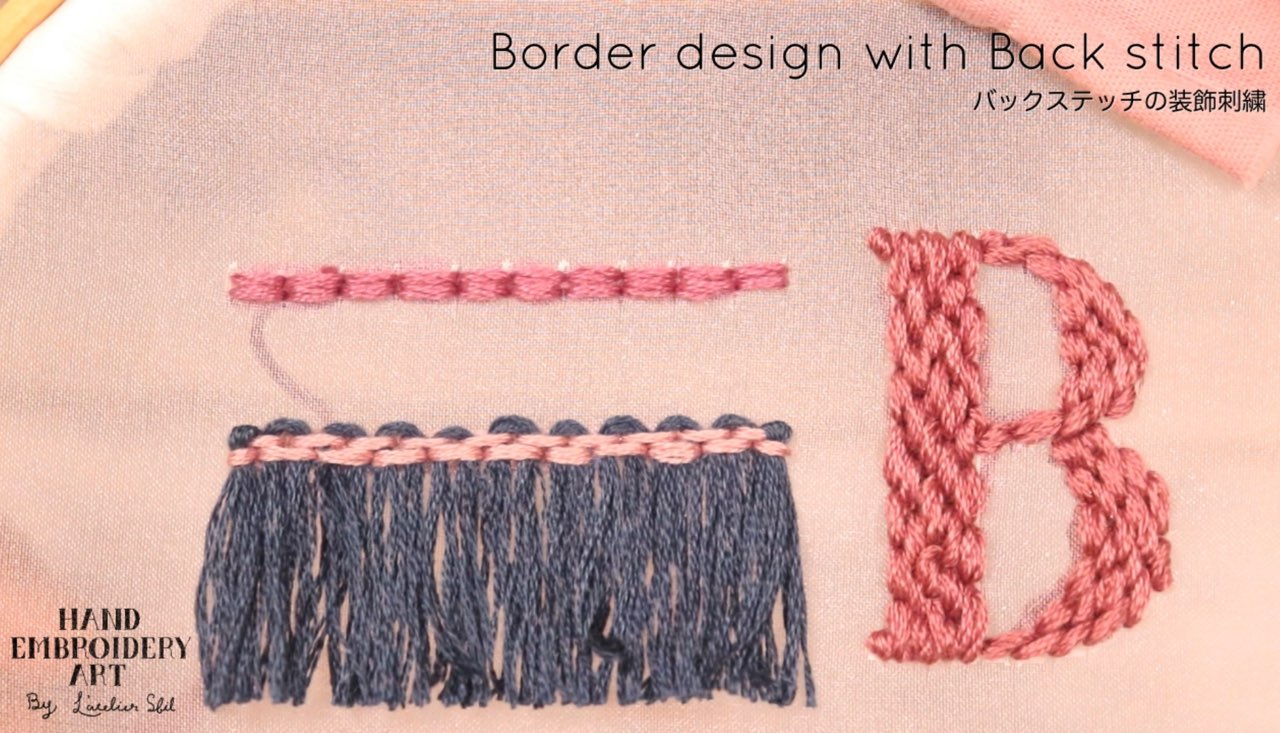
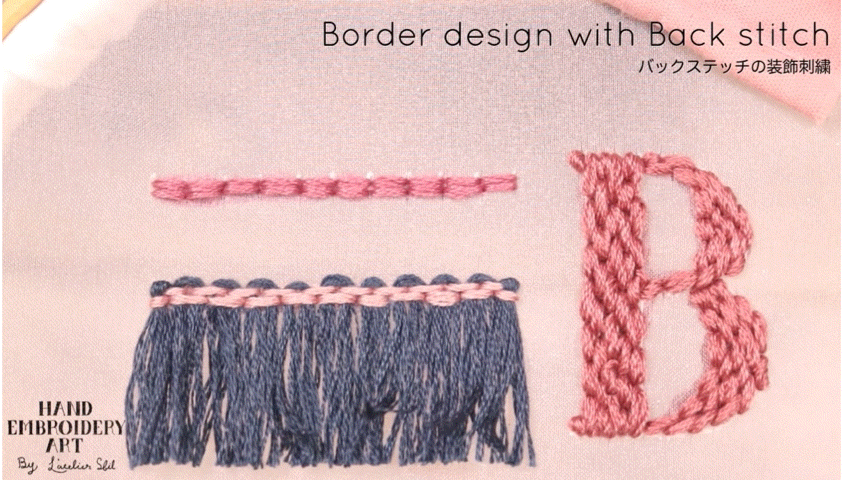
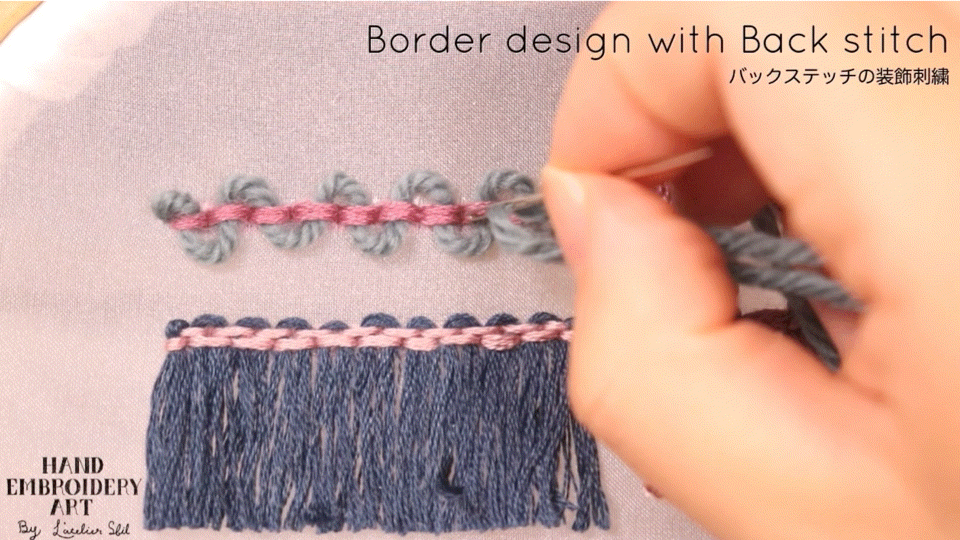
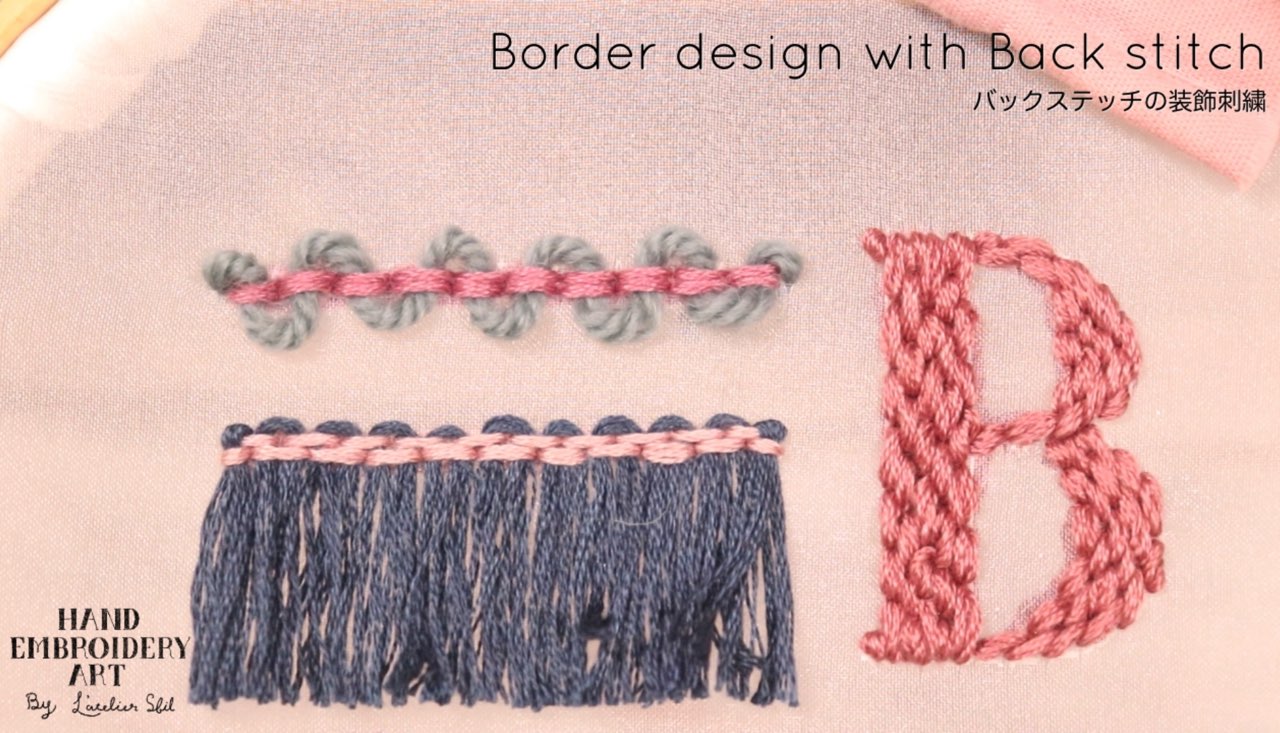
Finished embroidery
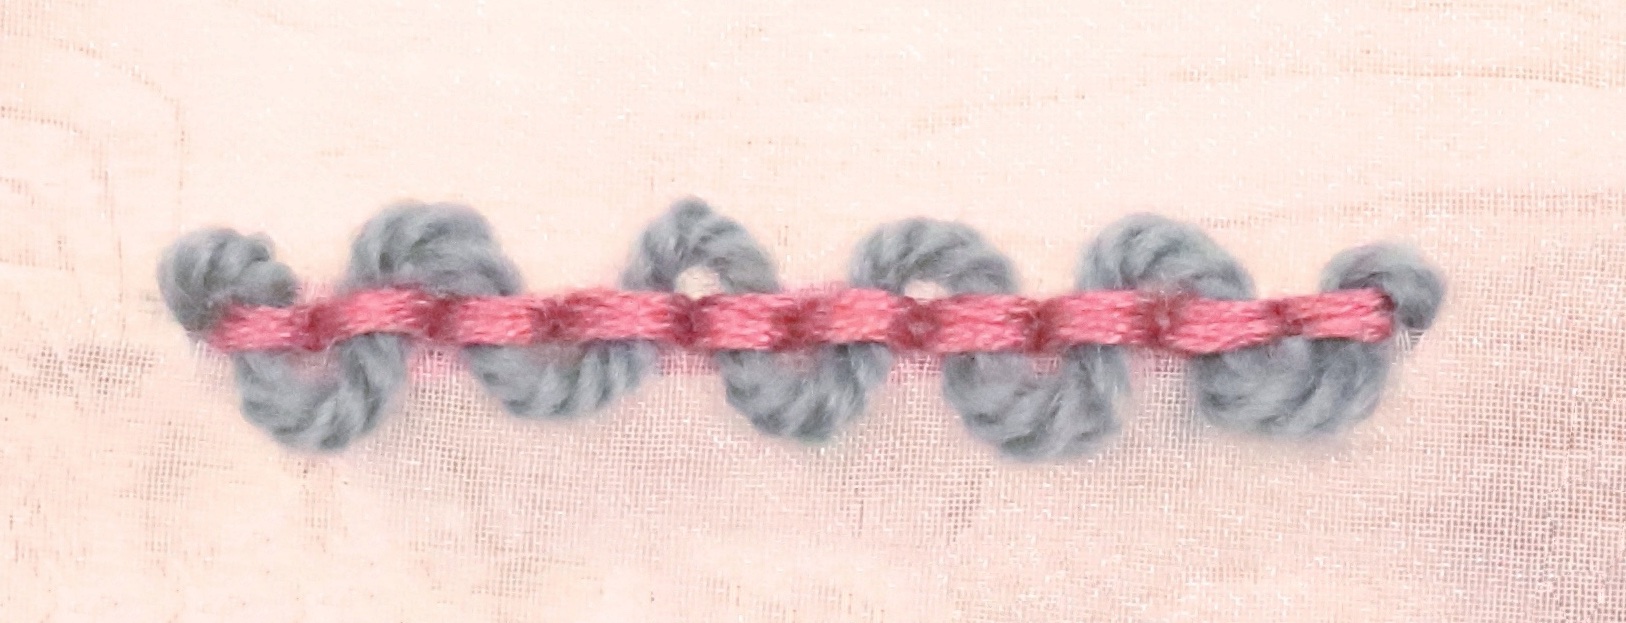
Table of contents
【1】Beginning stitch
【2】Embroider Backstitch for the length of the decorative embroidery you want to make.
【3】End stitch
【4】Beginning stitch for wool thread
【5】Pass the wool thread through Back stitch
【6】End stitch for wool thread
【1】Beginning stitch
Make Beginning stitch near the start position
This time, we will start embroidering from the left, so we will make a stitch to start embroidering near it.
Make Beginning stitch so that it is hidden by Back stitch that will be embroidered later.
The stitch at the beginning of stitching is completed by stitching two small straight stitches.
This time, Back stitch is embroidered with 6 No. 25 embroidery threads.
Point
・Create above the construction line
・Avoid the place where the needle passes through in the Back stitch.
・Make it as small as possible
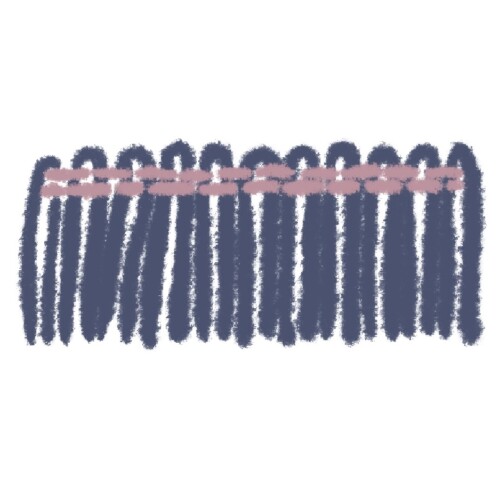
【2】Embroider Backstitch for the length of the decorative embroidery you want to make.
Embroider two rows of Back stitch that are the length of the decorative embroidery you want to make.
The wool thread will be passed through this Back stitch, so don't pull the thread too tight.
Embroider the second row of Back stitch to the same width as the first row of Back stitch.
Since we are threading the wool thread through Back stitch, each stitch must be the same length of Back stitch.
【3】End stitch
Back stitch is completed here, so cut the thread by stitching the end of the stitch.
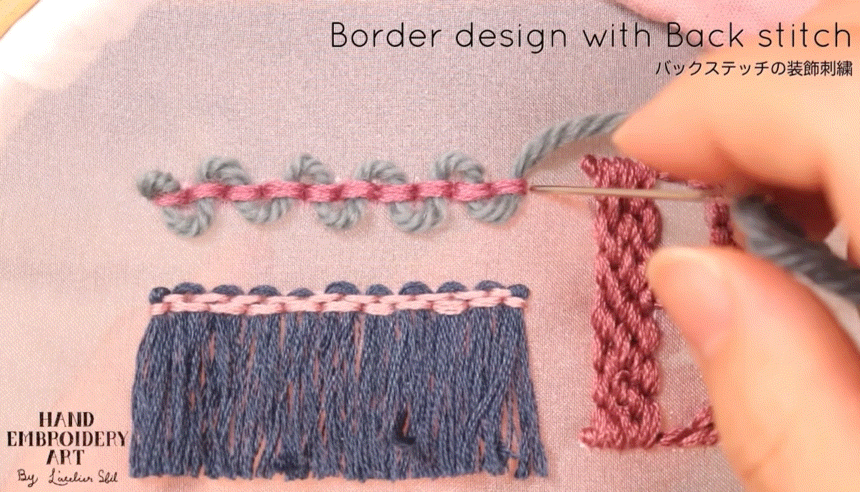
【4】Beginning stitch for wool thread
Make Beginning stitch of the wool thread so that it is hidden in Back stitch.
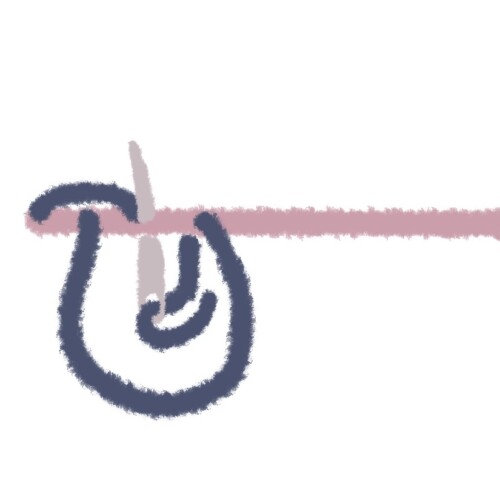
【5】Pass the wool thread through Back stitch
After completing Beginning stitch, take out the wool thread from the end of Back stitch and pass it through Back stitch.
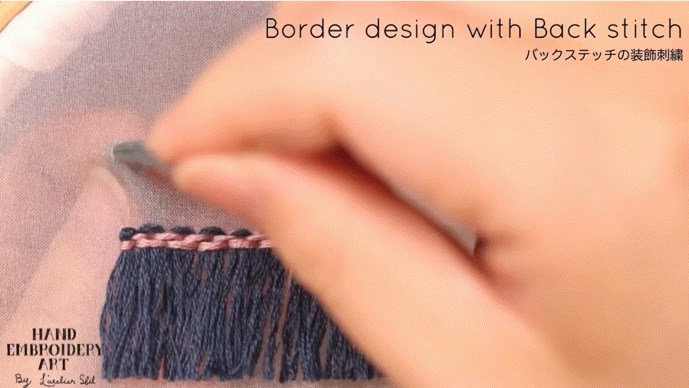
After passing through to the end, arrange the wool thread so that it is evenly distributed.
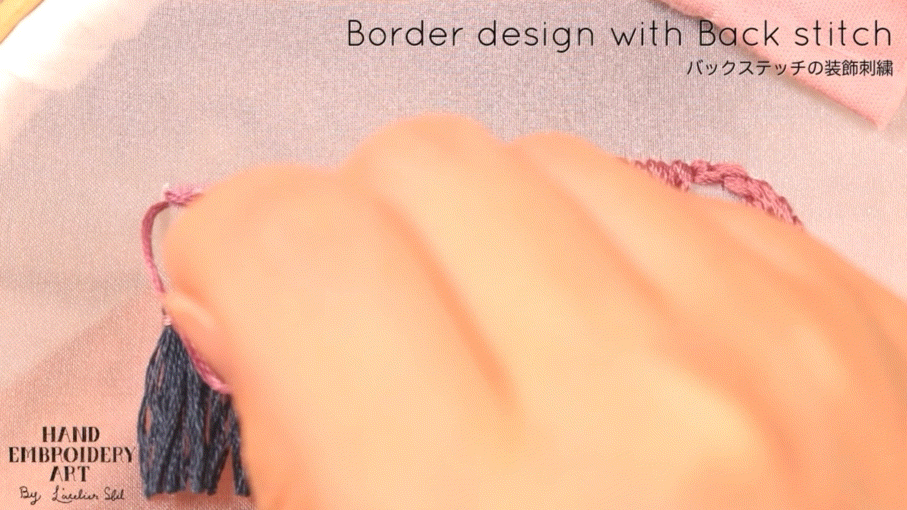
【6】End stitch for wool thread
Embroider the end stitch of the wool thread under the wool thread.
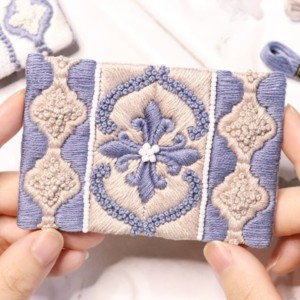
Finished embroidery
Watch a video on how to embroidery
"Decorative embroidery with Back stitch and wool thread" starts at 17:16.
The subtitles are included, so please turn them on and watch.
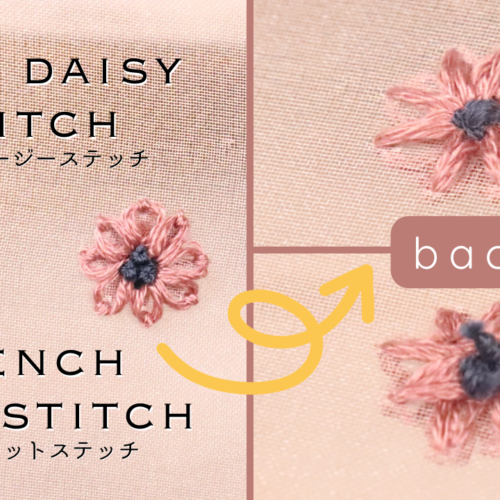
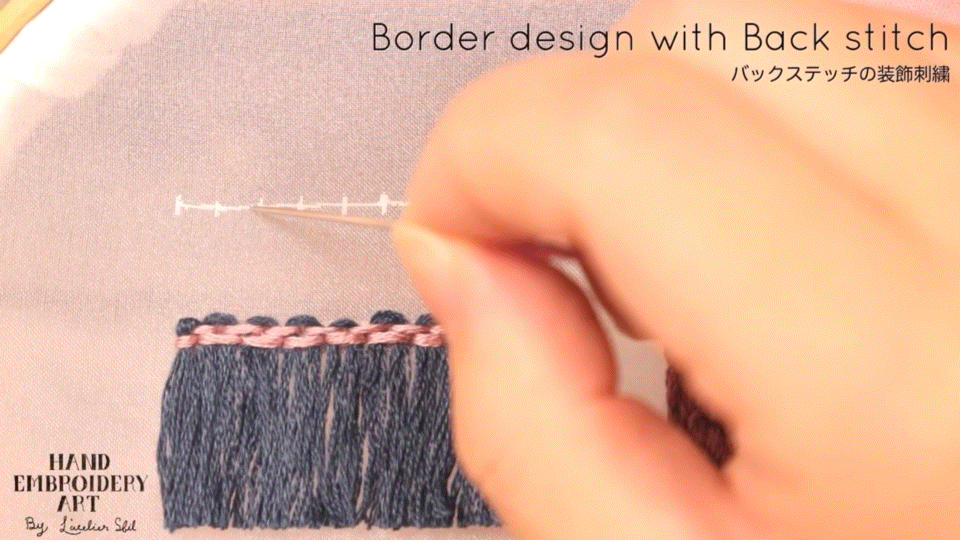
6 Patterns Back stitch | How to Embroider Alphabets, Letters and Decorative Arrangements
↑The embroidery PDF pattern can be downloaded from this page.
6 patterns Back stitch
How to Back stitch