


How to Back stitch
On this page, "Basic Back stitch method" is explained with photos and GIF videos.
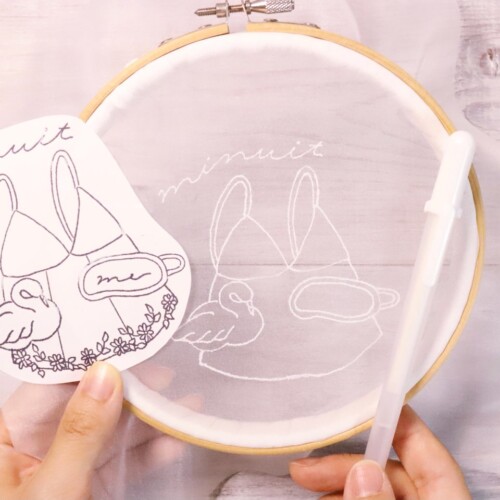
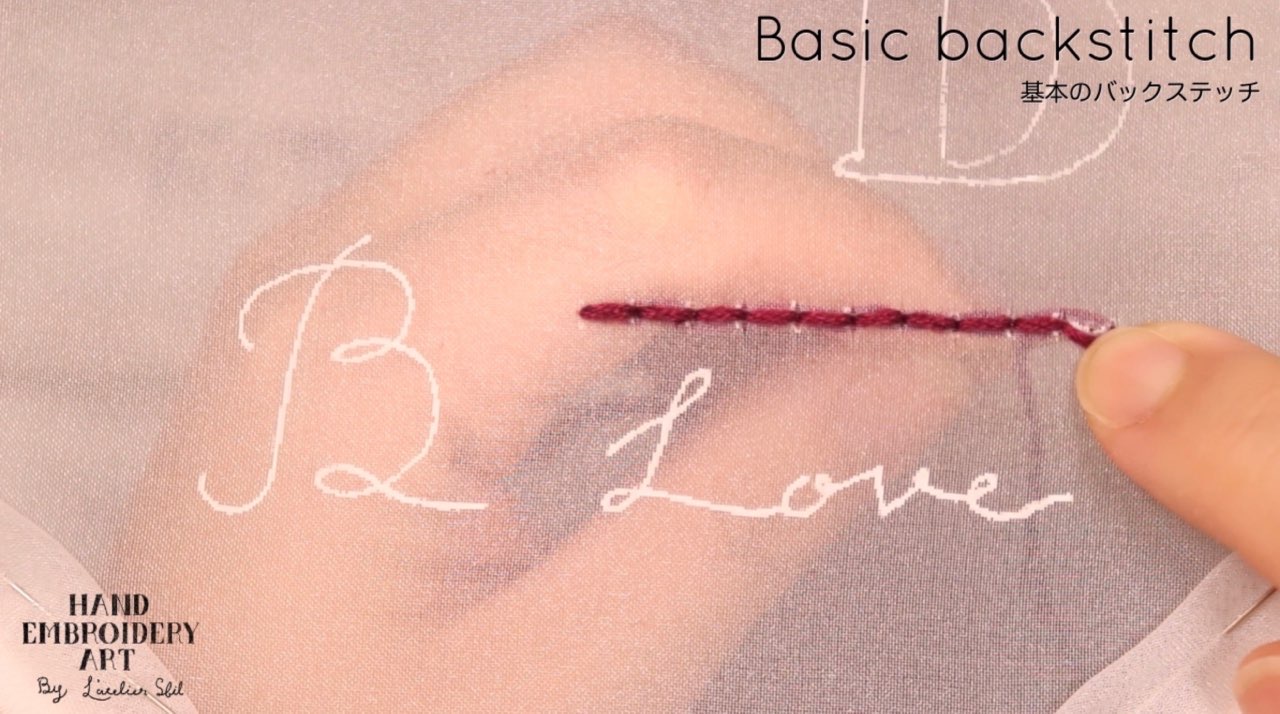
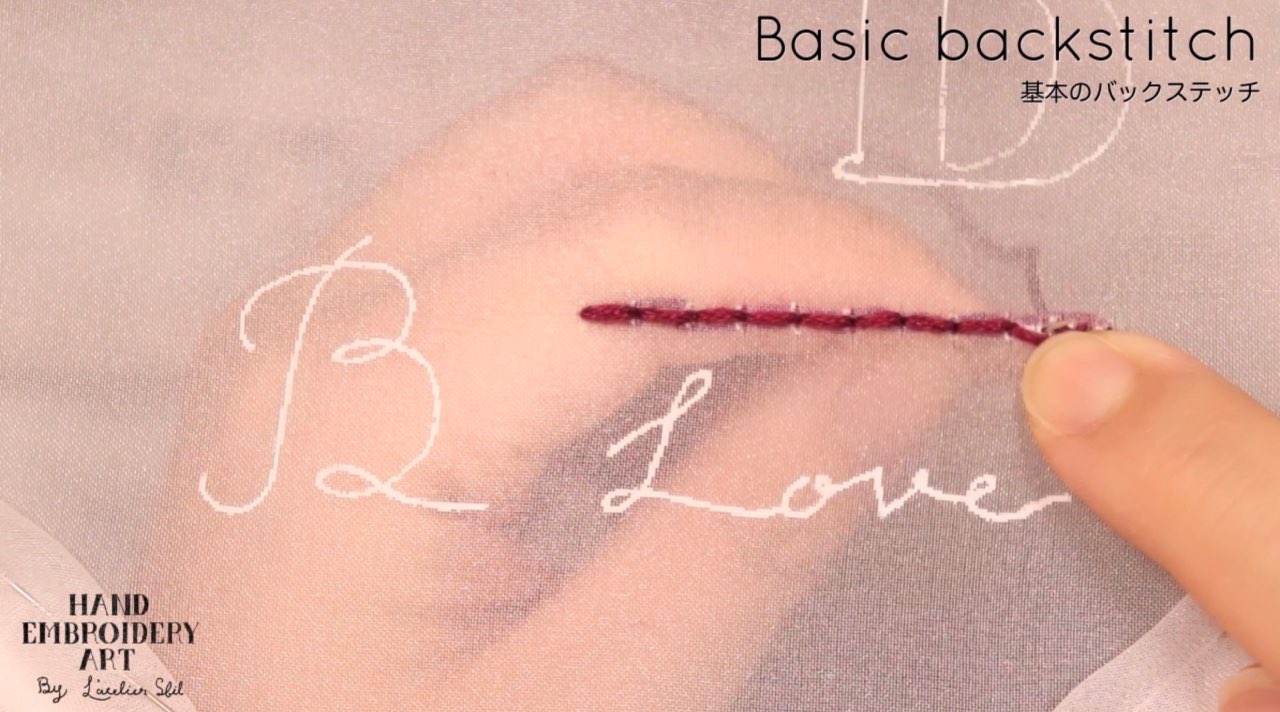
The back side is embroidered on transparent organza fabric, so please refer to how the hands are on the back side of the embroidery frame.
The beginning and end of stitching are embroidered in an inconspicuous way from the front and back.
Finished embroidery
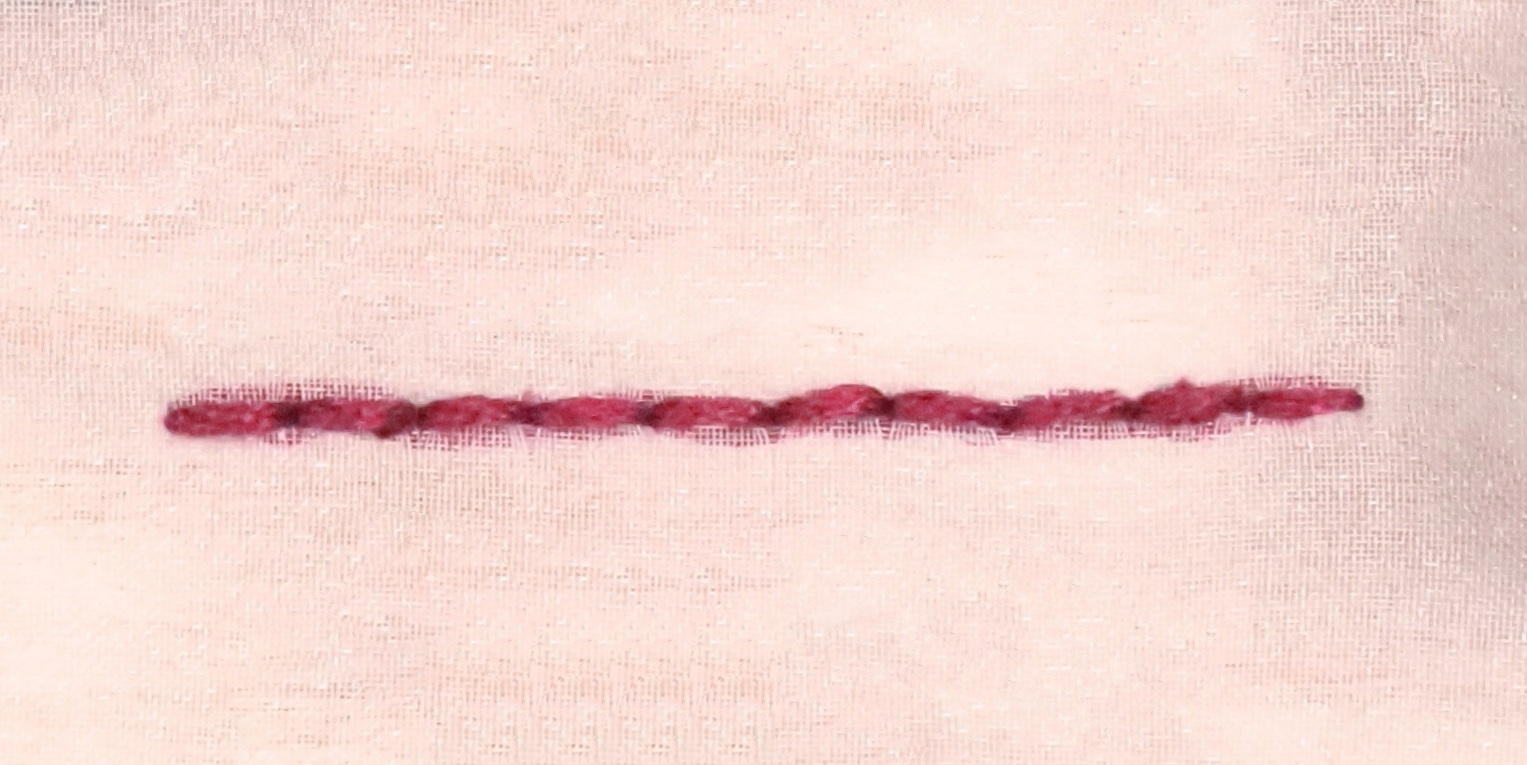
Table of contents
【1】Beginning stitch
【2】How to Back stitch
【3】End stitch
【1】Beginning stitch
Make Beginning stitch near the start position
This time, Back stitch is going from left to right, so make Beginning stitch slightly inside the left edge of the draft line.
(It is OK to pierce the Back stitch in either direction.)
Make Beginning stitch so that it is hidden by Back stitch that will be embroidered later.
The stitch at the Beginning stitch is completed by stitching two small Straight stitches as shown in the video below.
The point is to make the stitch at the beginning of the stitch as small as possible on the draft line.
That way you can completely hide it with Back stitch.
The stitch at Beginning stitch should be made avoiding the needle hole for Back stitch.
Completed Beginning stitch
Point
・Create above the construction line
・Avoid the place where the needle passes through in the Back stitch.
・Make it as small as possible
【2】How to Back stitch
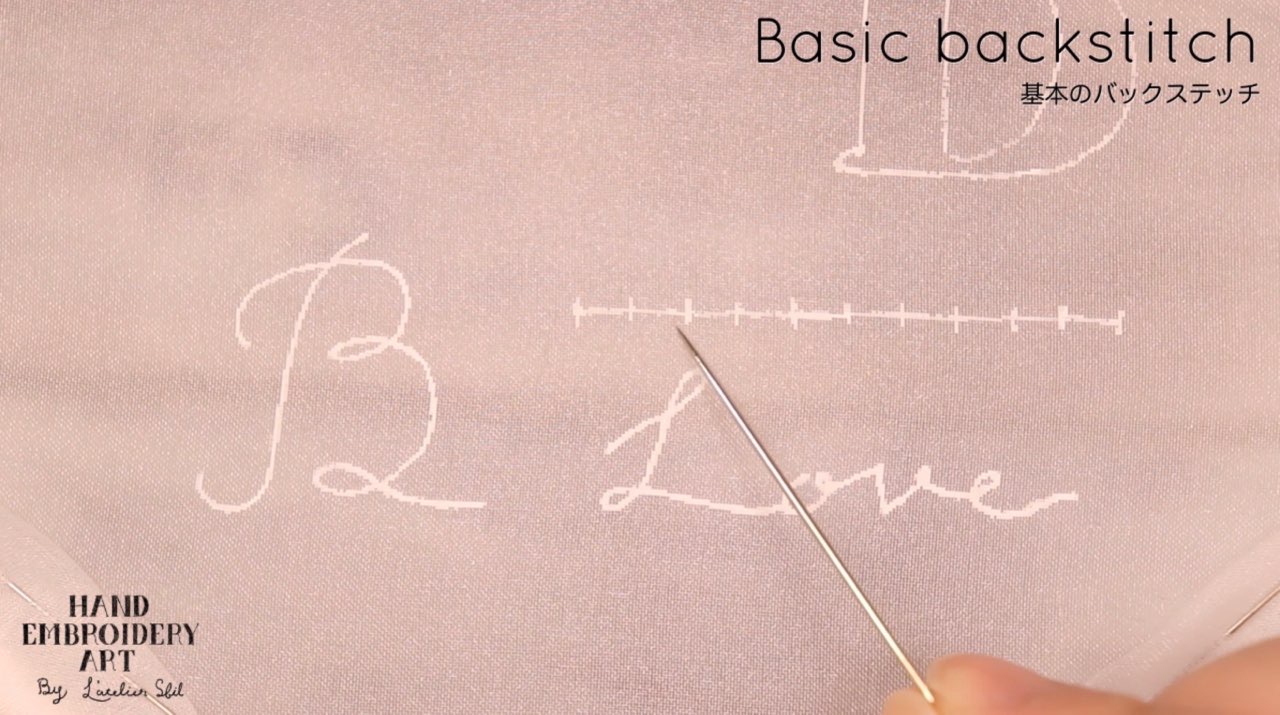
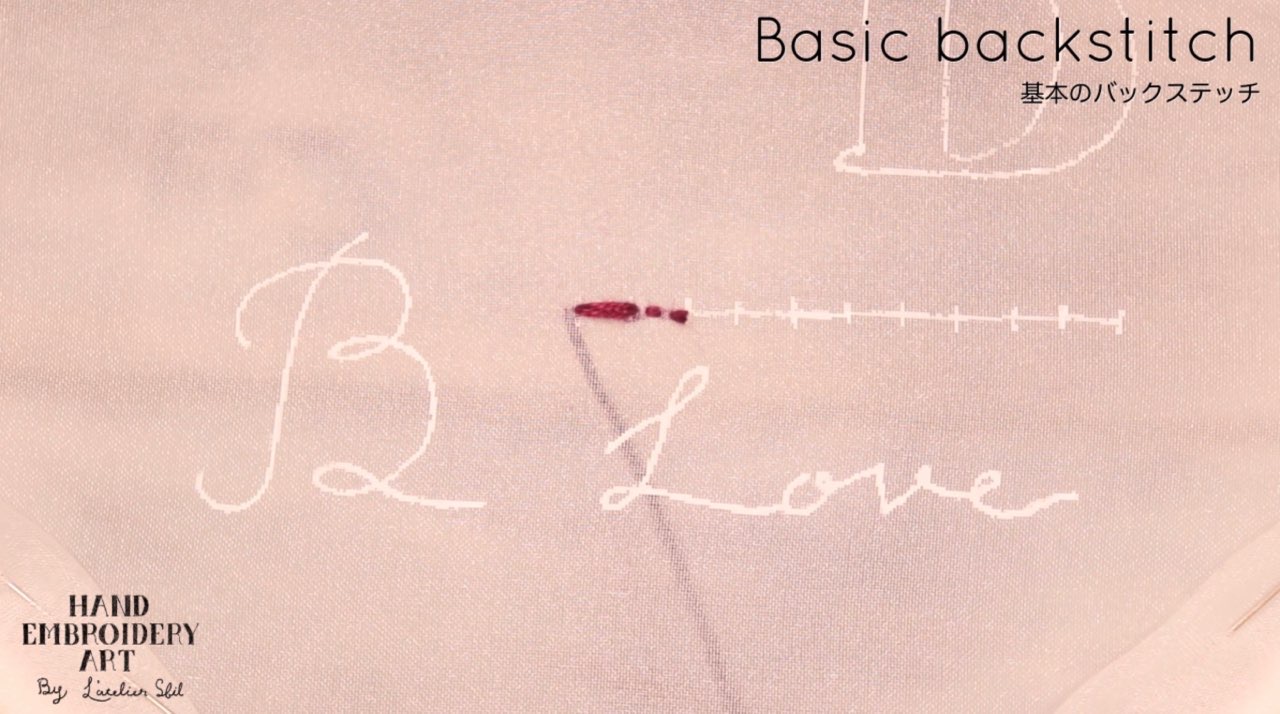
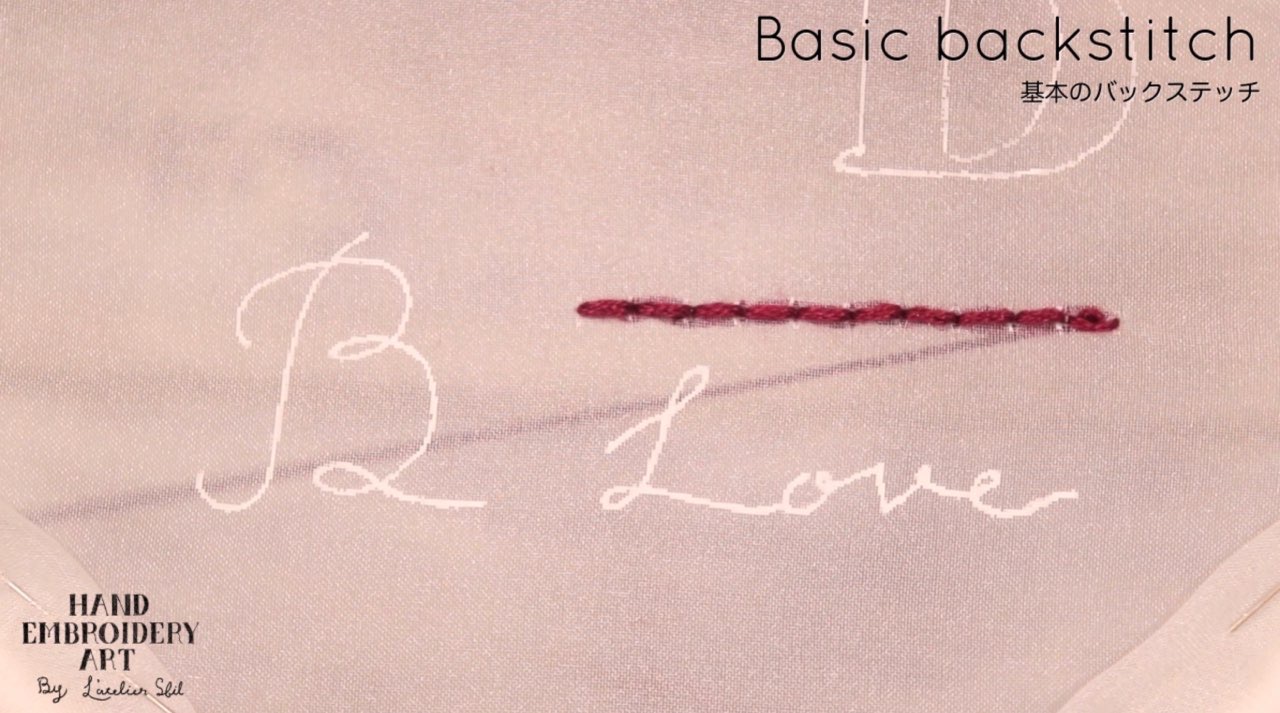
Continue stitching at the same intervals like sewing machine stitches
For the first stitch, you can either start one stitch inside from the edge or start from the very edge as shown in the photo below.
In the instructional video, we mark the thread spacing so that it is easy to understand, but when embroidering a design without a mark, the length of the first stitch is used as a standard for embroidering at the same spacing.
It depends on the embroidery design, but when embroidering letters or curves, it is better to shorten the length of one stitch of the Back stitch to make it look beautiful.
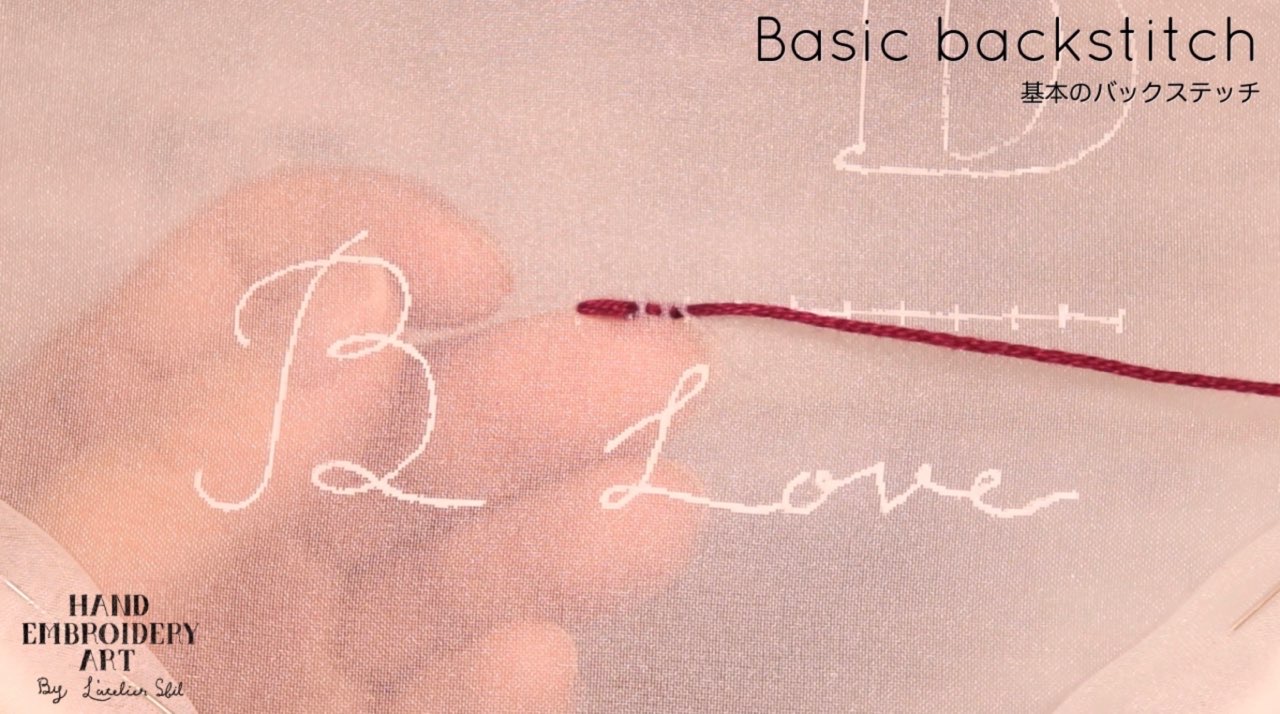
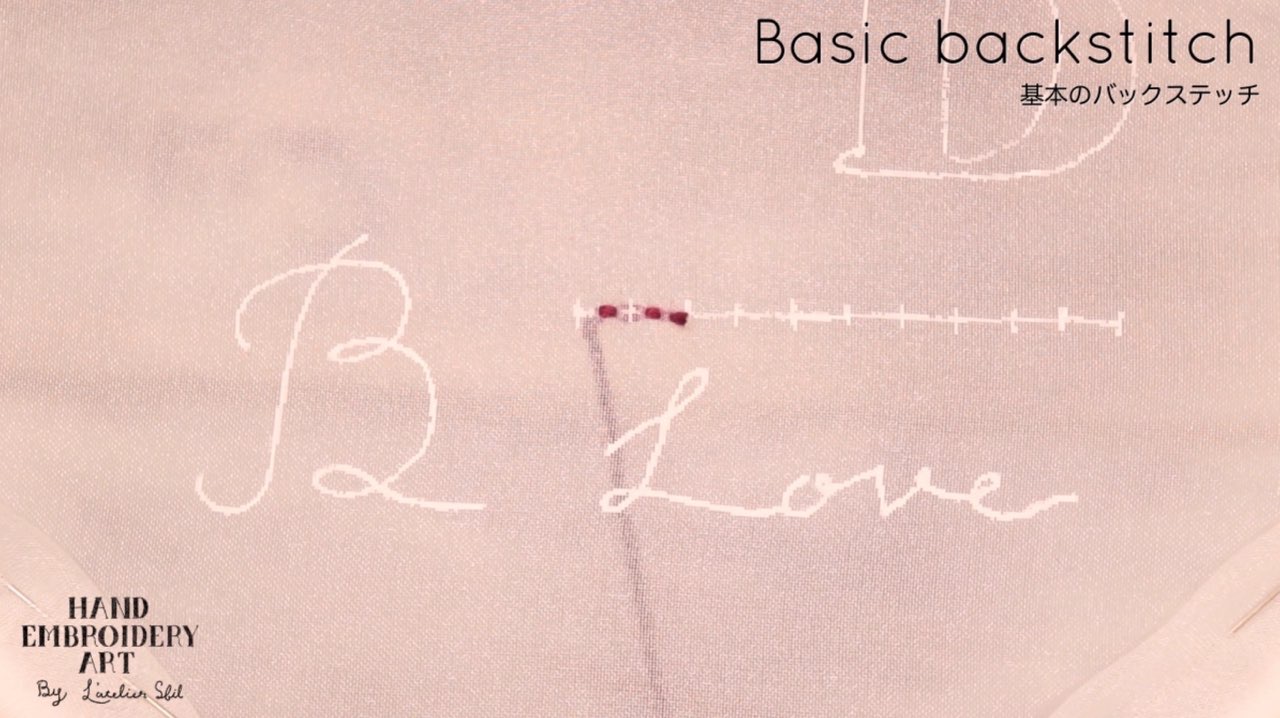
The most important point to be aware of when Back stitch is to pierce the same place as the previous needle hole.
By piercing the same needle hole, the stitches will be connected neatly.
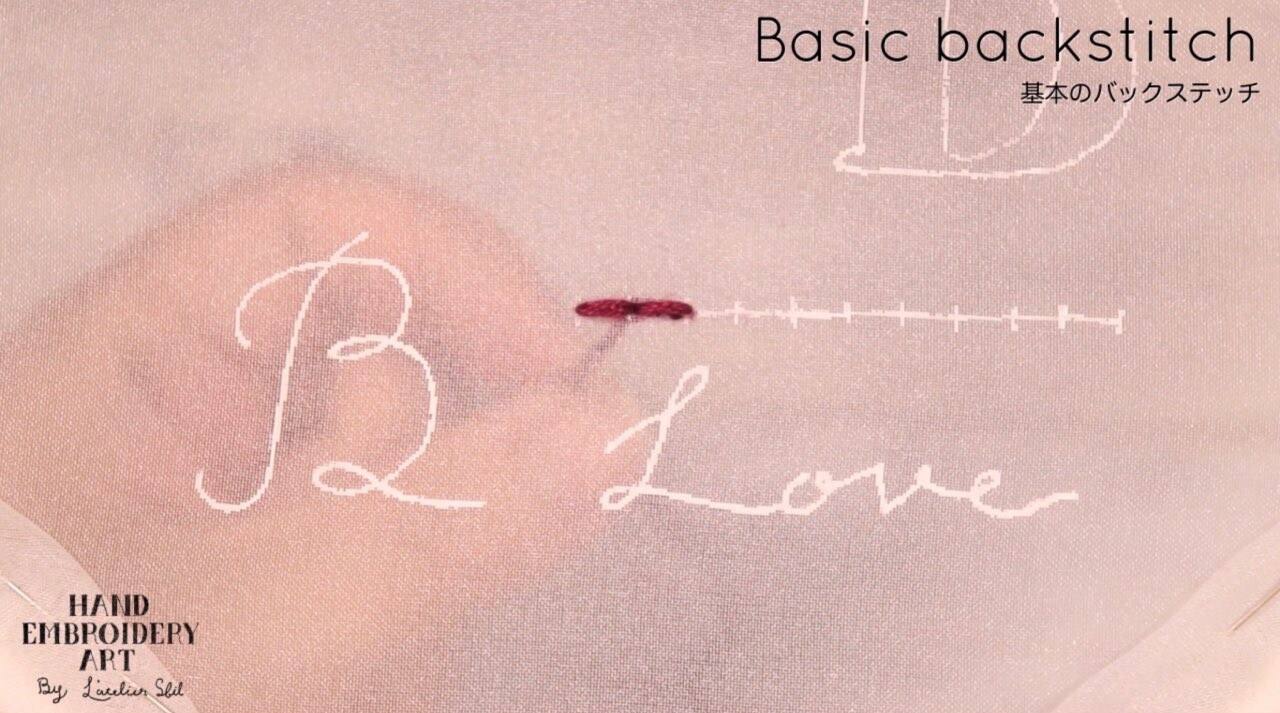
After that, we will proceed with the stitches at the same intervals like a sewing machine.
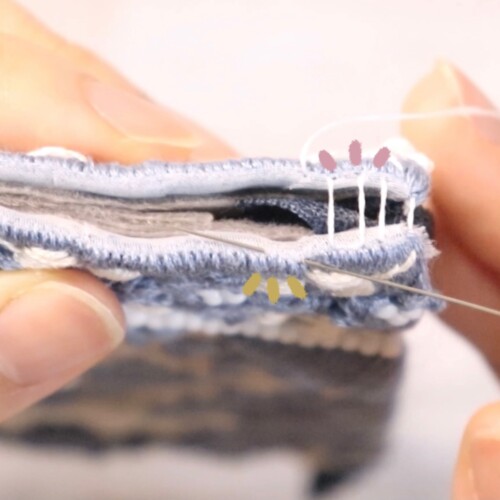
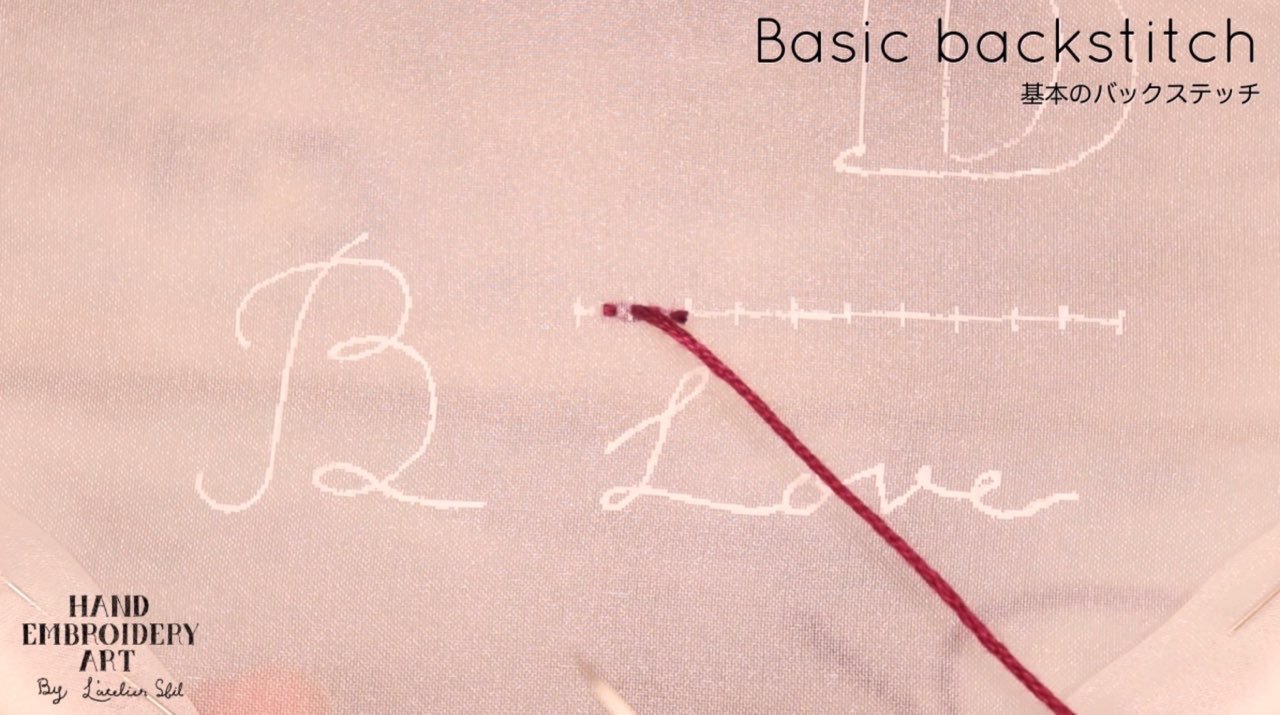
In the video, I embroidered while lightly hooking the thread on my finger. This is the point to prevent the thread on the back side from coming loose.
With this little trick, you can prevent looseness and prevent the thread from getting caught, so you can proceed with embroidery stably.
Point
・Stabbing at equal intervals
・Poke in the same place as the previous needle hole to connect the stitches
・By embroidering by lightly hooking the thread on your finger, you can prevent the thread on the back side from coming loose
・When embroidering letters or curves, it is better to shorten the length of one Back stitch
【3】End stitch
Make it hidden under the Back stitch
Make the End stitch so that it is hidden under the two Back stitches.
Just like the stitch at the beginning of the stitch, two small straight stitches will be the stitch at the end of the stitch.
Since the End stitch will be embroidered just below the Back stitch, shift the thread with your finger and embroider.
The point is to make it small, just like the stitch at the Beginning stitch.
The photo below shows the state after finishing the first stitch at the end of stitching.
The second stitch at the end of stitching is also made by avoiding the Back stitch with your fingers.

The photo below shows the state after finishing the second stitch at the end of stitching.

Finally cut the thread. Bring out the thread near the last stitch at the end of the stitch.
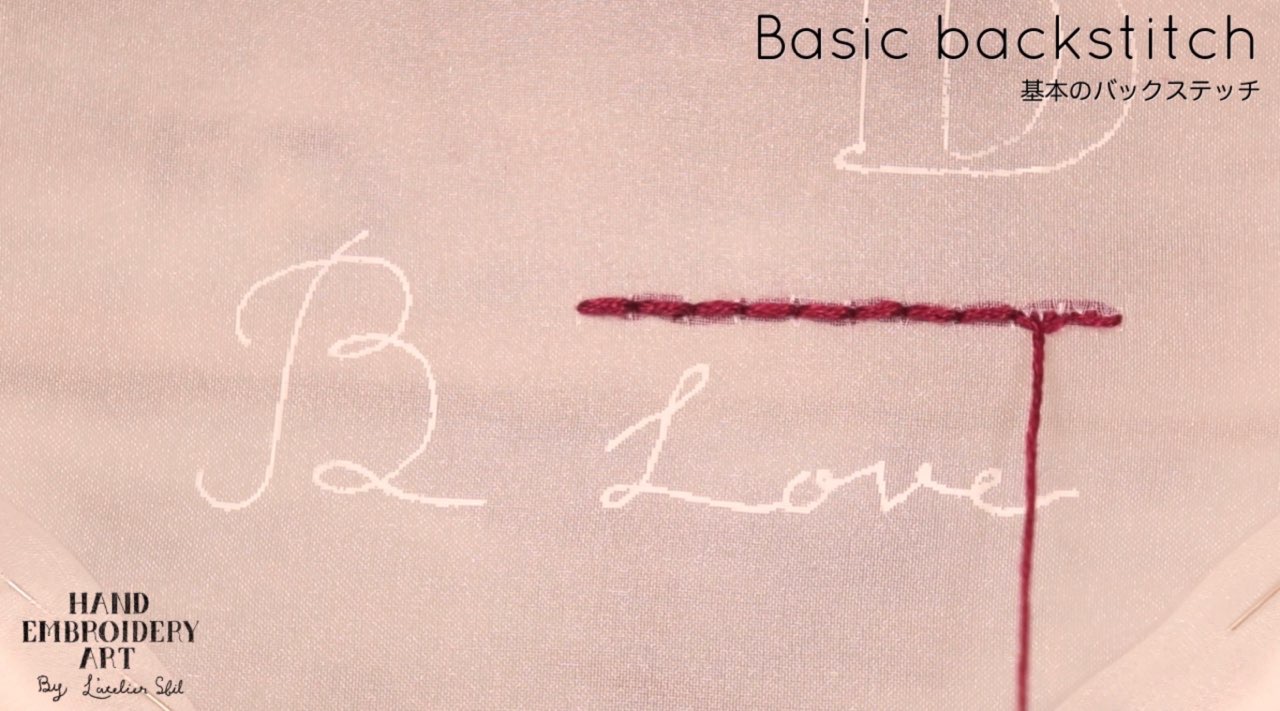
Exposing the thread near the last stitch at the end of the stitch is a small point to prevent the thread from coming off.
If you use the organza fabric that you can see through the back like this time, you will be able to see the untied threads from the front side, so it is important to make small adjustments so that the end of the thread does not come off.
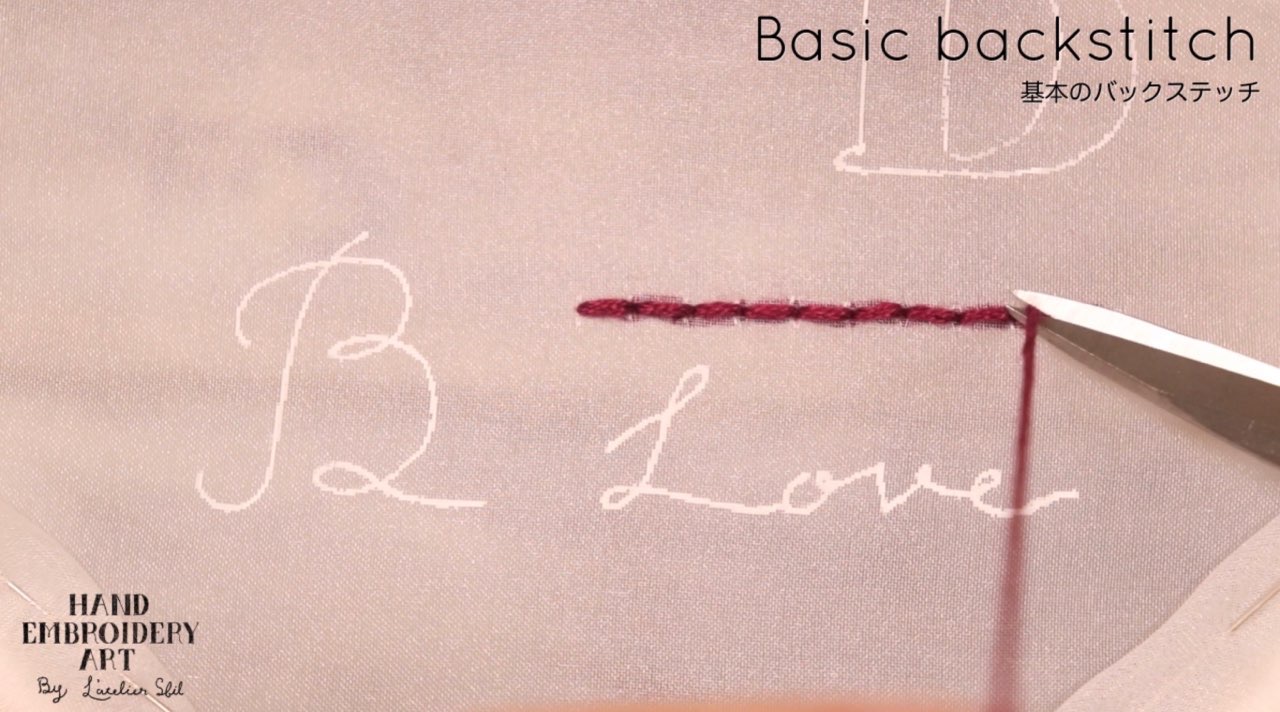
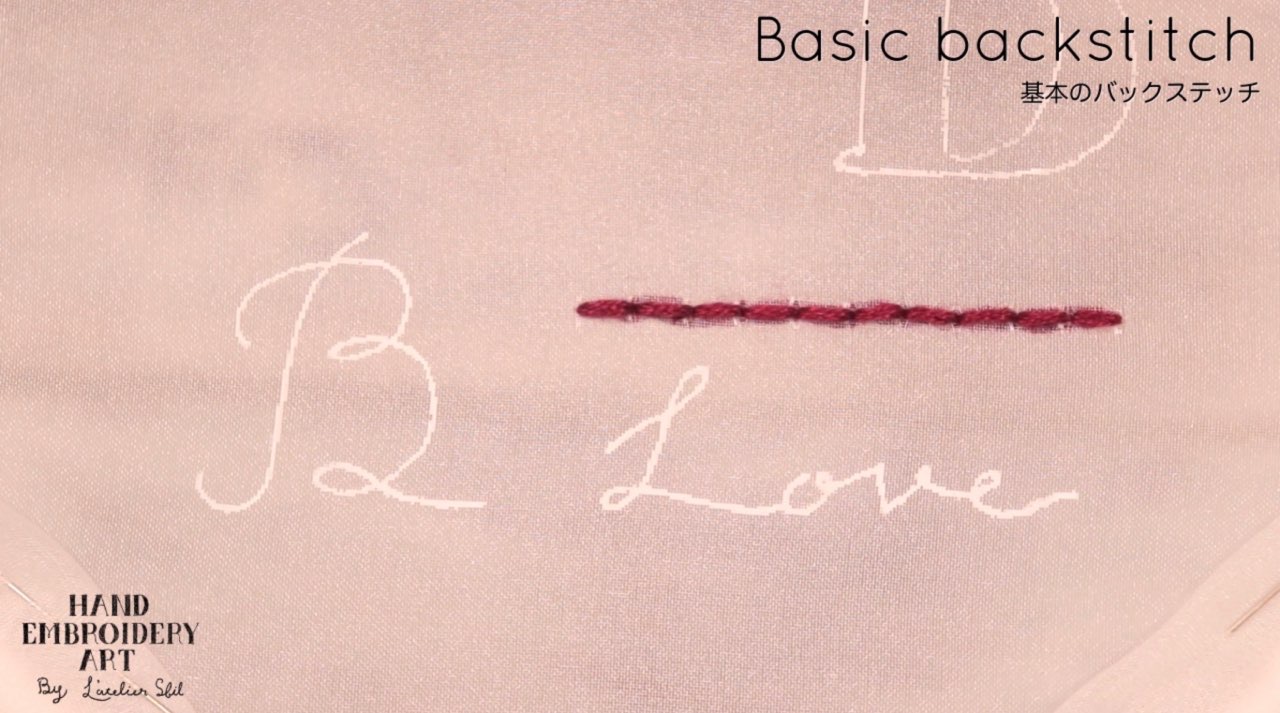
Finally trim the stitches.

Back stitch complete!
Point
・Embroider under the Back stitch
・When cutting the thread at the end, pull it out from the immediate vicinity of the previous stitch and cut it
・Make it as small as possible
There is another way to stitch the end of the stitch, which is explained on the following page.
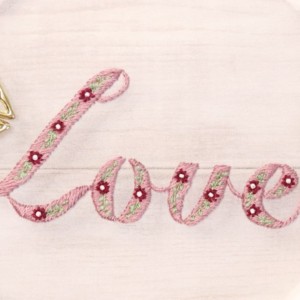
Embroidering word with Back stitch (Thin thread ver.)
Watch a video on how to embroidery
"how to Back stitch" is explained from 0:21. Subtitles are included, so please turn them on and watch.
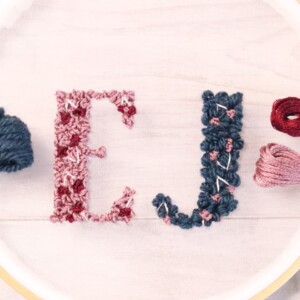
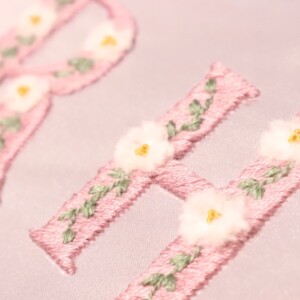
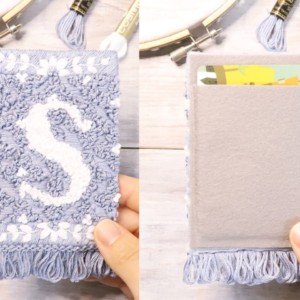
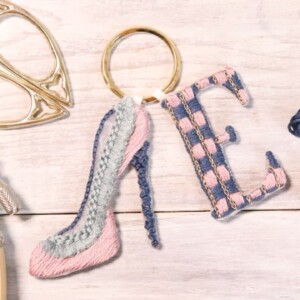
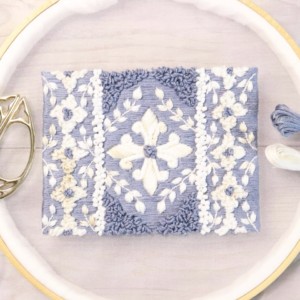
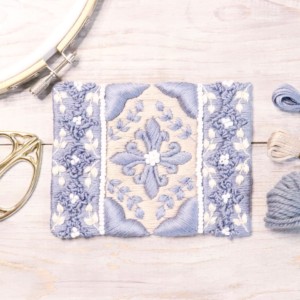
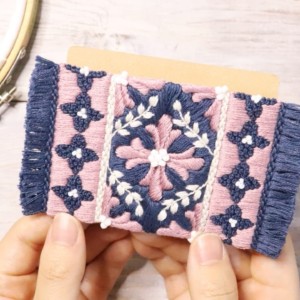
6 Patterns Back stitch | How to Embroider Alphabets, Letters and Decorative Arrangements
↑The embroidery PDF pattern can be downloaded from this page.
6 patterns Back stitch
How to Back stitch