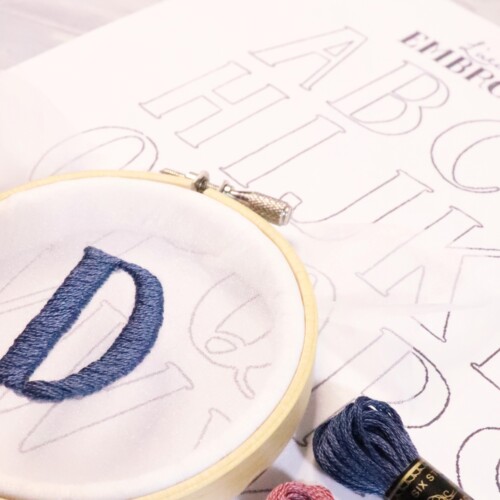


Embroidering word with Back stitch (Thin thread ver.)
On this page, "How to embroider word with backstitch" is explained with photos and GIF videos.
We also post points for embroidery that is unique to organza embroidery, which allows you to see through the back, so please refer to it.
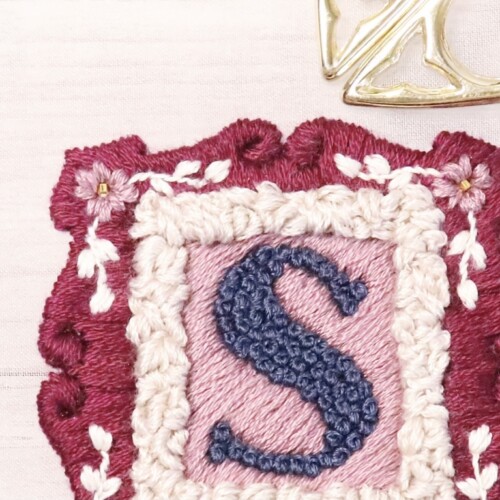
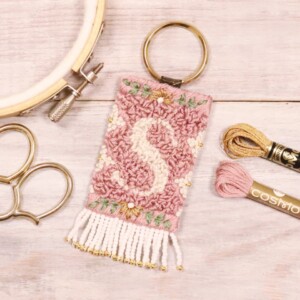
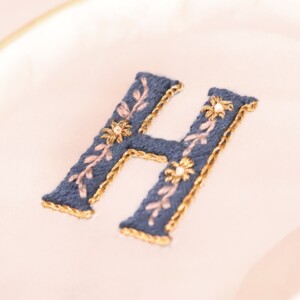
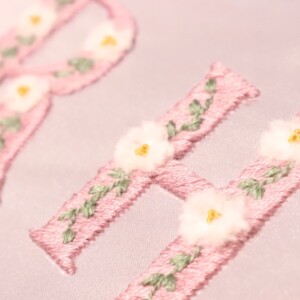
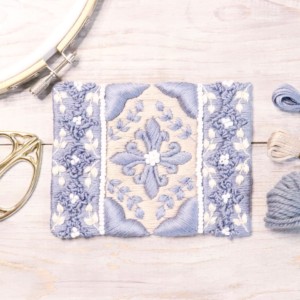
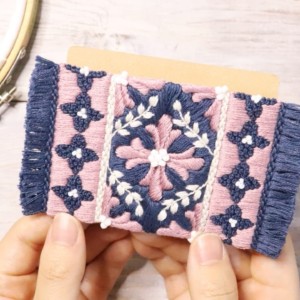
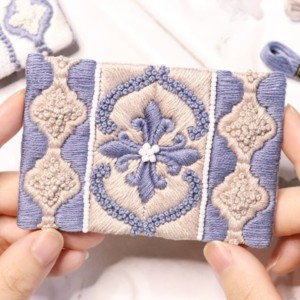
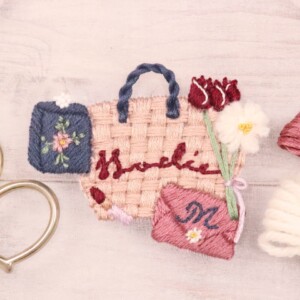
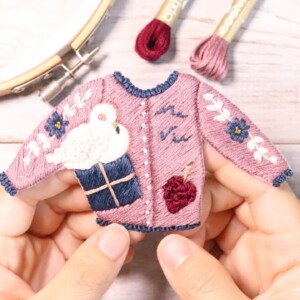
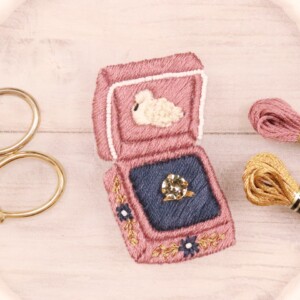
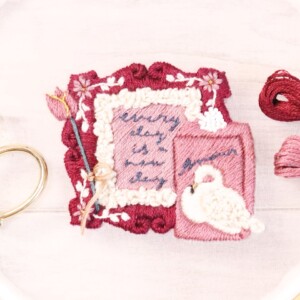
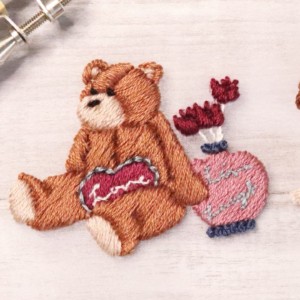
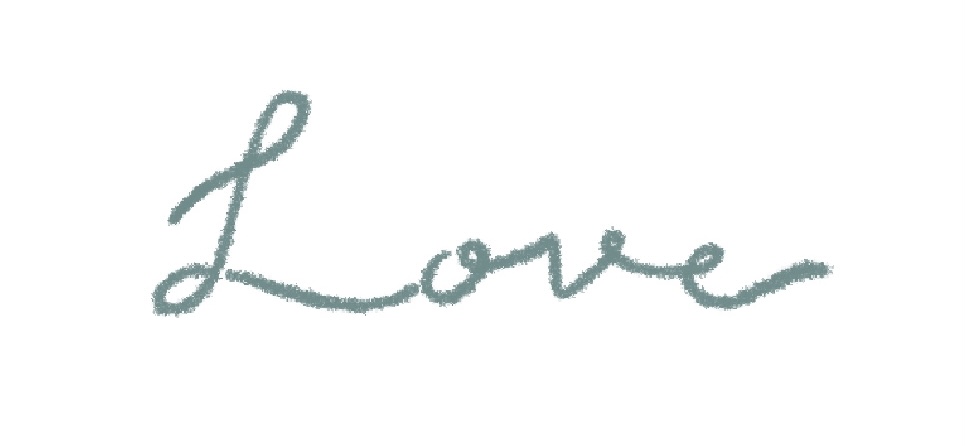
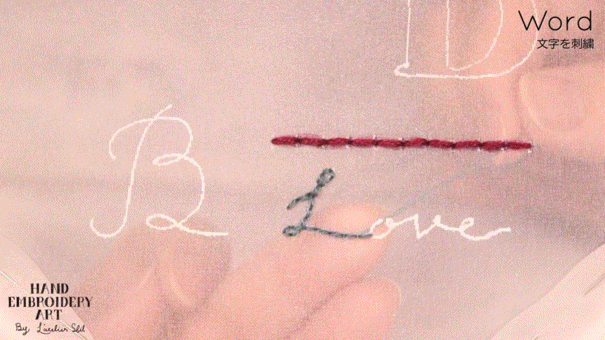
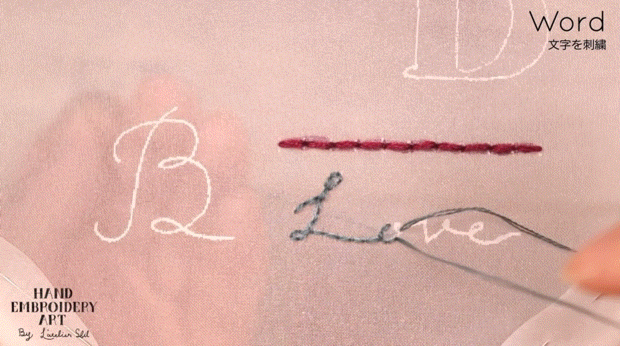
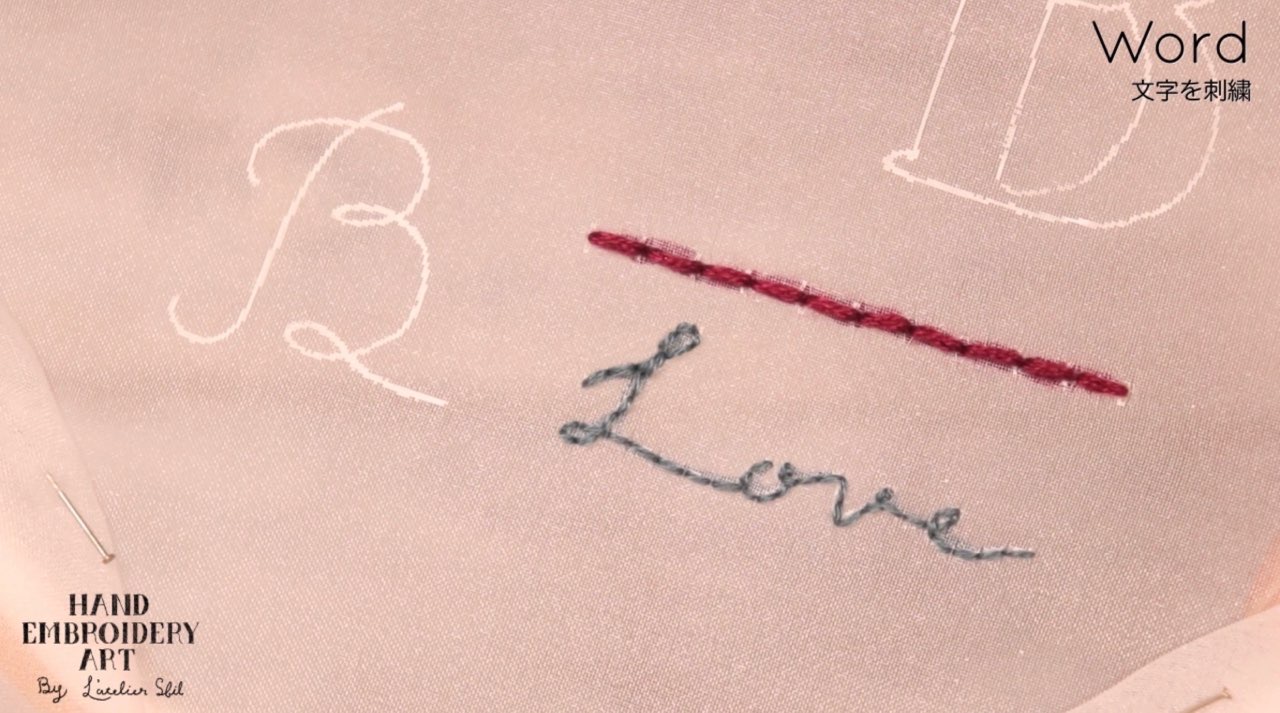
Finished embroidery
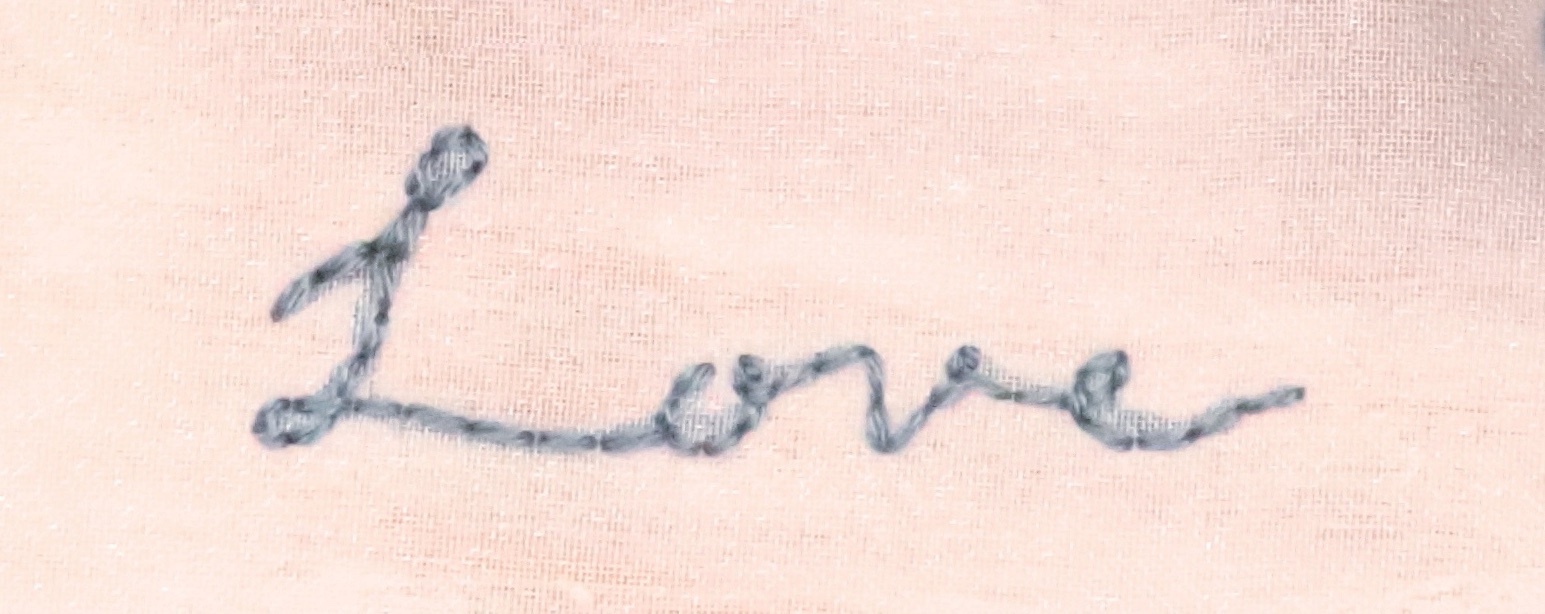
Table of contents
【1】Beginning stitch for Word embroidery
【2】Points when embroidering sharp curves and loops
【3】Position move stitch
【4】When embroidering small areas with Back stitch
【5】Processing the end of stitching by passing through the thread on the back side
【1】Beginning stitch
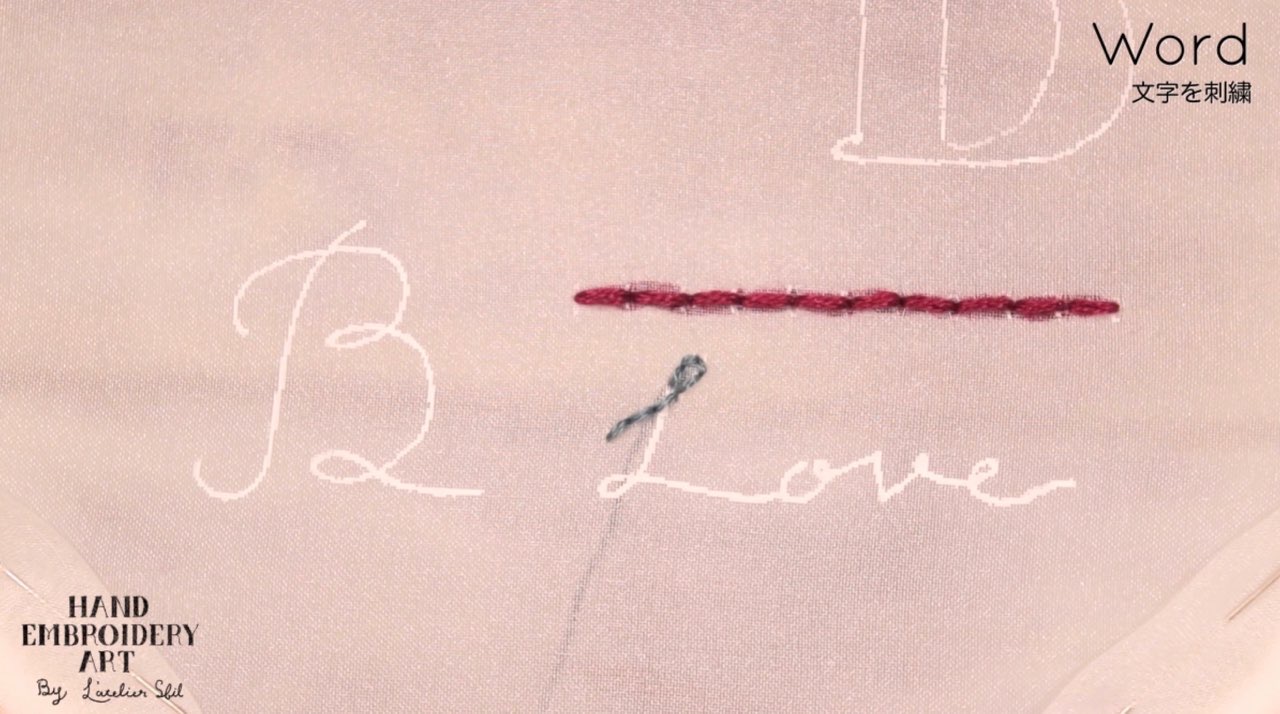
Make Beginning stitch near the start position
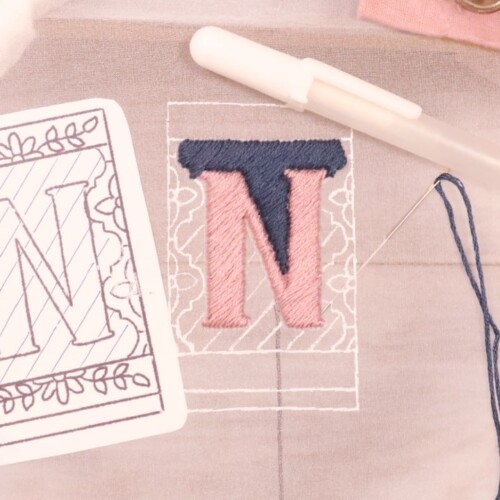
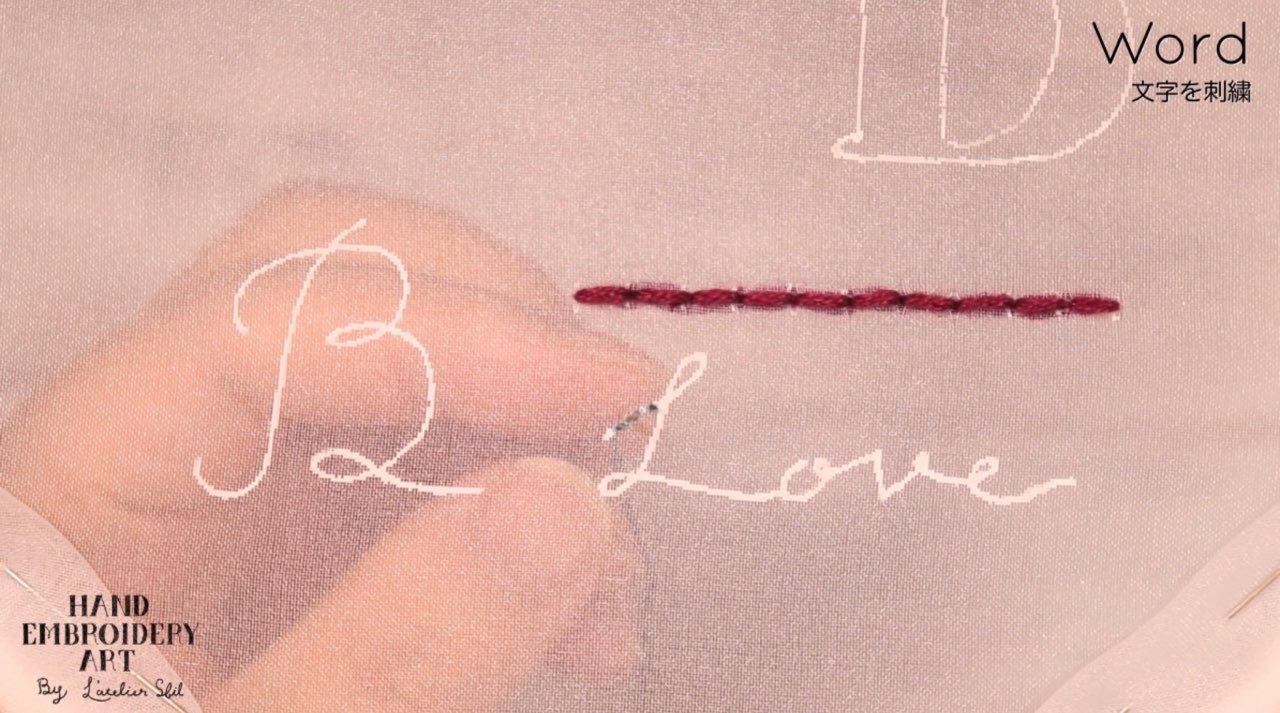
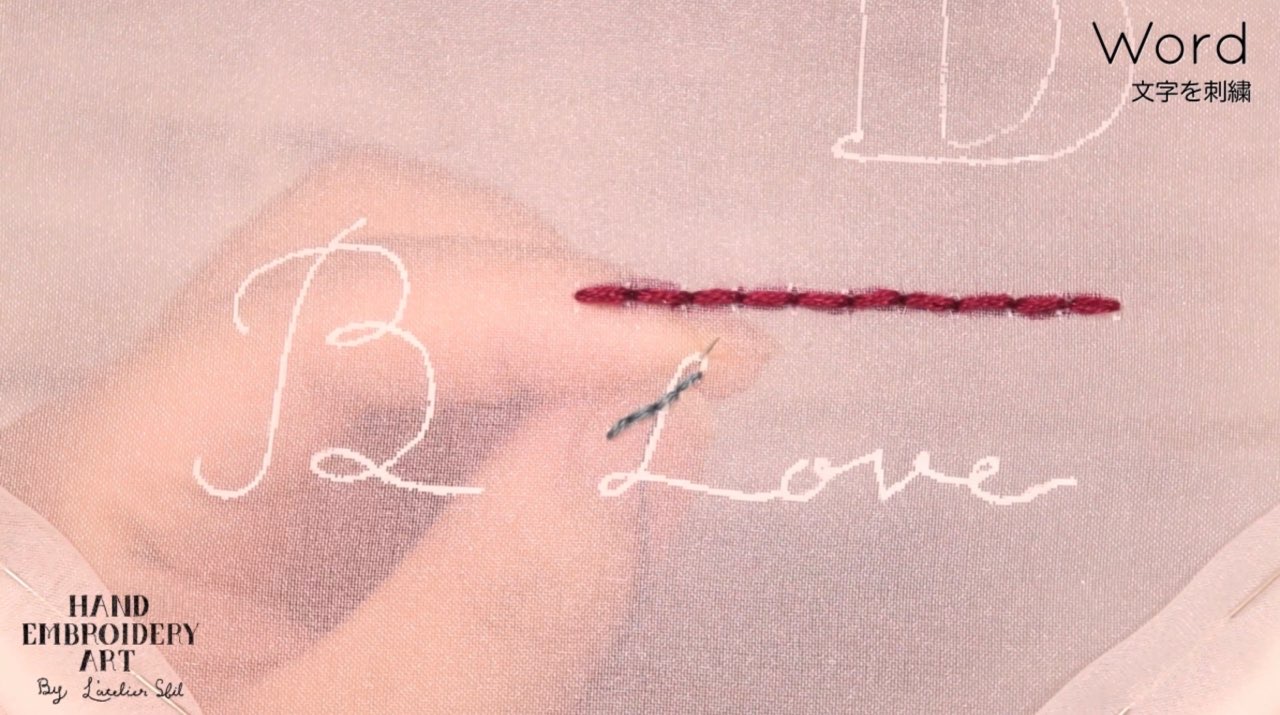
When embroidering words, embroidery in the stroke order. This time, create Beginning stitch near the left edge of the letter L.

Make Beginning stitch so that it is hidden by Back stitch that will be embroidered later.
The stitch at the beginning of stitching is completed by stitching two small straight stitches as shown in the video above.
The point is to make the stitch at the beginning of the stitch as small as possible on the draft line.
That way you can completely hide it with Back stitch.
Point
・Create above the construction line
・Avoid the place where the needle passes through in the Back stitch.
・Make it as small as possible
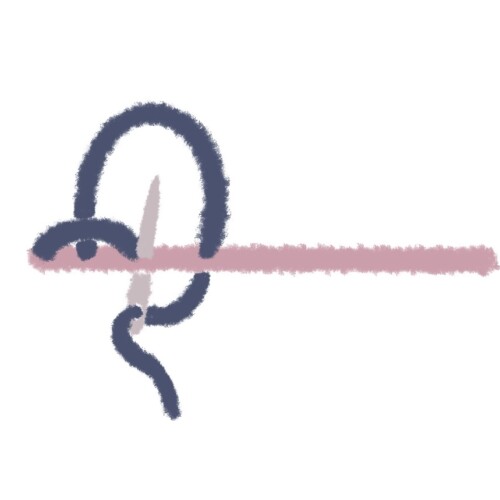
【2】Points when embroidering sharp curves and loops
Make sure the top of the loop is the end of Backstitch.
Gradually adjust the length of Back stitch before entering the curve so that the apex of the loop is at the end of Back stitch.
When Backstitching an embroidery design with many curves and loops, it is best to shorten the length of one Back stitch if possible.
If you find it difficult to create a smooth curve with the length of one stitch in the Back stitch you are currently stitching, you can gradually shorten the length of one stitch before entering the curve.
Make sure that the length of one stitch is not extremely shortened only at the curve part and the loop part. It is a good idea to look at the embroidery pattern, look at the number of curves and the presence or absence of loops, and consider the length of one Back stitch.
Point
・Make sure the top of the loop is the end of Back stitch
・The shorter the length of one Back stitch, the smoother the curve
・Look at the embroidery pattern, look at the number of curves and the presence or absence of loops, and consider the length of one Back stitch
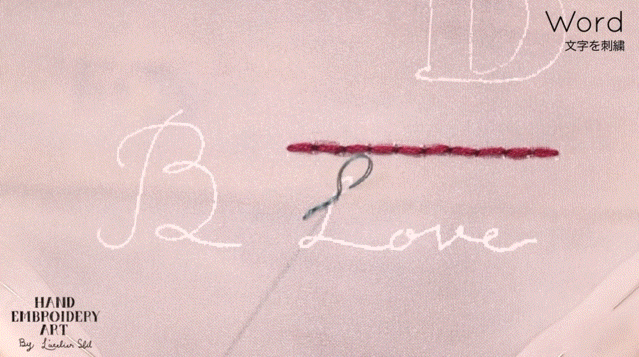
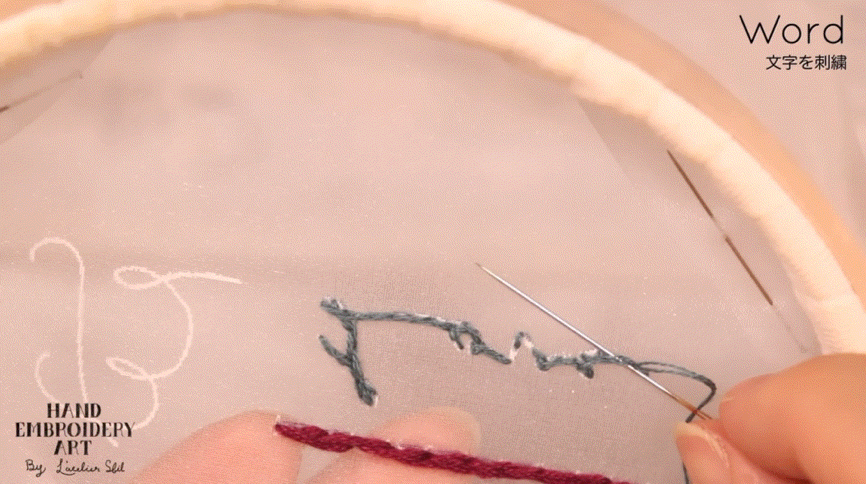
【3】Position move stitch
Make a small stitch on the line of the design and move the place.
In the photo below, if you continue stitching from the final position of L to the starting position of o, you will see the thread on the back side.
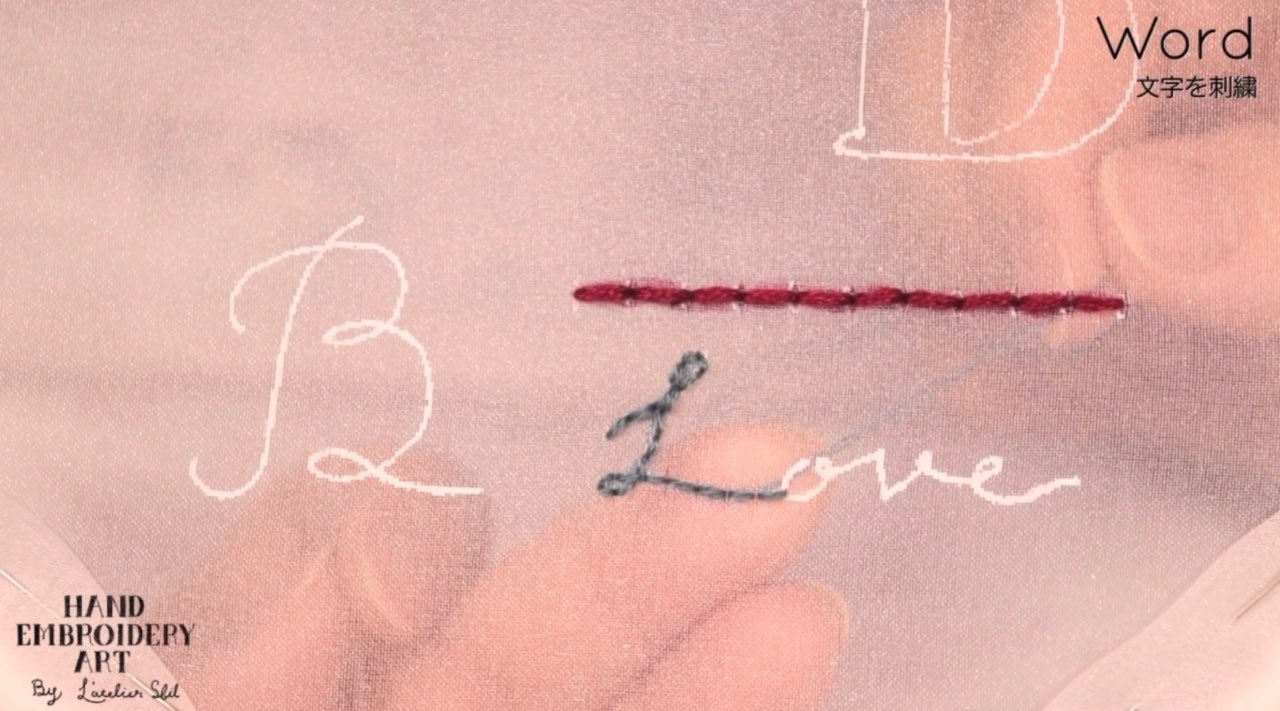
Make Position move stitch to hide under the Back stitch.
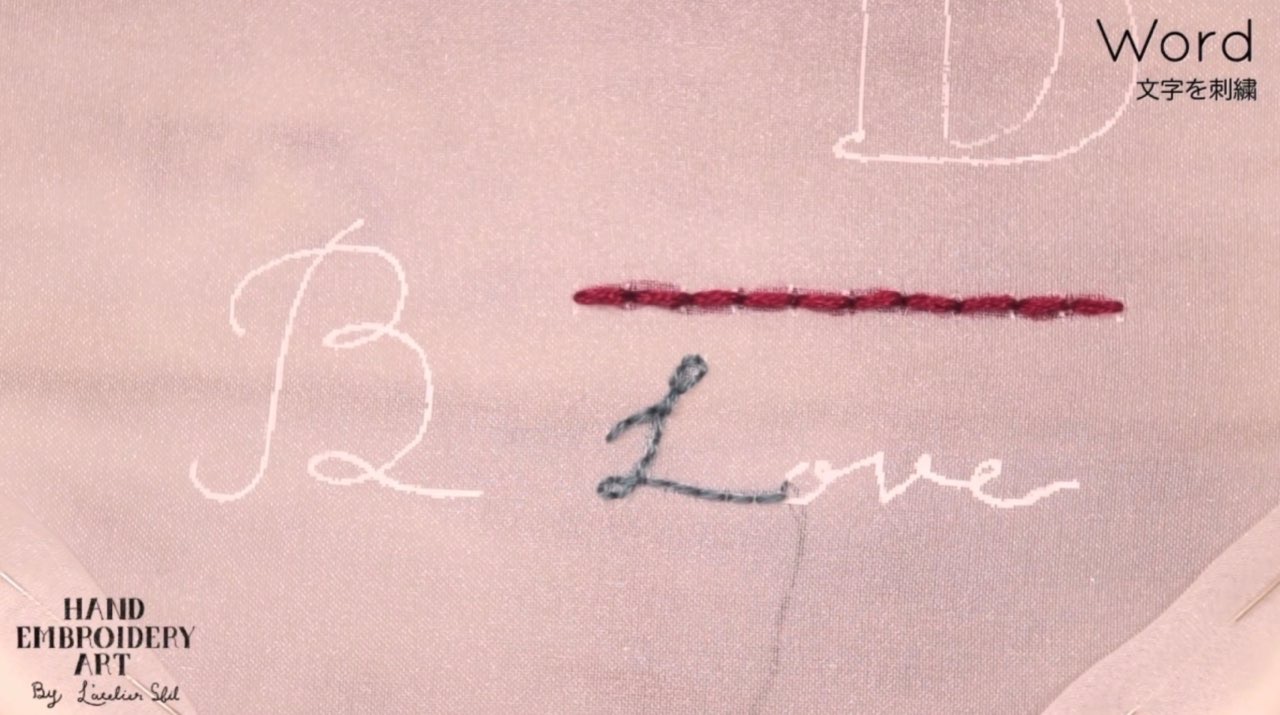
Position move stitch as small as possible, and move one or two stitches over the embroidery design according to the moving distance.
This Position move stitch is useful when embroidering on a fabric with a see-through back, such as organza.
Position move stitch is a stitch that can only be used when the moving distance is close.
For example, in the case of B on the left side of the design above, it is a length that cannot be moved when moving from the first vertical line in the stroke order to the second stroke.
Point
・Used when the back side can be seen through, such as organdy
・Create small Position move stitch on top of the embroidery design
【4】When embroidering small areas with Back stitch
Don't be too particular about "making the length of one stitch the same for Back stitch".
The curve part shortens the length of one stitch.
By adjusting the length of each stitch little by little on the straight and curved parts, you can achieve a beautiful finish.
Point
・Embroider as usual until just before the details
・Shorten the length of one stitch only for small parts
・Don't stick too much to "make the length of one backstitch the same"
【5】Processing the end of stitching by passing through the thread on the back side
How to pass the thread at the end of embroidery twice through the thread on the back side of the embroidery.
I explained the stitch at the end of the stitch on the basic backstitch page, but it is difficult to create the stitch at the end of the stitch because the space is narrow! Use this method when.
How to Back stitch
The point is to split the thread on the back side and pass it through twice.
By splitting the thread and letting it pass through, the end of the thread will not come off easily.
When you finish stitching, the cut end of the thread may come off and stick out.
This is not a problem when embroidering on non-transparent fabric, but be careful when using this method on organza, as any loose end of thread will be noticeable.
If you're worried about it, we recommend applying a small amount of anti-fray to prevent the ends of the thread from coming off.
Point
・Pass through the thread on the back side twice
・Recommended when it is difficult to create stitches at the end of stitching because the space is too narrow
・If you are worried about the end of the thread coming off, apply a little anti-fraying agent
Watch a video on how to embroidery
"How to embroider words with Back stitch" is explained from 1 minute 54 seconds. The subtitles are included, so please turn them on and watch.
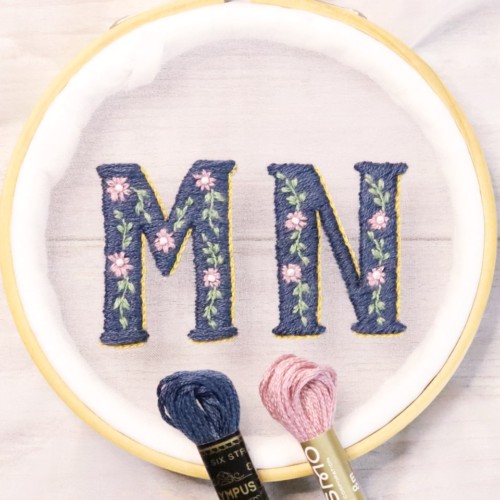
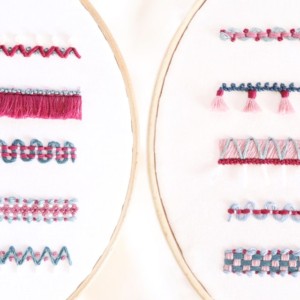
6 Patterns Back stitch | How to Embroider Alphabets, Letters and Decorative Arrangements
↑The embroidery PDF pattern can be downloaded from this page.
6 patterns Back stitch
How to Back stitch